Week 29
Beeswax as Adhesive
BY GIUSEPPINA “JOSIE” CIRINCIONE | from Collage Lost and Found
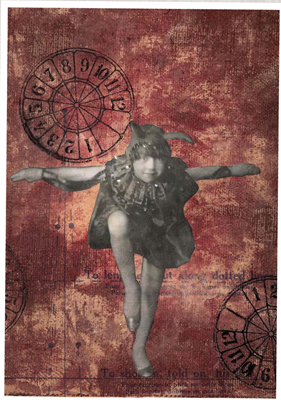
In Week 26, you used plastic wrap and watercolor to create a design. This week, try using beeswax as an adhesive in a collage. Beeswax has a slightly hazy quality and offers a natural soft yellow color. Beeswax will accept rubber-stamped images, and you can use beeswax to adhere small, three-dimensional objects.
Materials
 hot pot (like a Crock-Pot)
 beeswax
 canvas board
 foam brush
 paint palette
 2 colors of acrylic paint (1 lighter, 1 darker)
 paper towels
 optional: heat gun
 patterned tissue (such as a dress pattern)
 craft brush
 tape
tape
 quilting iron
 paper collage elements
 optional: rubber stamps and inkpad
1. Paint the board
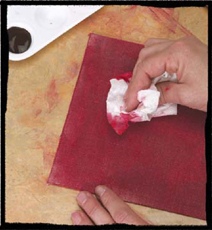
Plug in your hot pot and fill it with beeswax, so it can begin melting. Start with either a canvas board or a piece of linen matboard. Use a foam brush to cover the board with the lighter-colored acrylic paint, then use paper towels to wipe and blot off a good deal of the paint. Add the darker color over the top of the first coat, but only in sections. Wipe off this color as well. Let the board dry thoroughly, or dry it with a heat gun.
2. Overlay the tissue paper and wax
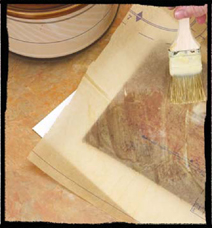
Lay patterned tissue paper over your board where you want the pattern to be. Look for tissue that complements your composition. Using a craft brush, apply a layer of melted beeswax over the tissue. Cover the entire board.
3. Smooth the wax
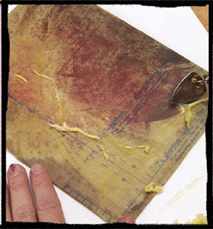
Wrap excess tissue around the back of the board and secure it with tape. Using a quilting iron, smooth the wax over the board to reveal more of the texture and the printing on the tissue. Scrape up the excess wax and put it back in the hot pot.
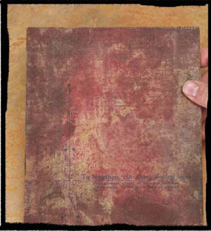
4. Remove wax
Remove as much or as little wax as you like. I like to remove most of the wax.
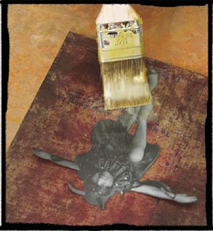
5. Collage
Cut out collage elements you want to add. Set an image on the board (it will stick naturally). Then brush over the element with beeswax.
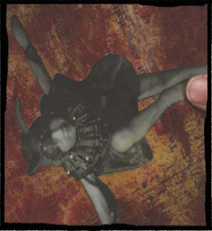
6. Finish the piece
Go back with the quilting iron and remove the excess wax. Be careful not to remove too much wax, or you may remove part of the image. If desired, burnish parts of the image with your fingers to make it shiny. You can stamp on the wax also, if you like, using permanent ink.