Week 51
Masking Tape Background
BY ASHLEY CALDER | from Scraptastic!
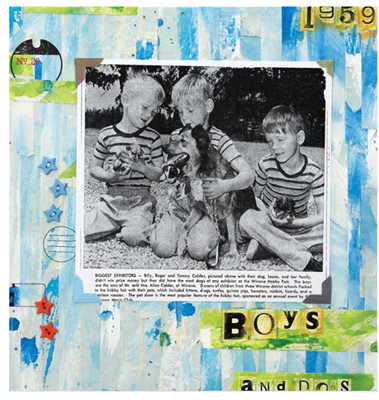
Simple office-supply masking tape can be transformed into a working surface with just a few strokes of gesso and splashes of watercolor. This week, masking tape isn't used as a “mask” — the tape itself is part of your art. Apply the colorful embellishment anywhere you'd like!
Materials
 masking tape
 plastic placemat (or other nonporous surface)
 white gesso
 water
water
 paintbrushes
 watercolor paint
 cardstock
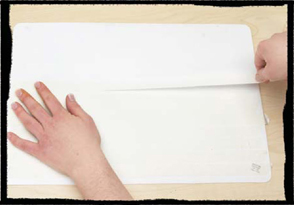
1. Apply strips of tape
Lay down long strips of masking tape across the top of a plastic placemat (or other nonporous surface). Place the strips as close as possible.
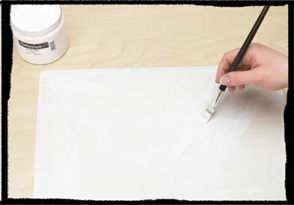
2. Add gesso
Randomly brush the taped placemat with white gesso, leaving some areas uncovered. Try dropping watered-down gesso onto the tape and letting the drip marks dry in place. You can let the gesso dry before moving on to Step 3 (which creates a more layered look) or leave the gesso wet to allow the colors to mix.
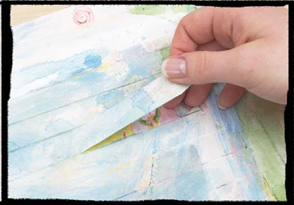
3. Paint with watercolor
Splash, brush and drip watercolor onto the strips using a brush. The messier you leave the paint, the more textured and varied your finished background will be; even paint coverage will create a uniform background. Once the paint is dry, peel the strips of tape from the placemat.
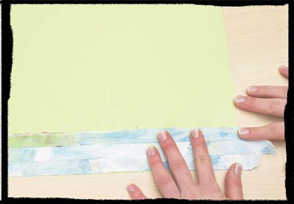
4. Transfer the tape to your surface
Adhere the tape to your cardstock, tearing the tape and placing it in random order to break up the brushstrokes. Once the background is covered in tape strips, fold the extra lengths over the edges and secure on the back. Embellish the painted-tape background with rub-ons, buttons and additional horizontal strips of tape.
Tip
Rearranging the strips from the order in which they were painted creates a random yet artistic background.