Week 9
Acrylic Paste Paintings
BY DOROTHY SIMPSON KRAUSE | from Book + Art
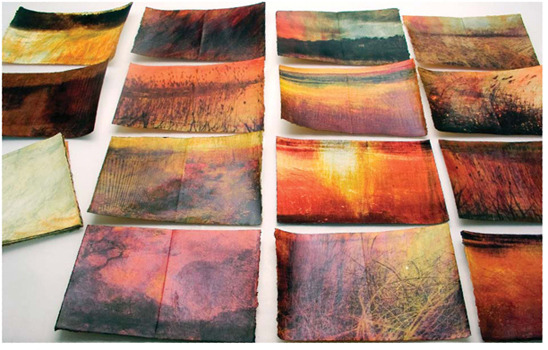
Play with acrylic paste paint, a mixture of acrylic paint and wheat paste, this week. Try varying the opacity by changing the paint-to-paste ratio; the more paint there is, the more opaque the color will be. You can also make the paint thicker by using less water in the wheat paste. By painting on a large sheet of paper and then cutting or tearing it into smaller sizes, you can create interesting and unexpected compositions on the resulting pieces. Incorporate these paintings into your mixed-media work, or display them on their own.
Materials
 paper, large sheet, approximately 22″ × 30″ (56cm × 76cm)
 wheat paste
 acrylic paints
 brushes
 craft stick
 paper folder
 aluminum ruler or straightedge
 optional: digital files of images, scanner, computer, imaging software, printer, white paper for carrier sheet if needed
Wheat Paste Recipe
 Mix 3 tablespoons of white wheat flour with enough cold water to make it wet and liquid enough to pour. Bring to a boil 1 cup of water. Pour the cold wheat flour mixture slowly into the hot water, stirring constantly. Bring to a boil. Cook while stirring until the mixture is thick. Allow the paste to cool. Store in the refrigerator.
or
 Sprinkle ¼ cup precooked talas wheat paste into 1 cup of water. Blend until the mixture is smooth and the consistency of heavy cream. If you prefer a thicker mixture that you can draw or write into, add another tablespoon of wheat paste. Store in the refrigerator.
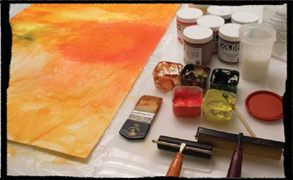
1. Mix paste and paint
Mix a small amount of wheat paste (see recipe above) with a small amount of acrylic paint. Paint the acrylic paste paint over the entire sheet of paper. Draw, write or texture into the thick surface of the paste paint. Let the paper dry thoroughly.
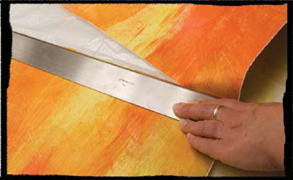
2. Fold and tear the paper
Fold the paper in half, along the grain, and smooth the fold with a paper folder. Using an aluminum ruler or straightedge as a guide along the fold, cut or pull the paper at a 45-degree angle. Fold and tear those two pieces each into two pieces, and then fold and tear those four pieces each into two pieces.
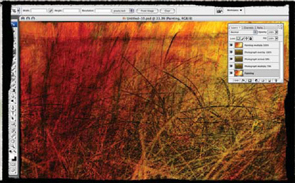
3. Scan pages and alter (optional)
Scan the painted pages into Photoshop or a similar photo-editing program, and choose photographs or other images to combine with them. Work with layers and the various adjustment options to create unusual combinations. Size your image file to print (bleed) over the deckle edges. As a final step, turn off the layer with the scanned, printed page so that it won't print.
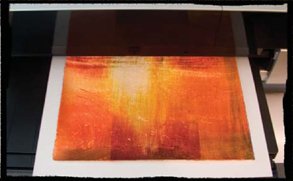
4. Print onto painted pages (optional)
Print onto the painted pages. Overcome the problem some printers have with seeing deckle, painted or clear edges by placing your painted page on a larger sheet of white paper, leaving a margin on the leading edge and the side for the printer to read and print. Fold the prints into double-page spreads (folios) and tone the raw, torn edges with paint if you like.