You will be cutting stencils out of newsprint paper with a craft knife. Make sure your paper is at least the size of the outer dimension of your frame, as you can always cut it down to size later if it is a little big. Newsprint paper is the perfect paper for stencils as it is very thin and therefore sits flush onto the mesh without creating a thick edge where paint can sit too thickly and blur as you lift up the screen. As well as being thin it is also absorbent, which makes it stick to the mesh as the paint is pulled through.
The basic equipment you need for this technique is as follows:
• Cutting mat (1)/ Newsprint paper (2) / Parcel tape (3) / Masking tape (4) / Ruler (5) / Pencil (6) / Craft knife (7) / Fingertip craft knife (8)
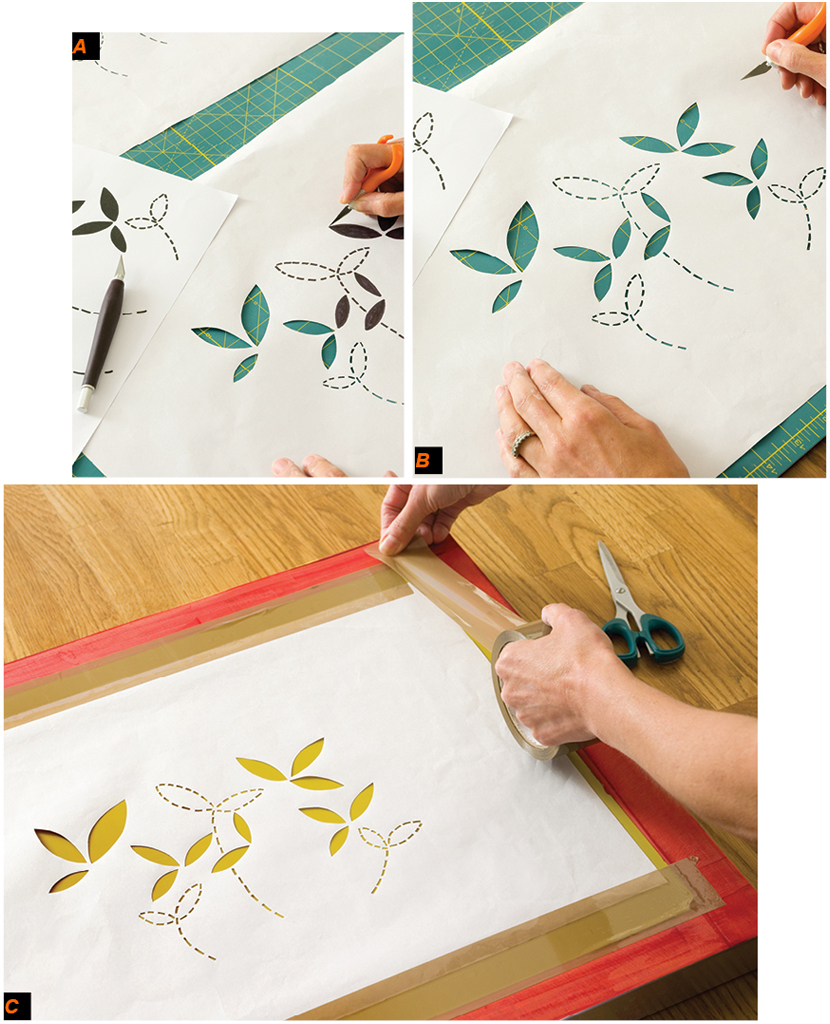
1. Decide on the image you want to screen print. When selecting an image you need to think about the size of the frame that you are using. Leave about 71⁄2cm (3in) of space at the top and bottom of the frame and 5cm (2in) at the sides. This will mean that when you are printing, the ink is pulled clear across the design and doesn’t rest on the open gaps of the mesh between prints. This can cause excess ink to flood through and ruin your print. Once you have checked the size, draw or print your design (A).
2. Resting on a cutting mat to protect your table, carefully cut out your design using a craft knife (B). Remember that what you are cutting out is where the paint will be, and this is the pattern you will see.
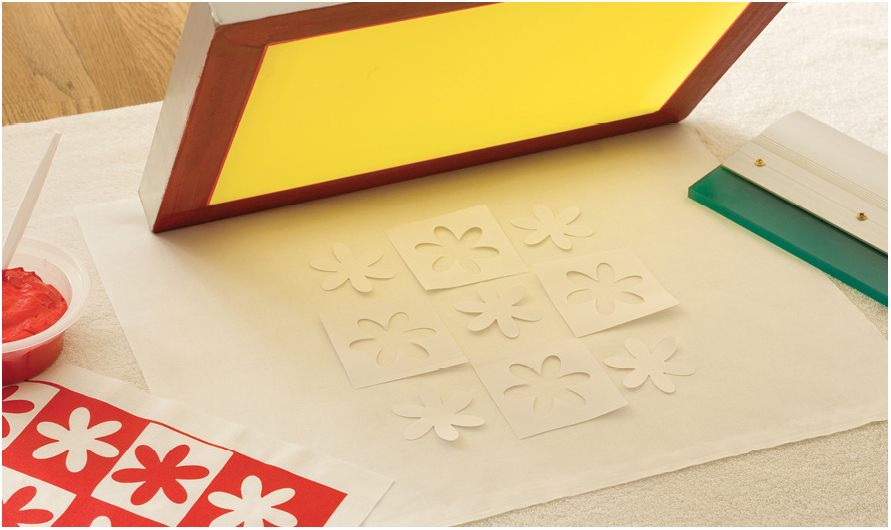
3. When you have finished cutting out your design hold it up to the light, or place it on top of a solid dark surface to check you have cut away all the bits that you need to get a clear print of your design. Once you are happy you can attach it to your screen.
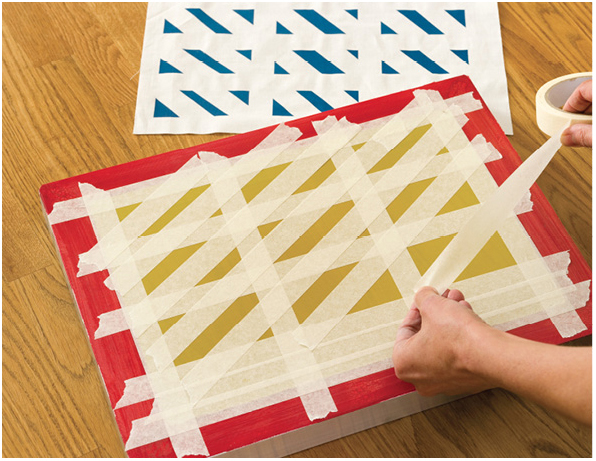
4. Attach the stencil to the underside of the frame (the side where the frame is flush with the mesh) remembering to reverse your image if necessary. Using masking tape, tape the paper on all four sides, making sure it is pulled flat with no creases (C). Check at this point that the image is central to your frame and there is room all around your cut design for the ink to be pulled clear of it.
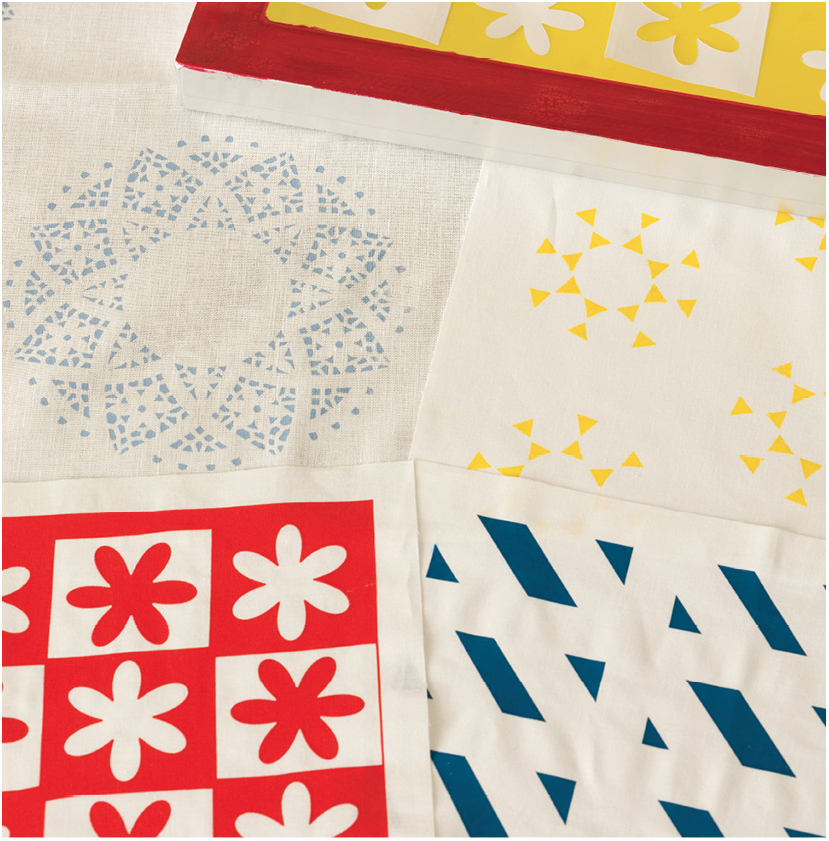
Using a paper stencil to produce an image for screen printing is a very flexible method and can be done in many unique ways. As well as producing a cut out stencil, think of other ways you can block ink onto the mesh to produce a design. Experiment and have fun! The only advice I would give you is to practice on newsprint paper rather than on expensive fabric. If the idea works then go onto printing on your fabric.