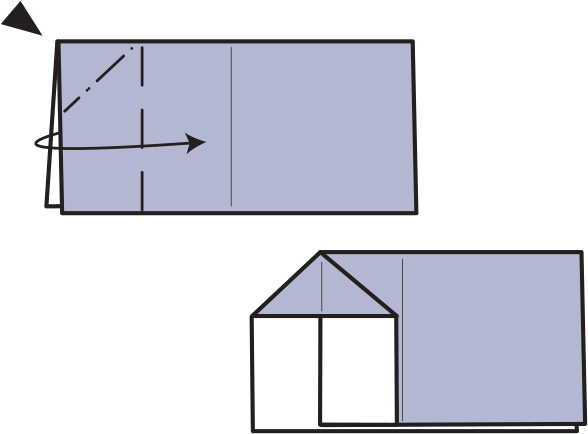
Origami Techniques
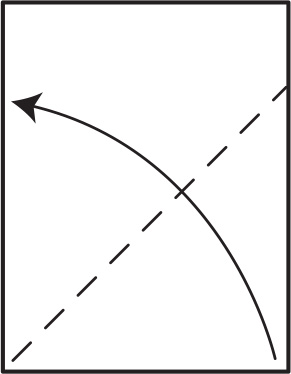
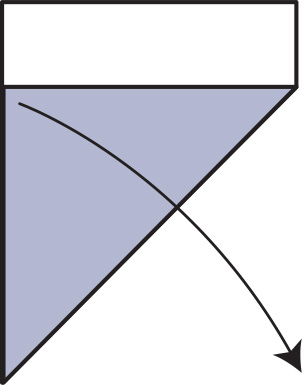
Origami usually requires paper that is perfectly square. When you have used all the sheets in this kit you’ll need to source your own paper. Here is a simple method for creating a square from a rectangle:
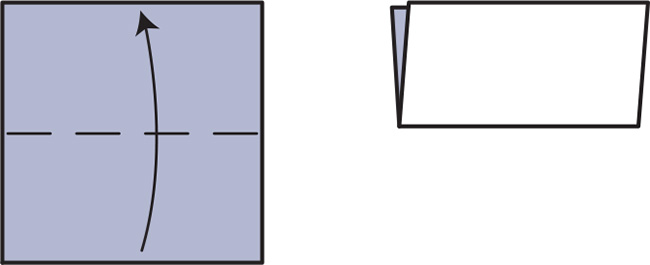
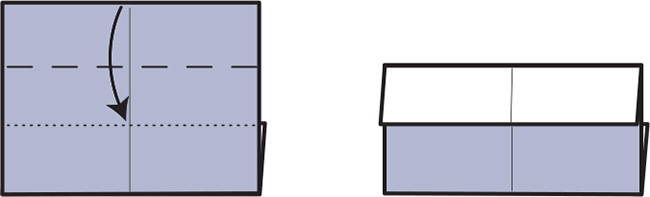
1 Fold a short edge to a long edge.

2 Fold the surplus paper over the edge, crease and unfold.
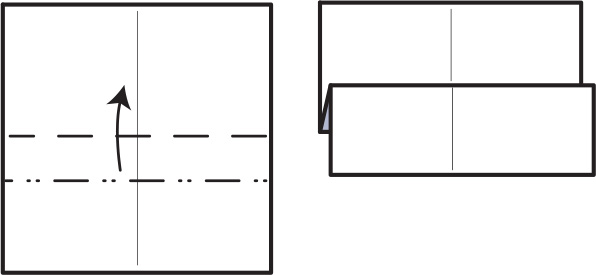
3 Unfold the paper fully.
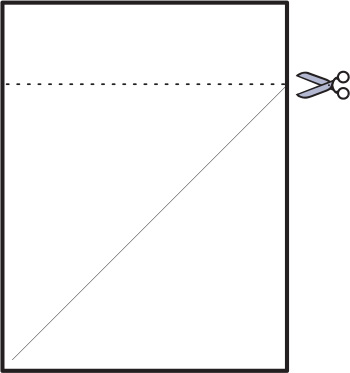
4 Cut off the surplus paper to leave a square.
Basic Folding Techniques
Valley fold—folding the paper in the usual way.
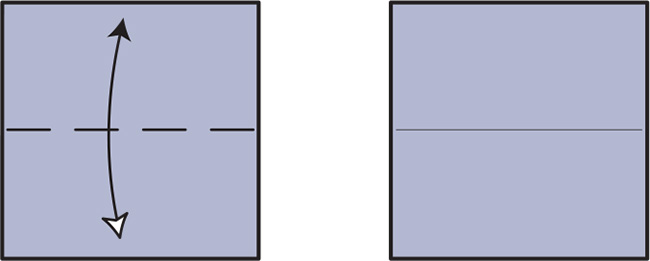
Valley fold and unfold—make a crease, and then unfold it.
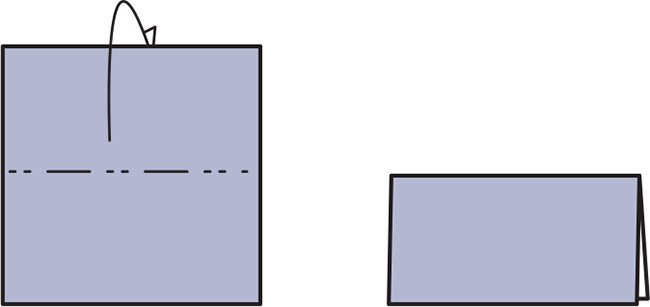
Mountain fold—folding a flap or layer behind. This can usually be made as a valley fold by turning the paper over.
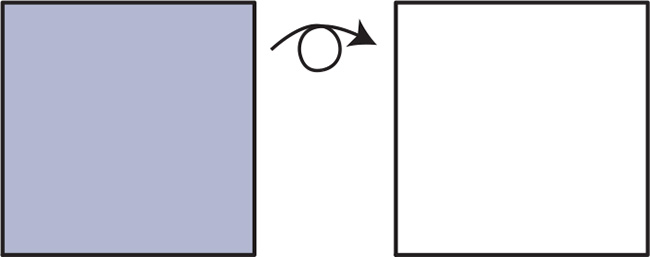
Turn over—lift the paper up and turn it upside down, like flipping a pancake.
Repeat arrow—whatever move you have made is repeated elsewhere on the paper. The arrow may give you specific steps to repeat and/or show how many times to repeat the step.
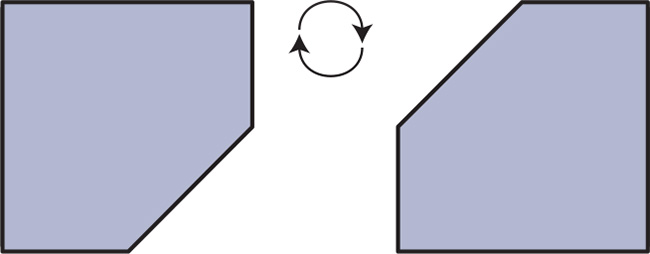
Rotate 180 degrees—turn the paper in the direction of the arrow, so the lowest edge becomes the uppermost edge.

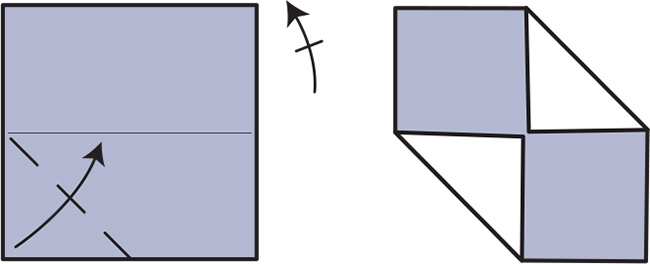
Rotate 90 degrees—turn the paper in the direction indicated by the arrow.
Fold to dotted line—a dotted line shows an imaginary crease or edge as guidance for a fold.
Pleat—this is a combination of valley and mountain folds, which are made at the same time.
Pull out—where flaps of layers are unfolded to a previous position.
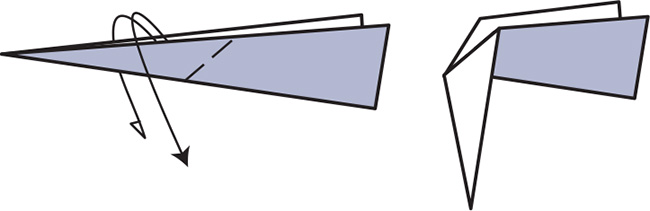
Outside reverse fold—the paper is wrapped around the outside. This fold is usually precreased before forming.
Inside reverse fold—the paper is pushed inside existing layers. This fold is usually precreased before forming.
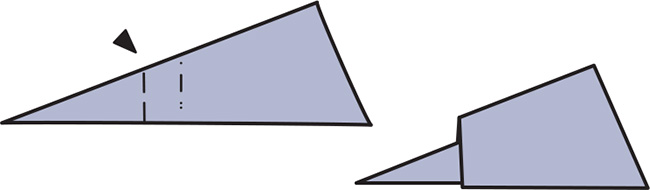
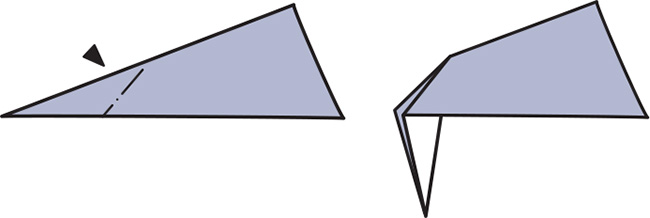
Crimp—a black arrowhead indicates that you will be applying pressure to the paper somewhere. Here the symbol is used with a “crimp fold.”
Fold equal distances—this is usually a general guide, rather than one that requires accuracy.
Squash—a black arrowhead indicates that you will be applying pressure to the paper somewhere. Here the symbol is used with a “squash fold.”