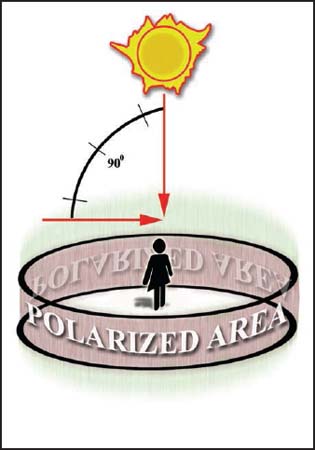
Polarizers typically have a small dot or groove that should be pointed at your light source to strip glare from the image. You must also be at a 90 degree angle from the light source causing the glare to get results. It’s that simple. The best part of using the filter is that you’ll know when it’s working. When you look through your viewfinder, you’ll see an amazing world of color in front of you. Any glare that is present in the scene is stripped immediately.
This is the way the world appeared to the naked eye.

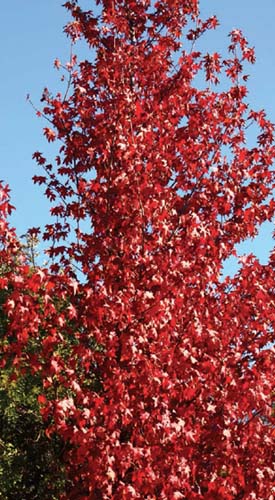
This is how things look when you use a polarizer correctly. Note that we took an aggressive stance with the contrast, saturation, and exposure settings.
If you’re at a 90 degree angle from the light source that’s creating the glare (in this case, the sun), you will be able to strip glare no matter where you point your camera or turn your filter. The illustration is a bit misleading, as most of us don’t live on the equator. Unless you’re on vacation in a South Pacific island, the sun will never be directly above your head. You’ll need to look for the proper angle, and you’ll have to rotate the filter.
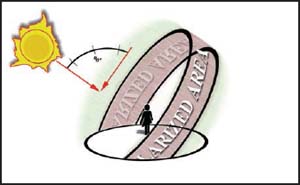
To eliminate glare, point your camera at the polarized light (glare) as it moves around you. As you can see in this illustration, the position will vary depending on the time of day.

A manual approach offers an artist many options, the first of which is exposure. Here, the photographer chose to use an exposure that shows the image just as it appeared to the naked eye.

The white balance, contrast, and saturation settings were all adjusted to taste, giving the photographer a more eye-popping, aggressive image.

Using a polarizer took the image to another level.