Chapter 15: Assembling and Presenting a Slide Show
Reorganize Slides
You can change the order of your slides. For example, you may want to move a slide to appear later in the presentation, or swap the order of two side-by-side slides. PowerPoint makes it easy to change the slide order in Slide Sorter view or by using the Slides tab in Normal view. (To switch to Slide Sorter view, click the View tab and then click the Slide Sorter button. To switch back to Normal view, click the Normal button in the View tab.) You can move individual slides, or move multiple slides at once.
Reorganize Slides
Move Slides in Normal View

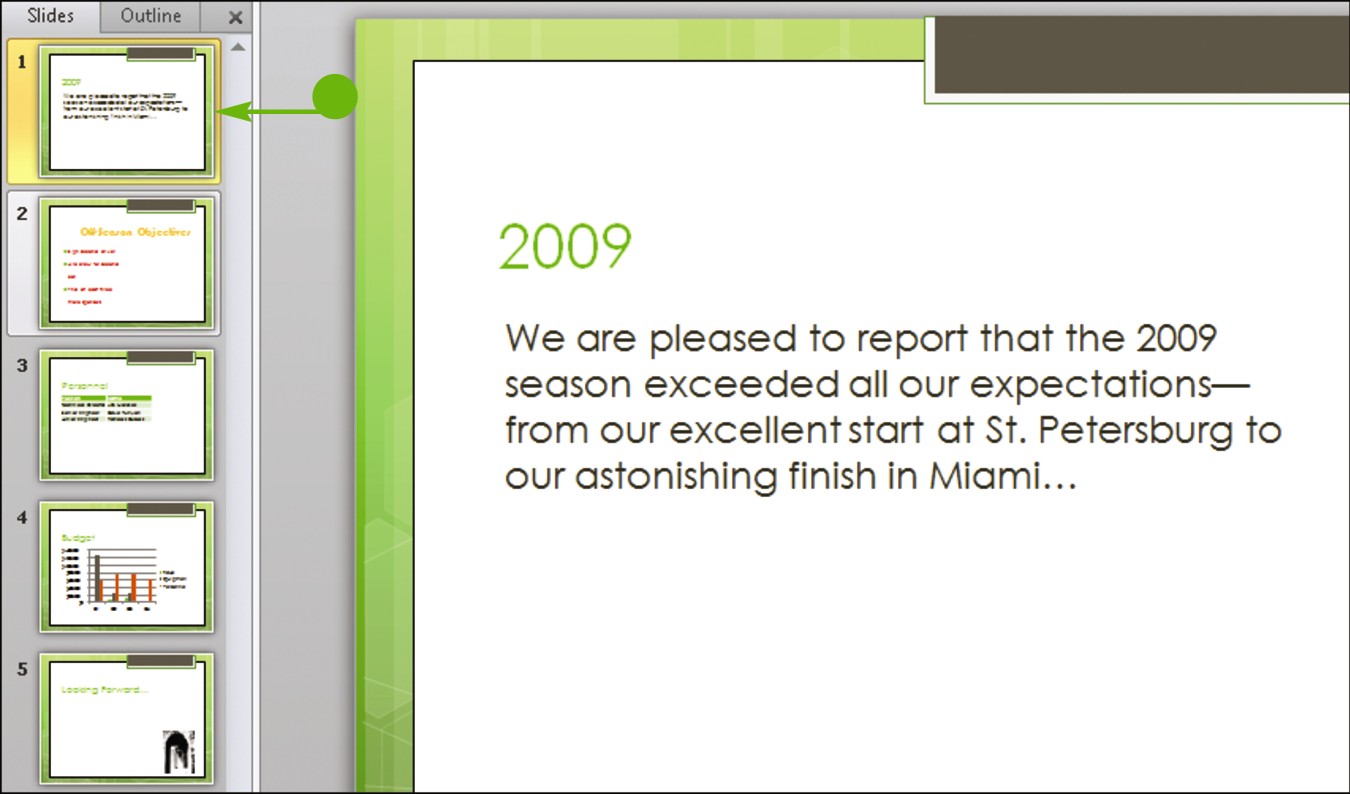
 In Normal view, click the slide that you want to move on the Slides tab.
Note: You can move multiple slides at once. To do so, press and hold  as you click each slide, and then drag the slides to a new location.
 Drag the slide to a new location on the tab.
 Release the mouse button.
• PowerPoint moves the slide.
Move Slides in Slide Sorter View
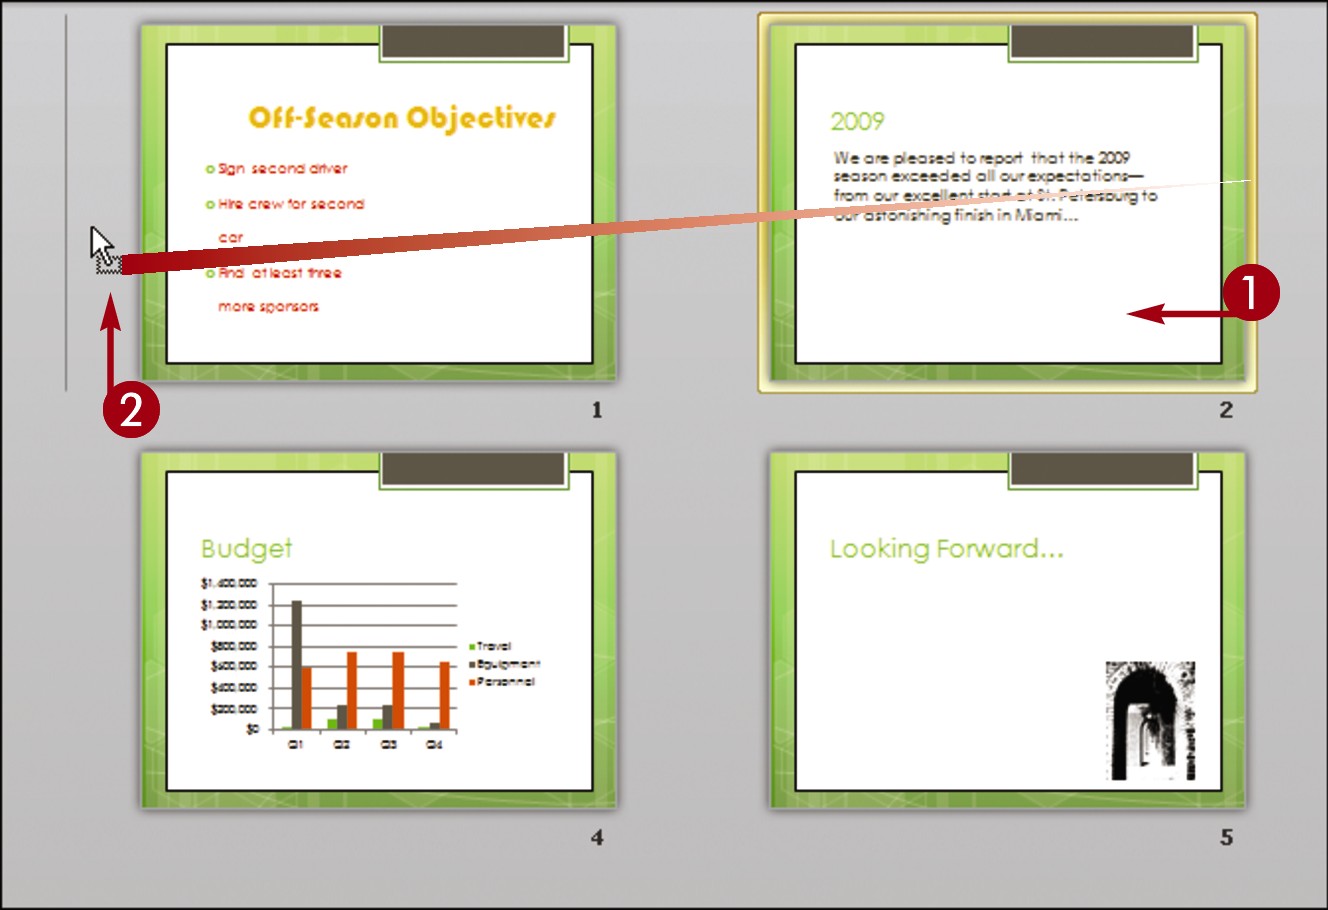
In Slide Sorter view, click the slide that you want to move.
Note: You can move multiple slides at once. To do so, press and hold as you click each slide, and then drag the slides to a new location.
Drag the slide to a new location in the presentation.
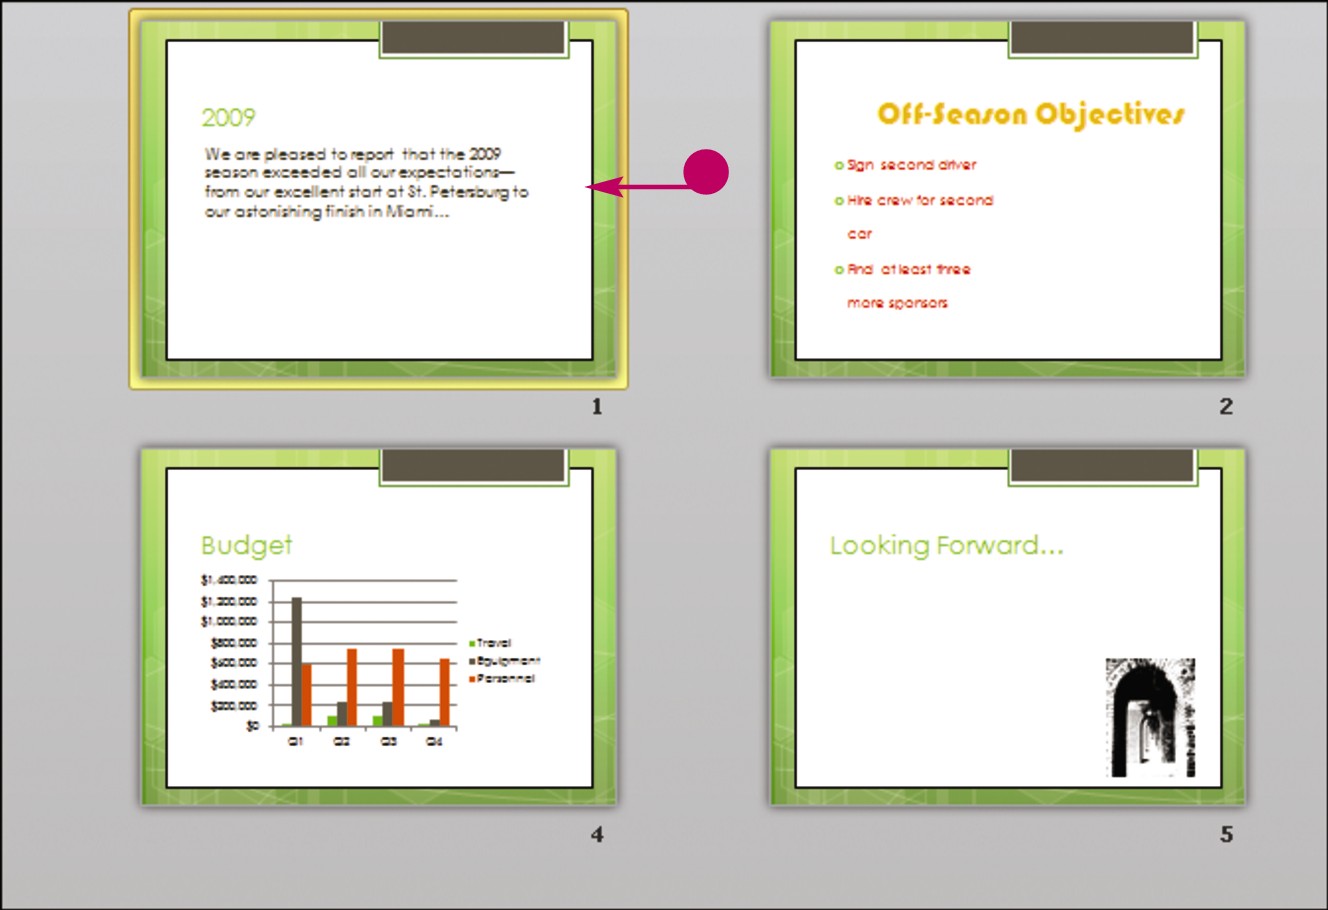
Release the mouse button.
• PowerPoint moves the slide.
Simplify It
How do I hide a slide?
Suppose you frequently give the same presentation, but your next audience does not require the information in one of the presentation slides. In that case, you can hide the slide. To do so, switch to Slide Sorter view, click the Slide Show tab, and then click the Hide Slide button. The Hide Slide icon ( ) appears next to the slide in Slide Sorter view. To unhide the slide, repeat these steps.
How do I delete a slide?
To delete a slide, right-click it in Slide Sorter view or in the Slides tab and choose Delete Slide from the menu that appears.
Reuse a Slide
Suppose you are creating a new PowerPoint presentation, but you want to reuse a slide from an old one. Assuming the presentation containing the slide you want to reuse has been saved on your hard drive or is accessible to you via a network connection, you can easily do so. To choose the slide you want to reuse, you use the Reuse Slides pane.
When you reuse a slide, PowerPoint updates the slide to match the formatting used in the new presentation.
You can reuse a single slide from a presentation, multiple slides from a presentation, or all the slides in a presentation.
Reuse a Slide
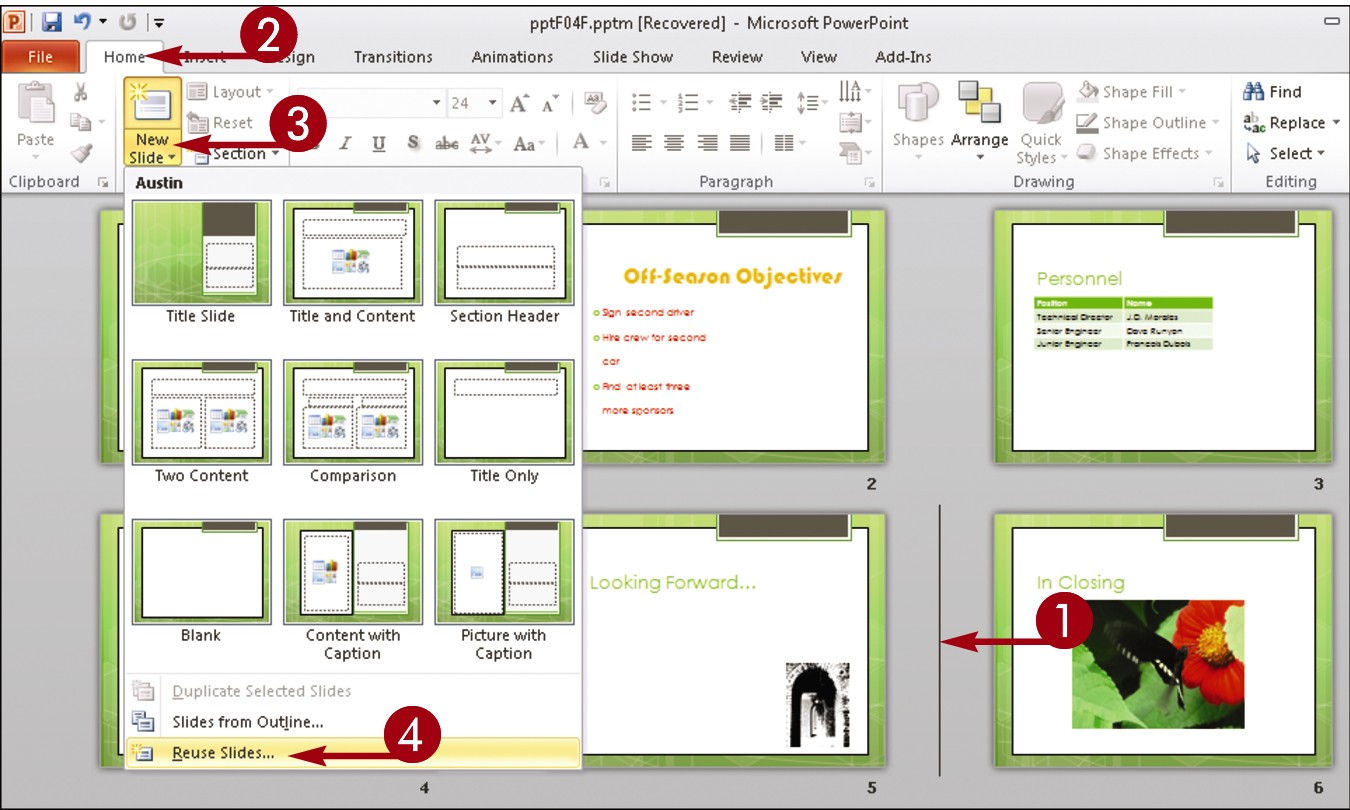
In Slide Sorter view, click where you want the new slide to appear.
Click the Home tab.
Click the bottom half of the New Slide button.
 Click Reuse Slides.
The Reuse Slides pane opens.
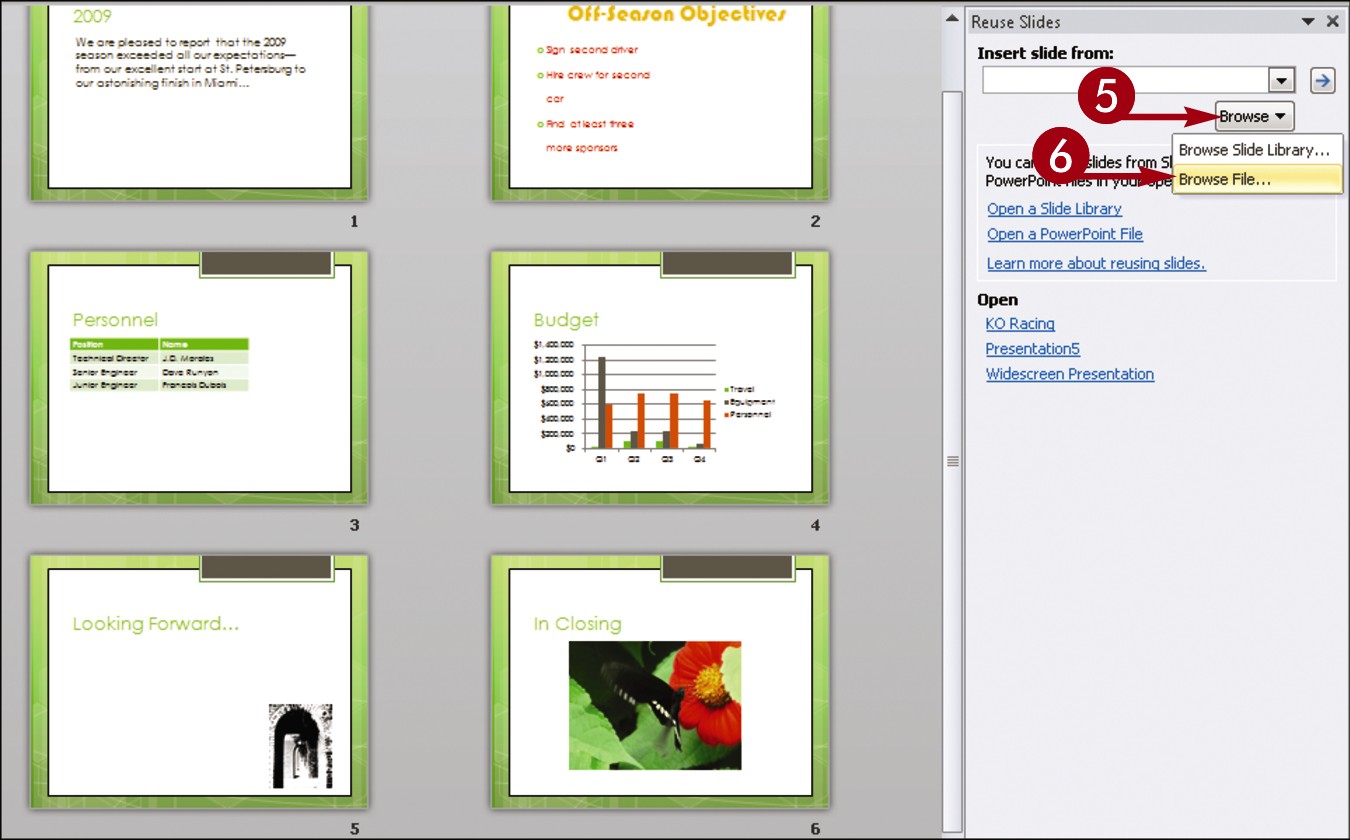
 Click the Browse button.
 Click Browse File.
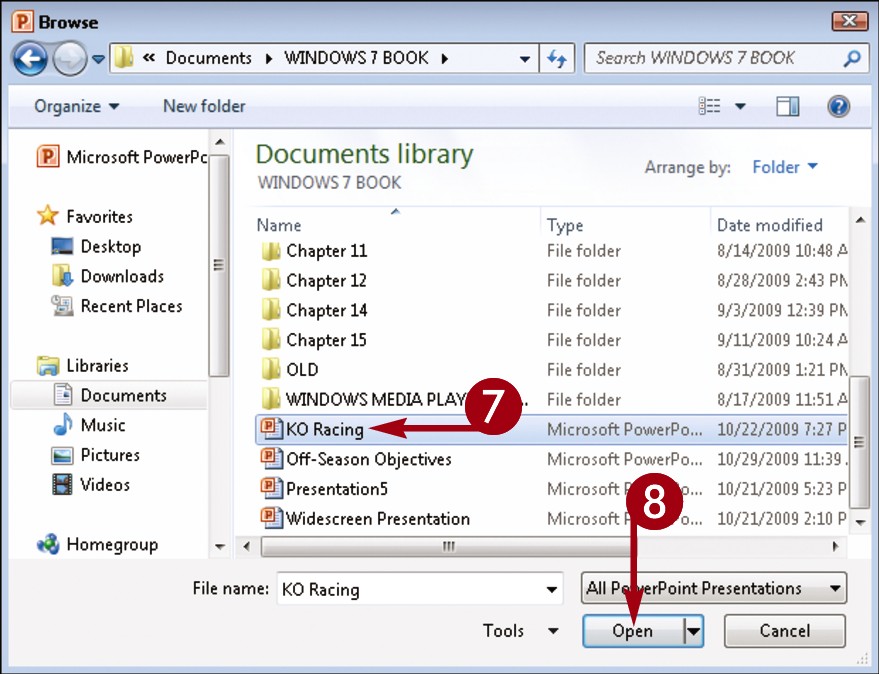
The Browse dialog box opens.
 Locate and select the presentation containing the slide you want to reuse.
 Click Open.
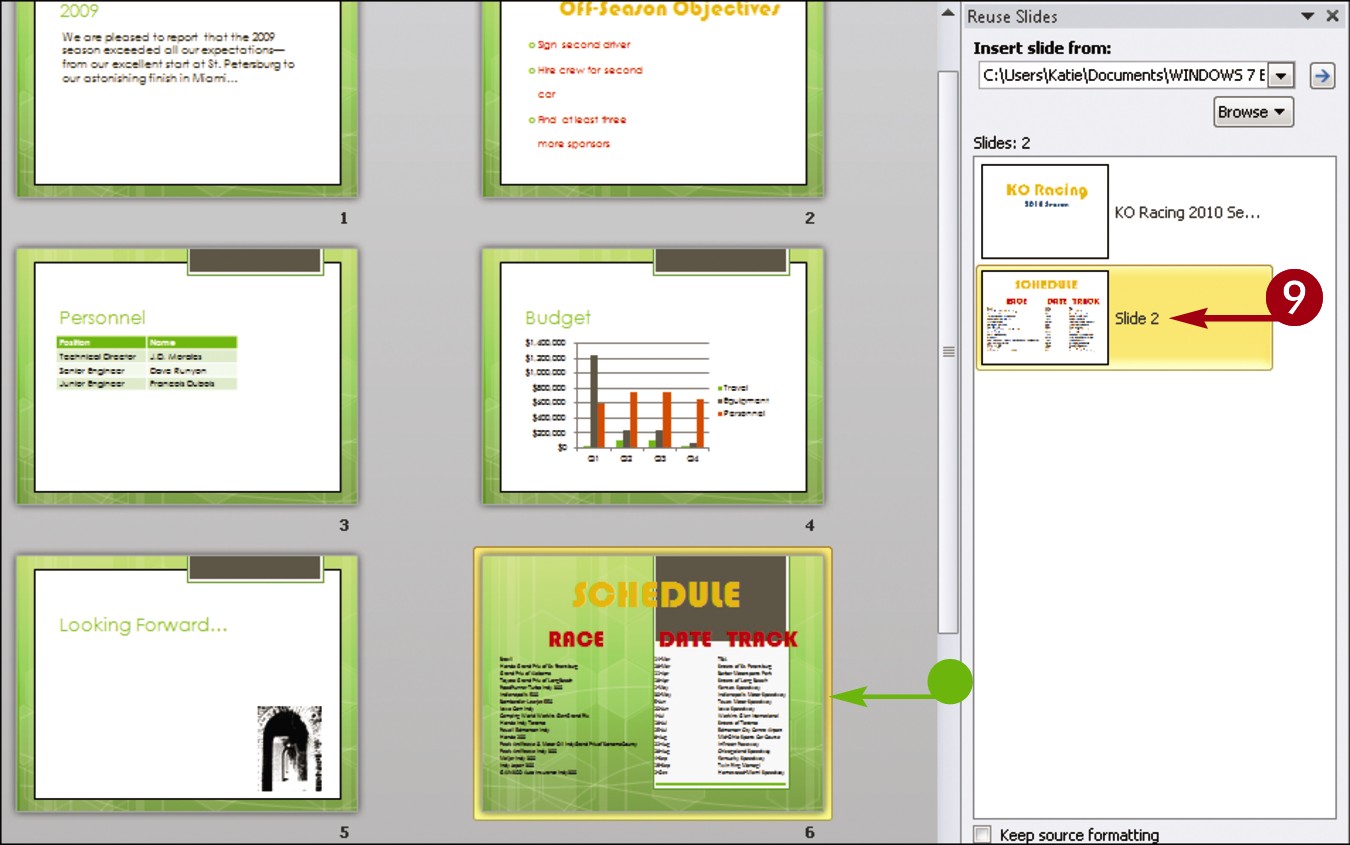
PowerPoint populates the Reuse Slides pane with slides in the presentation you selected.
 Click the slide you want to reuse.
• PowerPoint adds the slide to your presentation.
Define Slide Transitions
You can add transition effects, such as fades, dissolves, and wipes, to your slides to control how one slide segues to the next. You control the speed of the transition to appear fast or slow. You can also specify how PowerPoint advances the slides, either manually or automatically. In addition to adding transition effects between your slides that are visual in nature, you can add sound effects to serve as transitions.
Take note: You must use good judgment when assigning transitions. Using too many different types of transitions may detract from your presentation.
Define Slide Transitions
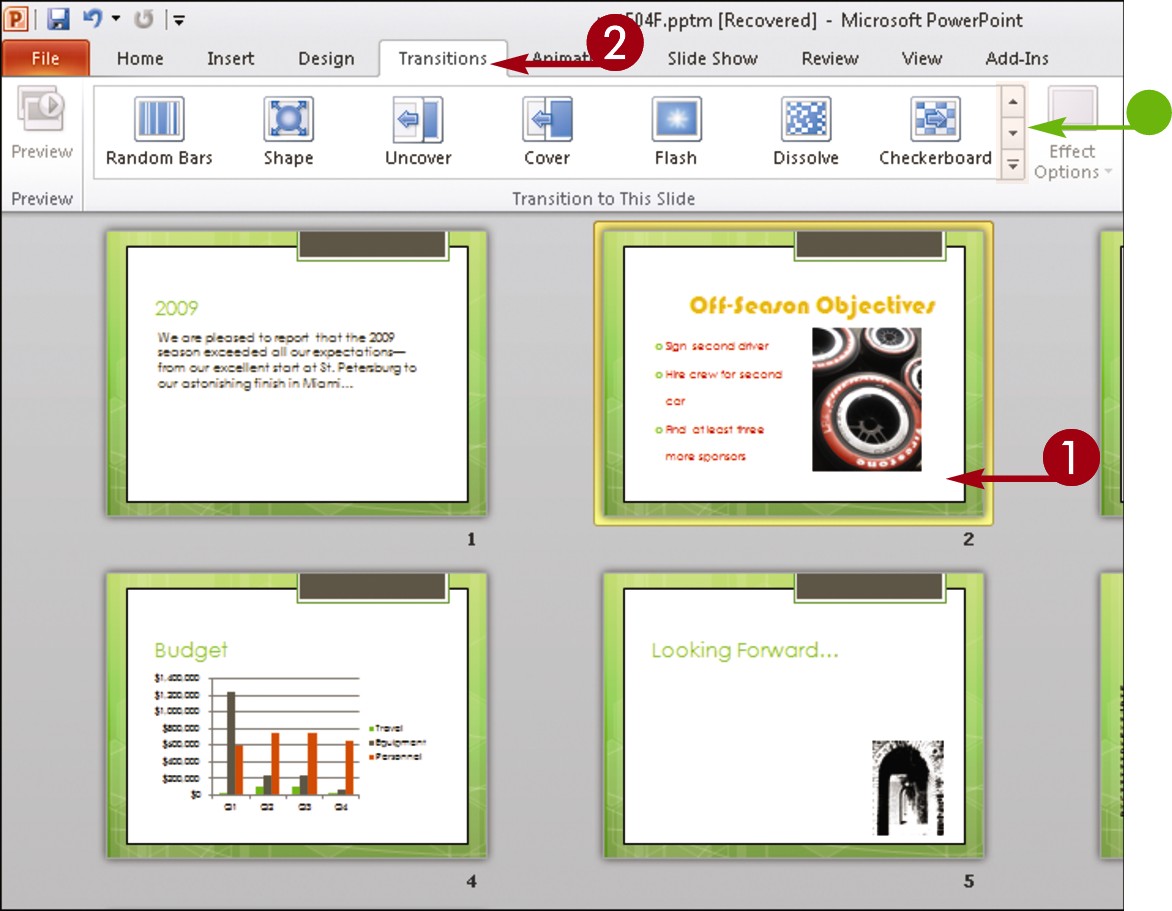
In Slide Sorter view, click the slide to which you want to apply a transition.
Click the Transitions tab on the Ribbon.
• You can scroll through the available transition effects and click the More button ( ) to view all of the transition effects.
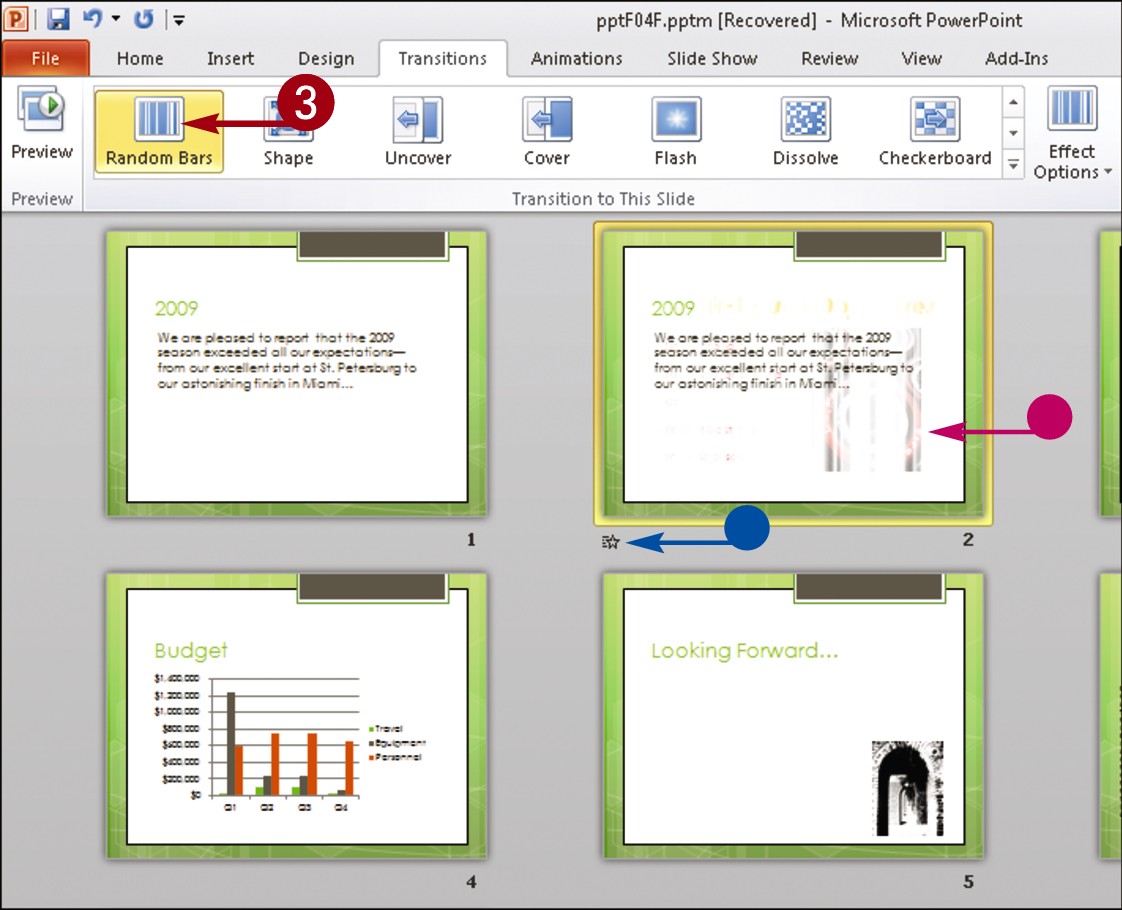
Click a transition.
• PowerPoint displays a preview of the transition effect.
• PowerPoint adds an animation icon ( ) below the slide.
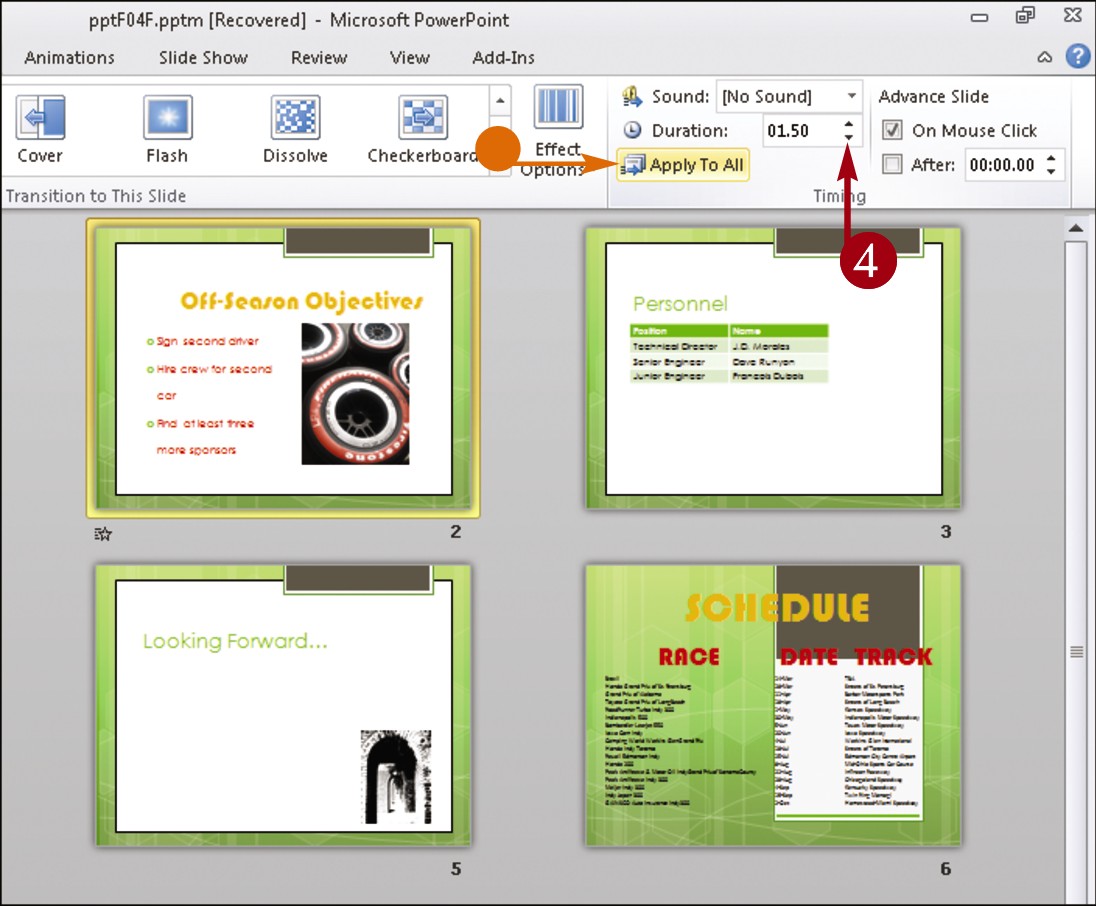
Click the Duration  to specify a speed setting for the transition.
• You can click Apply To All to apply the same transition to the entire slide show.
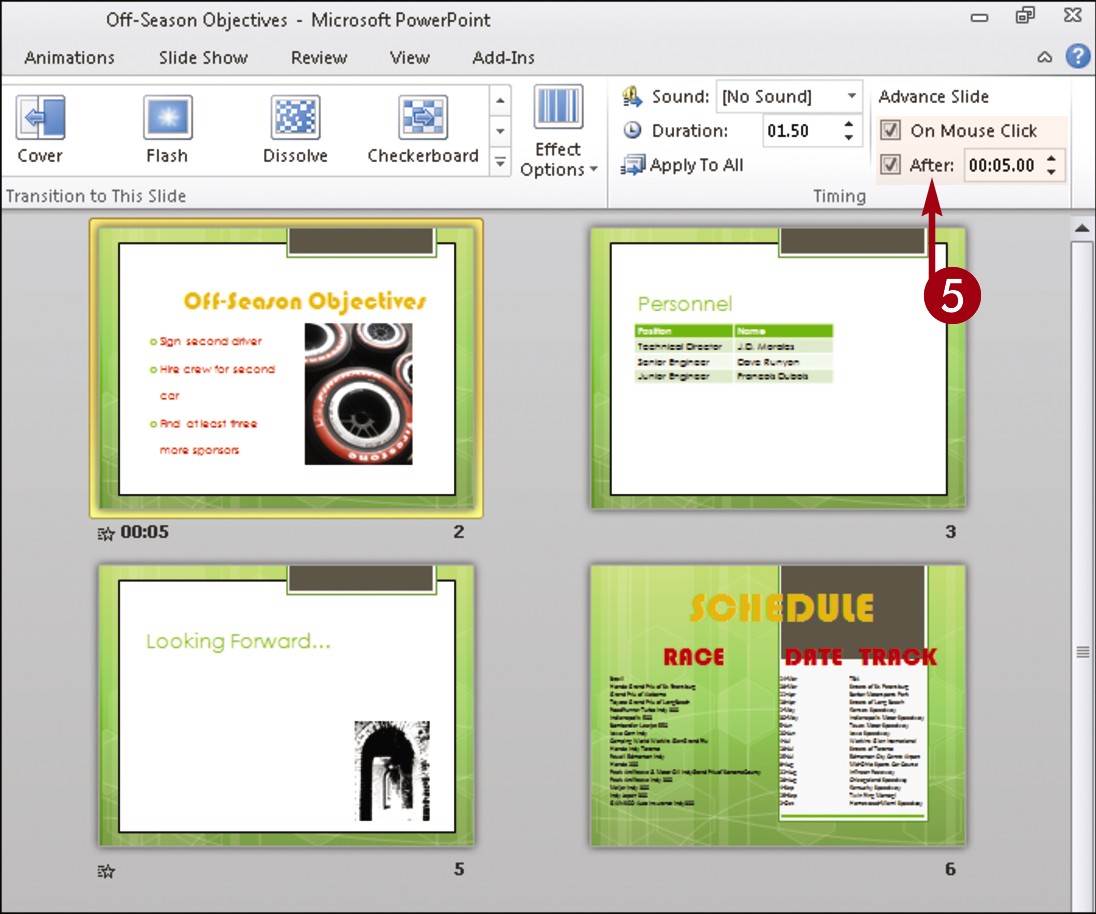
Under Advance Slide, click an advance option.
To use a mouse click to move to the next slide, select the On Mouse Click check box.
To move to the next slide automatically, select the After check box and use the to specify a duration.
Simplify It
How do I remove a transition effect?
In Slide Sorter view, select the slide containing the transition that you want to remove; then click the Transitions tab and click the None option in the Transition to This Slide group. PowerPoint removes the transition that you assigned.
How do I assign a sound as a transition effect?
To assign a sound transition, click the Sound  in the Transitions tab’s Timing group and select a sound. You might assign the Applause sound effect for the first or last slide in a presentation, for example.
Add Animation Effects
You can use PowerPoint’s animation effects to add visual interest to your presentation. For example, if you want your audience to notice a company logo on a slide, you might apply an animation effect to that logo.
There are four types of animation effects: entrance effects, emphasis effects, exit effects, and motion paths. You can add any of these effects to any slide element, such as a text box or a picture. You can also edit your animations.
Take note: You must use good judgment when adding animation effects. To avoid overwhelming your audience, limit animations to slides in which the effects will make the most impact.
Add Animation Effects
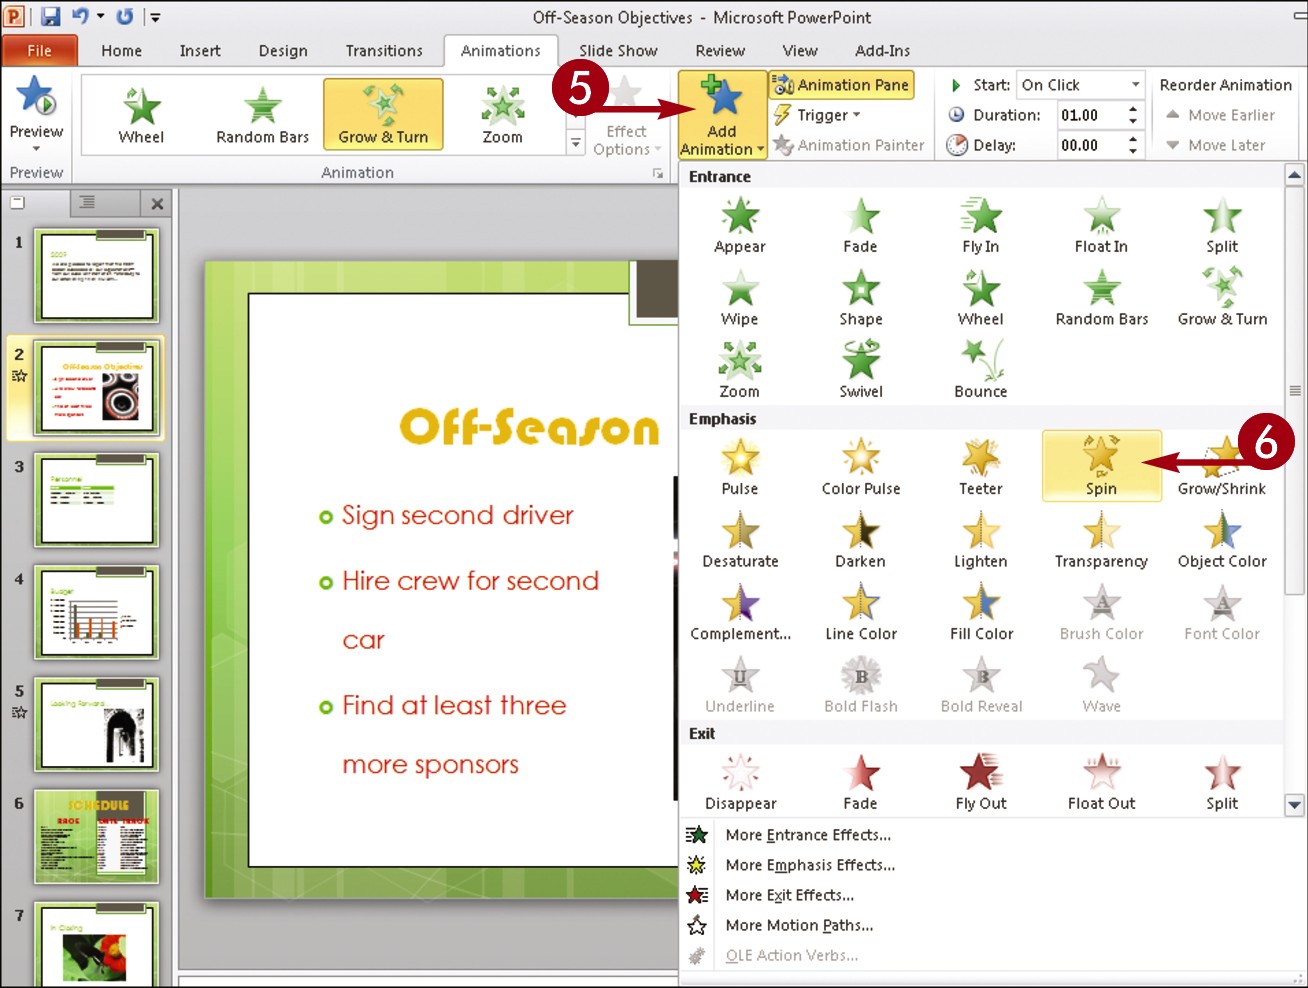
Add a Simple Animation Effect
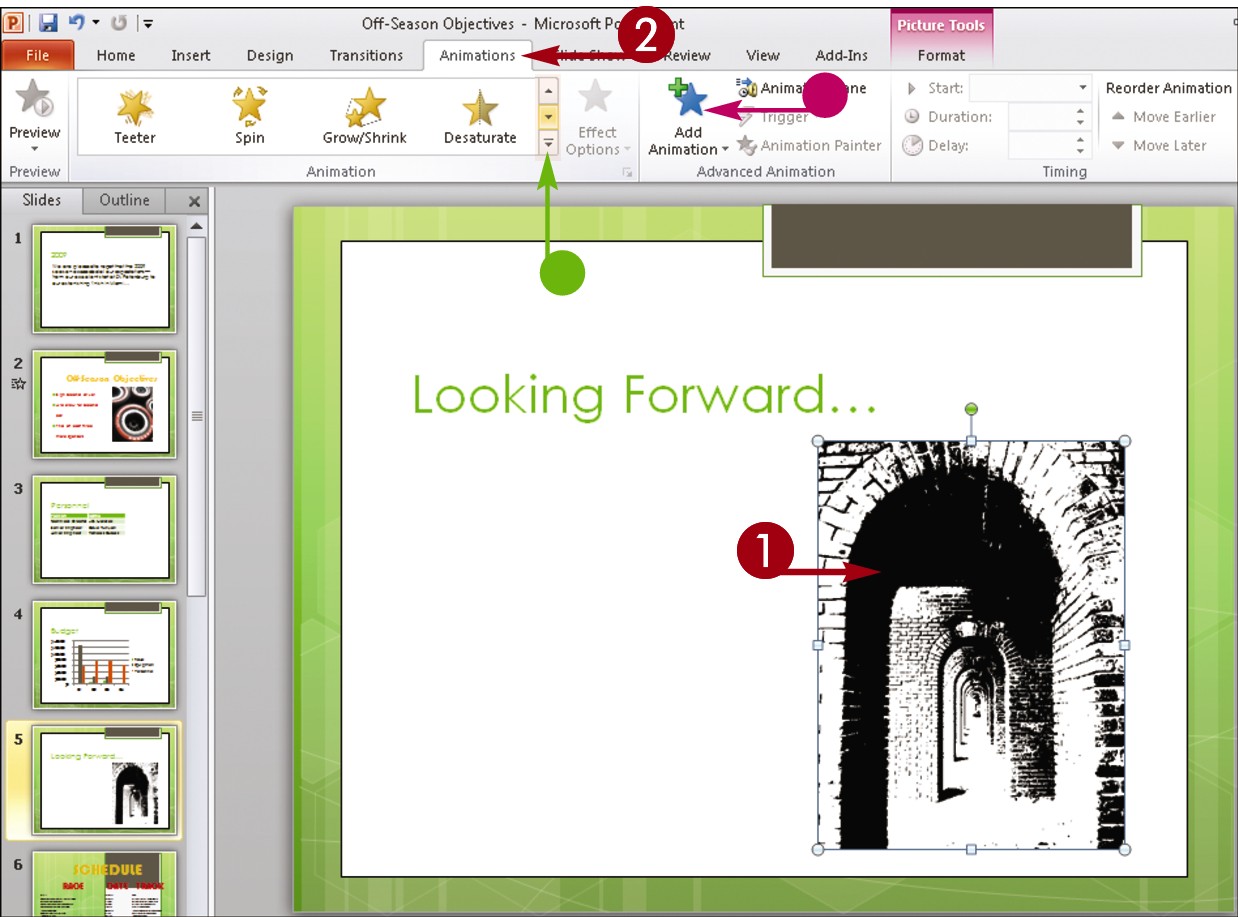
In Normal view, click the slide object to which you want to apply an animation.
Click the Animations tab.
• You can scroll through the available animation effects and click the More button () to view all of the animation effects.
• You can also click the Add Animation button and choose More Entrance Effects, More Emphasis Effects, More Exit Effects, or More Motion Paths from the menu that appears.

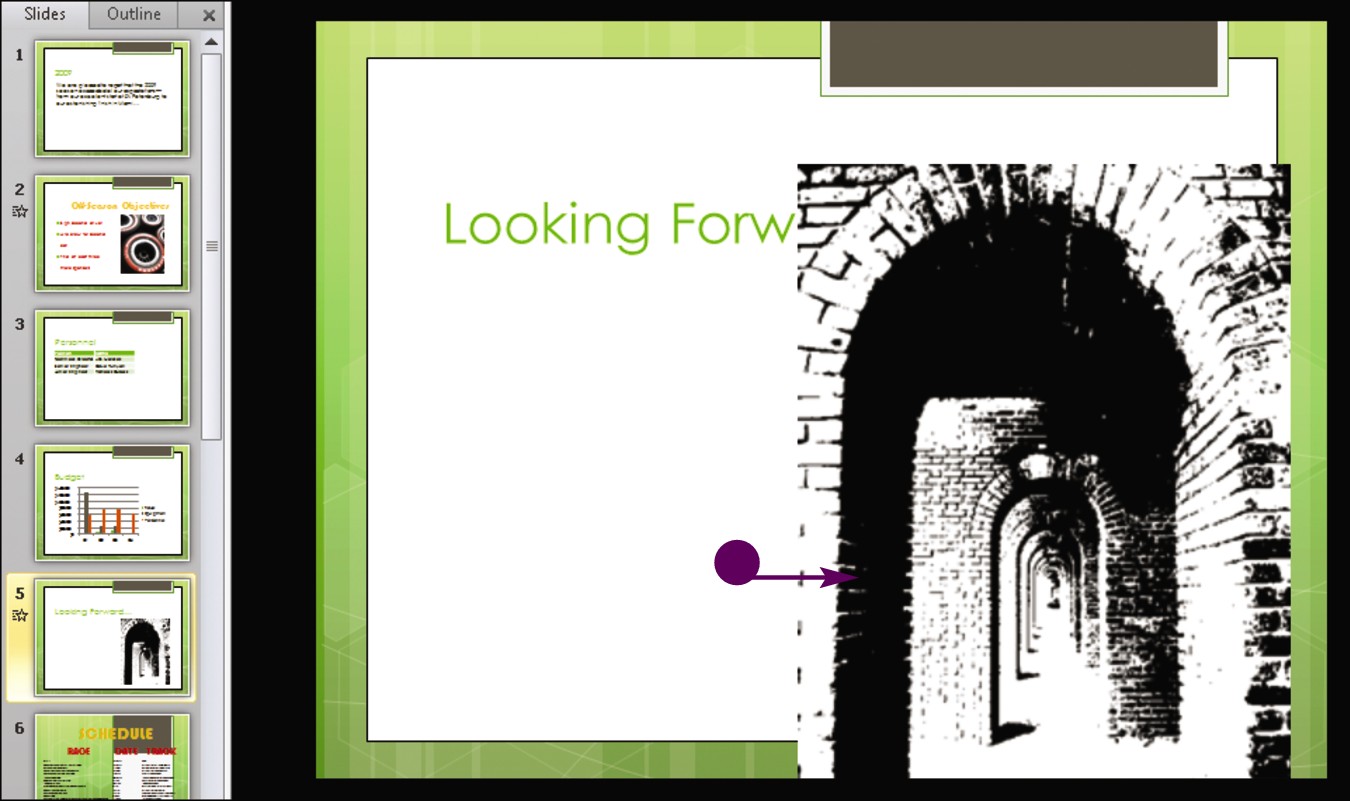
Click an animation effect.
• PowerPoint applies the effect and previews the effect on the slide.
• You can click the Preview button to preview the effect again.
Edit an Animation
In Normal view, click the slide element containing the animation you want to edit.
Click the Animations tab on the Ribbon.
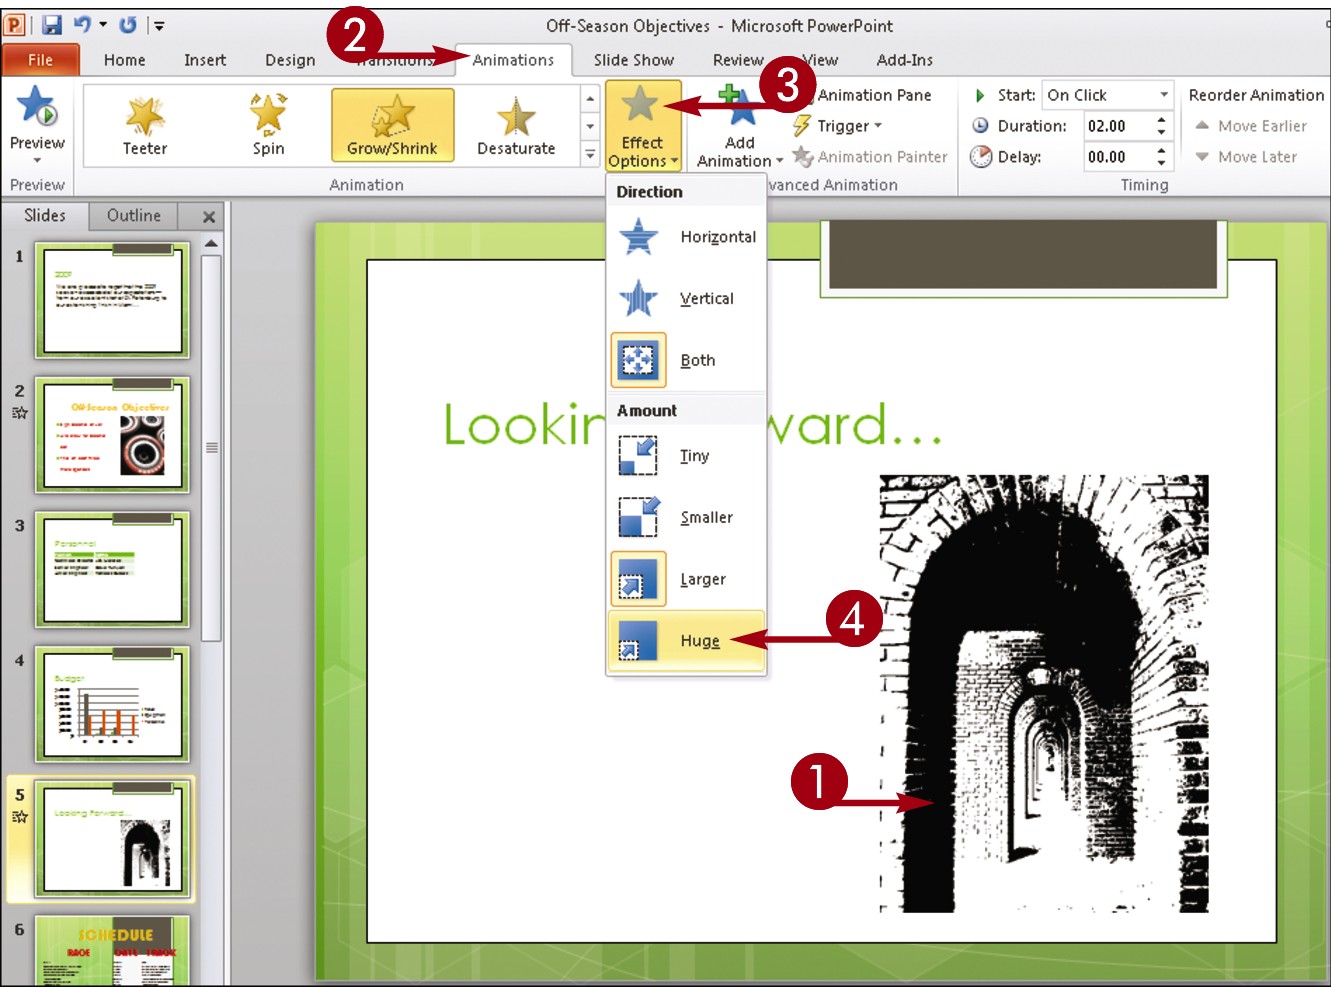
Click the Effect Options button.
A list of editing options for the animation appears.
Select an option from the list.
• PowerPoint applies the change and previews the effect on the slide.
Create a Custom Animation
In addition to applying one of PowerPoint’s predesigned animation effects to a slide object, such as a text box, picture, chart, or table, you can use these effects as building blocks to create your own custom effects. That is, you build a custom animation by applying two or more of these predesigned “building block” animations to a PowerPoint object. (Note that when you apply multiple animation effects to a slide object, you must use the Add Animation button instead of choosing an effect from the Animation group. Otherwise, the new effect overwrites the existing one.)
Create a Custom Animation
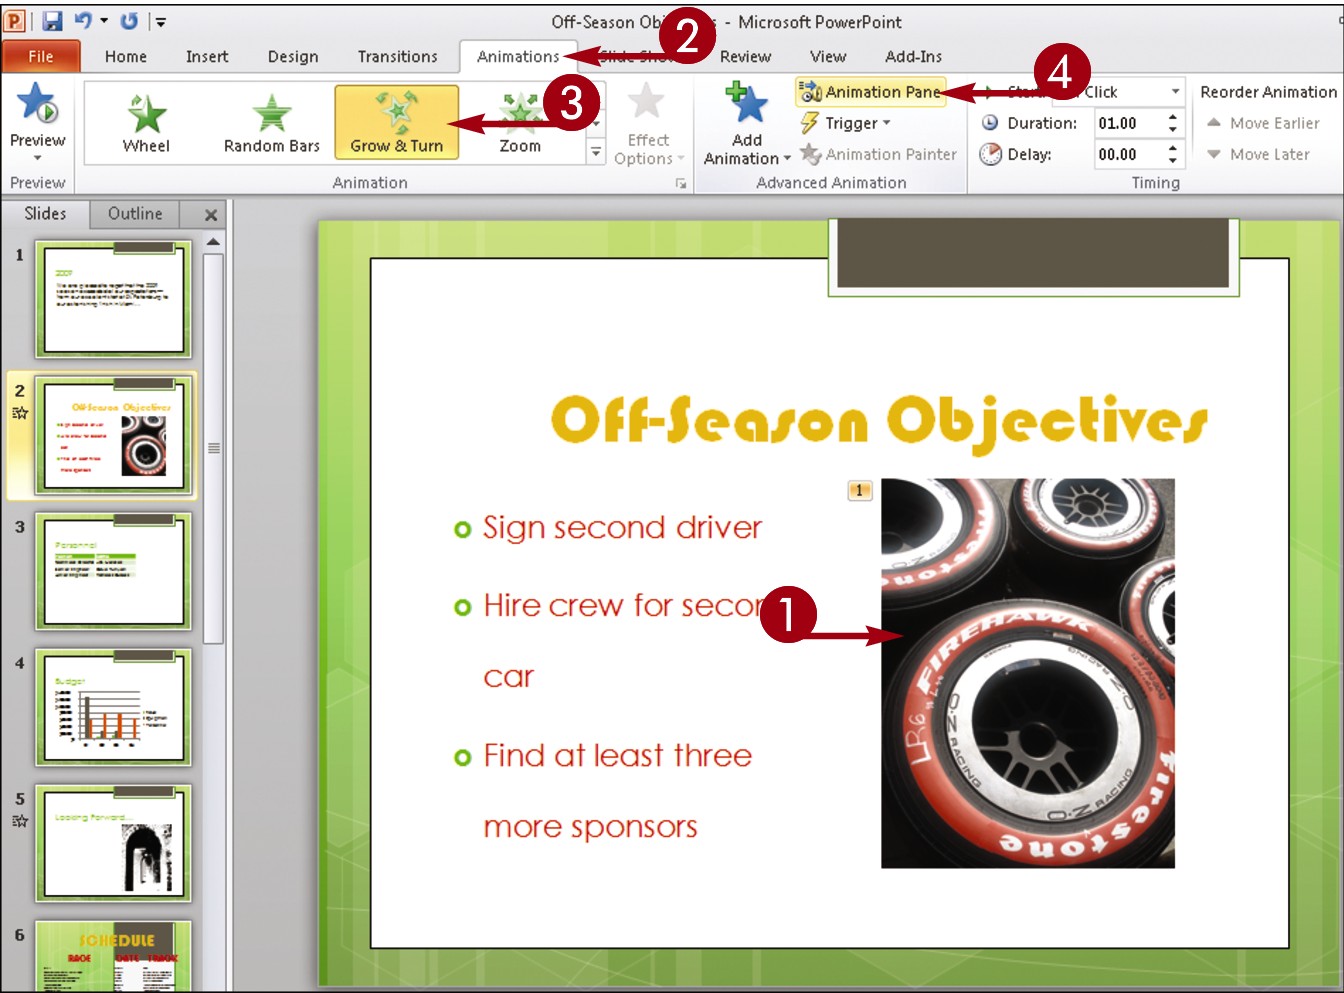
In Normal view, click the slide element to which you want to apply an animation.
Click the Animations tab.
Apply an animation effect. (This effect is the first “building block” of your custom animation.)
PowerPoint applies the animation effect.
Click the Animation Pane button in the Advanced Animation group.
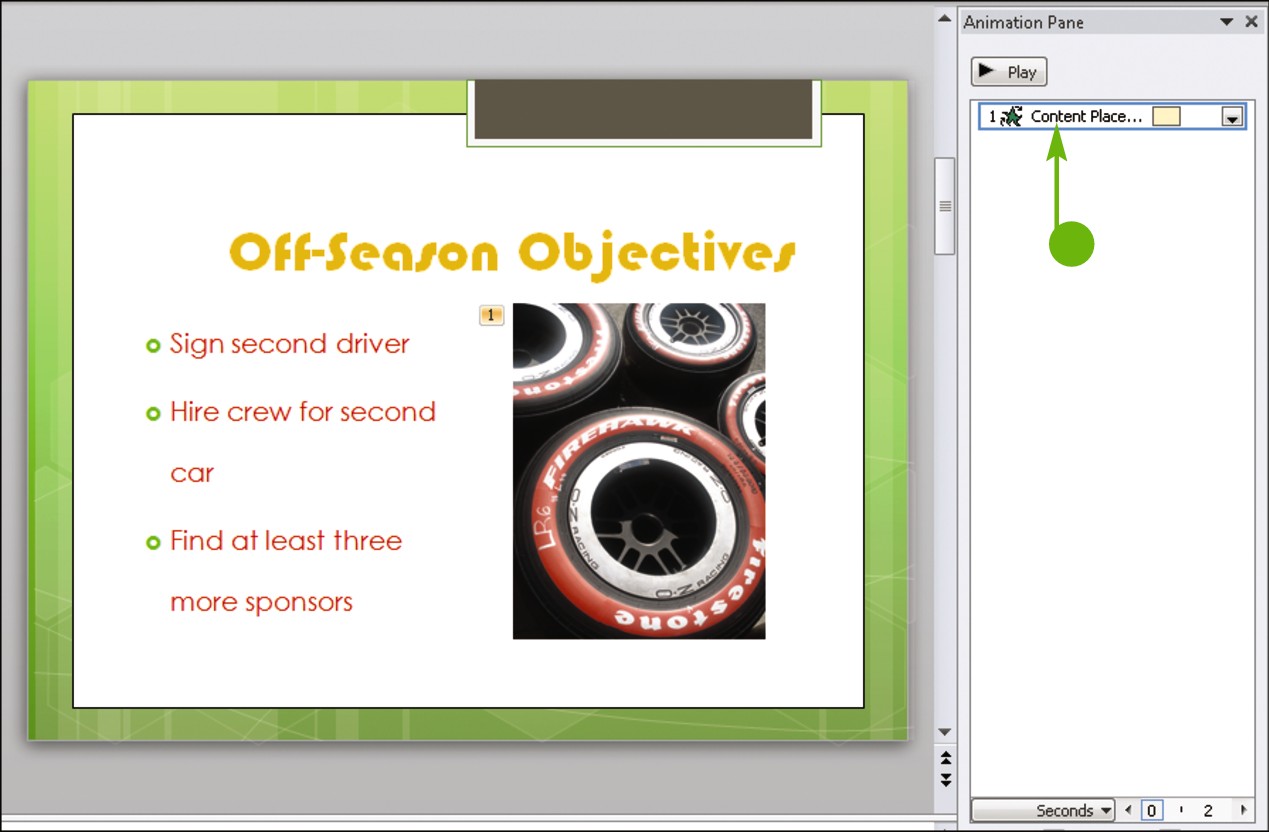
PowerPoint displays the Animation pane.
• The animation you applied appears in the pane.
To add your next building block, click the Add Animation button in the Advanced Animation group.
Click an effect.
PowerPoint adds the effect to the Animation pane.
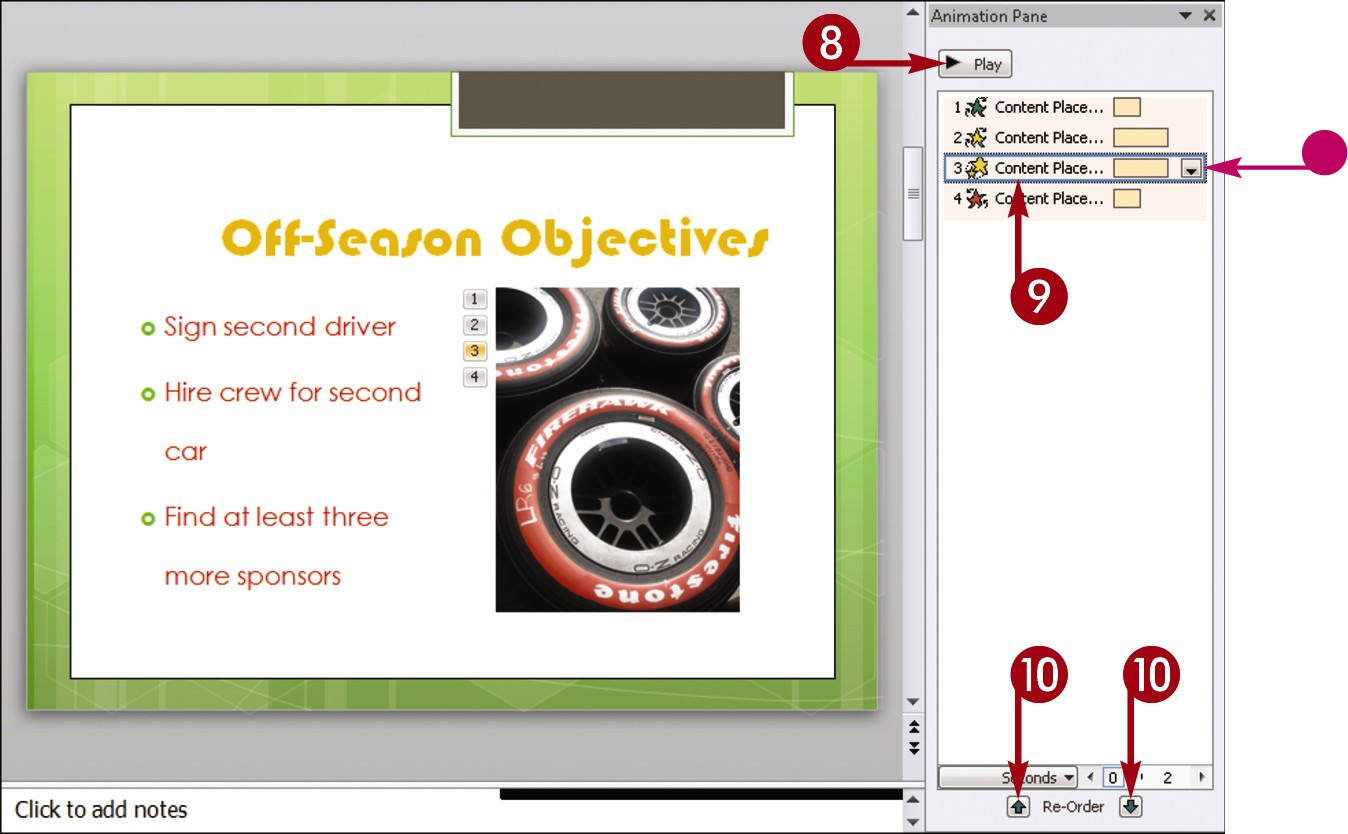
Repeat Steps 5 and 6 to add more building blocks.
• PowerPoint places each effect in the Animation pane, in the order you added them.
To preview your custom effect, click Play.
PowerPoint plays back your custom animation.
To change the order in which effects are played back, click an effect.
 Click the Re-Order buttons (
 or
or  ) to move the selected effect up or down in the list.
Simplify It
How do I remove an animation?
Select the slide element containing the effect, click the Animations tab, and click No Animation. If the animation is a custom animation, click the Animation Pane button. Then, in the Animation pane, click the effect that you want to remove, click the that appears, and click Remove.
Can I change the duration of an effect?
Yes. Select the slide element containing the effect, click the Animation Pane button, click the effect whose duration you want to change, click the that appears, choose Timing, and use the settings in the dialog box that opens to achieve the desired effect.
Record Narration
Many presentations benefit from narration. One way to provide narration is to simply speak during your presentation. Alternatively, you can use PowerPoint’s Record Narration feature to record a narration track to go along with the show (assuming, of course, that your computer has a microphone). That way, you need not be present for your audience to receive the full impact of your presentation. PowerPoint saves the recorded narration along with the presentation file. When you finish recording, an audio icon appears at the bottom of each slide for which you have recorded narration.
Record Narration
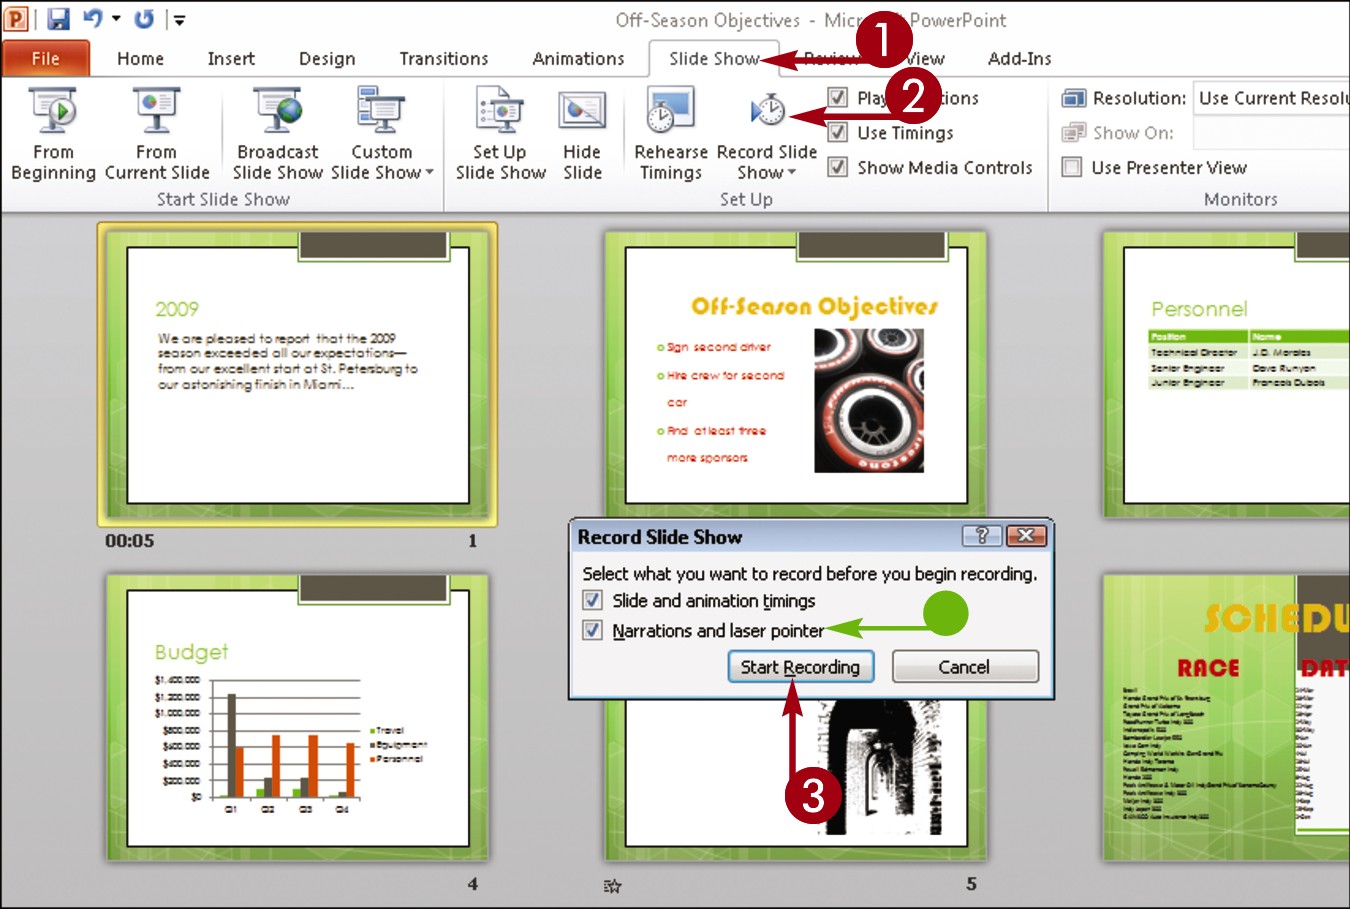
Click the Slide Show tab on the Ribbon.
Click Record Slide Show.
The Record Slide Show dialog box appears.
• Make sure the Narrations and laser pointer check box is selected.
Click Start Recording.
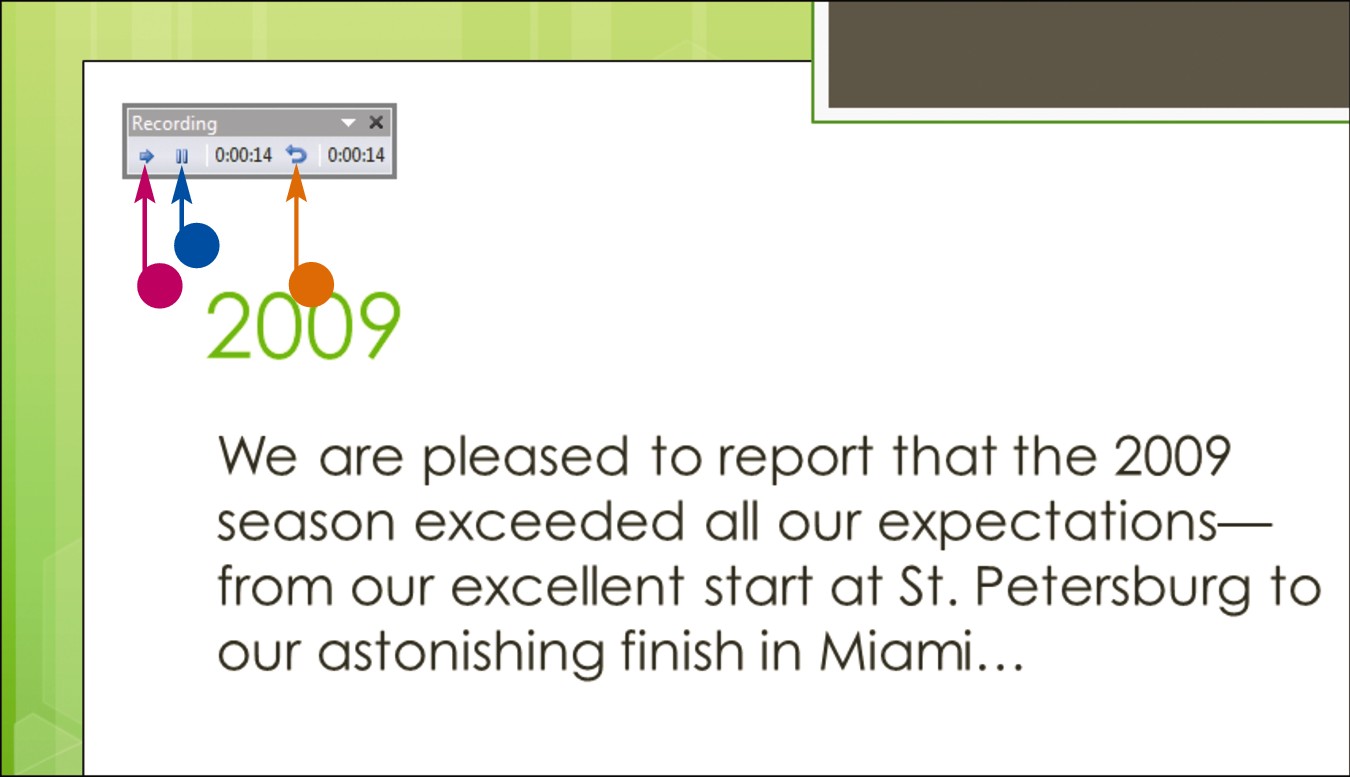
PowerPoint starts the show, and you can begin talking into the computer’s microphone to record your narration.
• Click  to move to the next slide in the show.
• Click  to pause the recording.
• Click  to start over on the current slide.
Set Up a Slide Show
You can set up how you want your presentation to run. For example, you can specify whether it should loop continuously, be played back in full, be shown without narration or animations, and more. If the presentation will be presented by a speaker (rather than, for example, run at a kiosk), you can choose a pen color and a laser pointer color; the speaker can then use his or her mouse pointer to draw on or point to slides. To set up your slide show, you use the Set Up Show dialog box.
Set Up a Slide Show
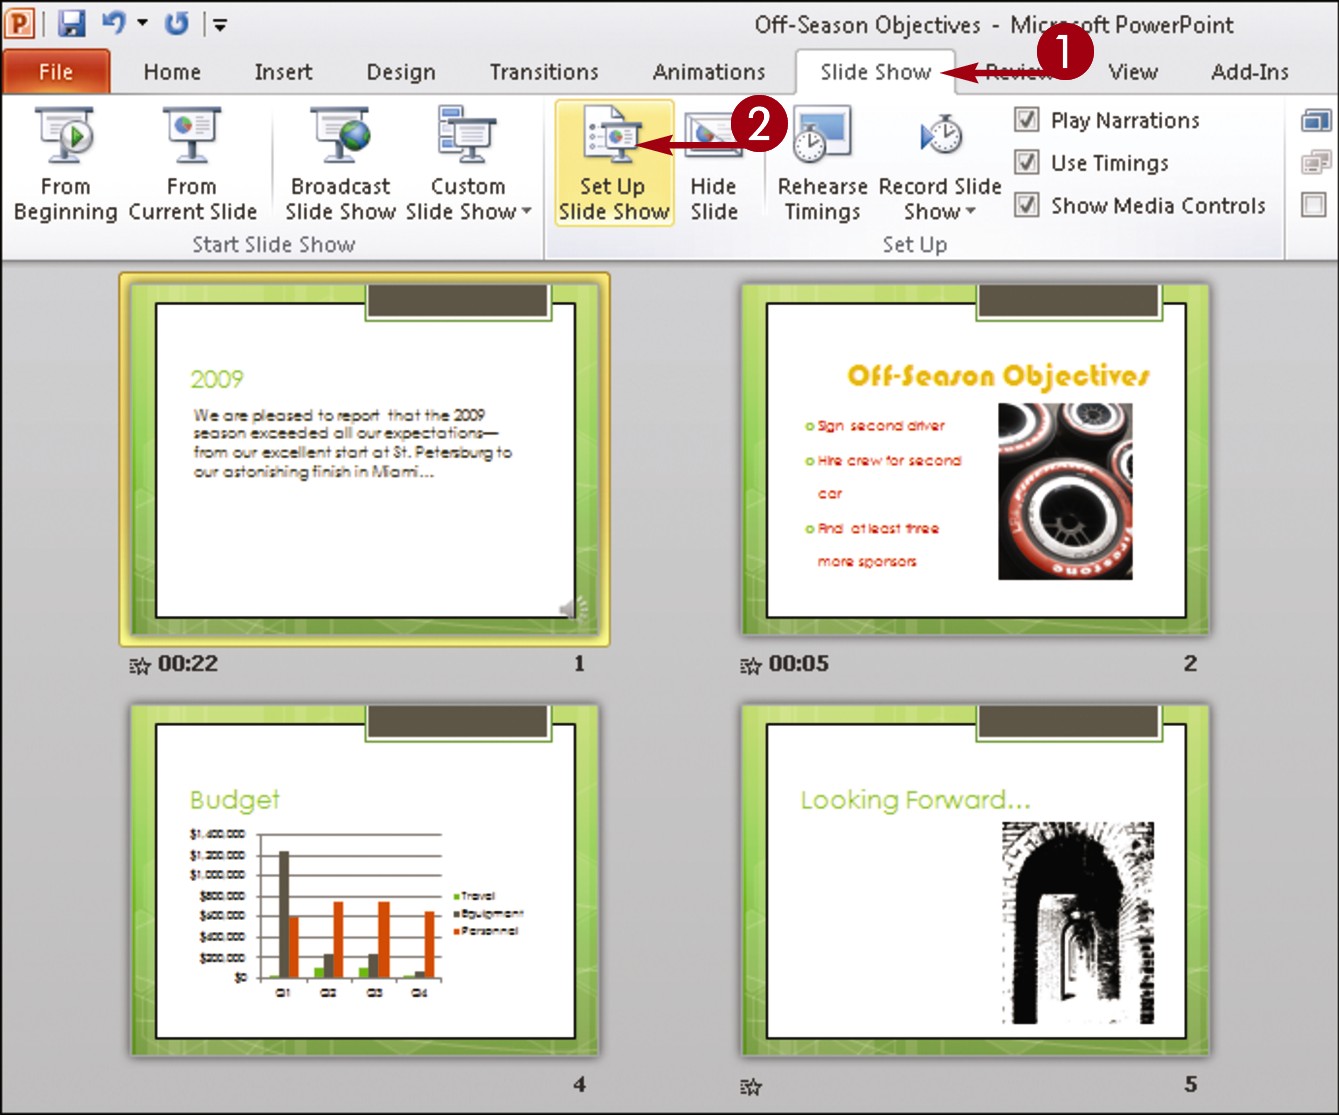
Click the Slide Show tab on the Ribbon.
Click Set Up Slide Show.
The Set Up Show dialog box appears.
Set any options that you want to assign to the show.
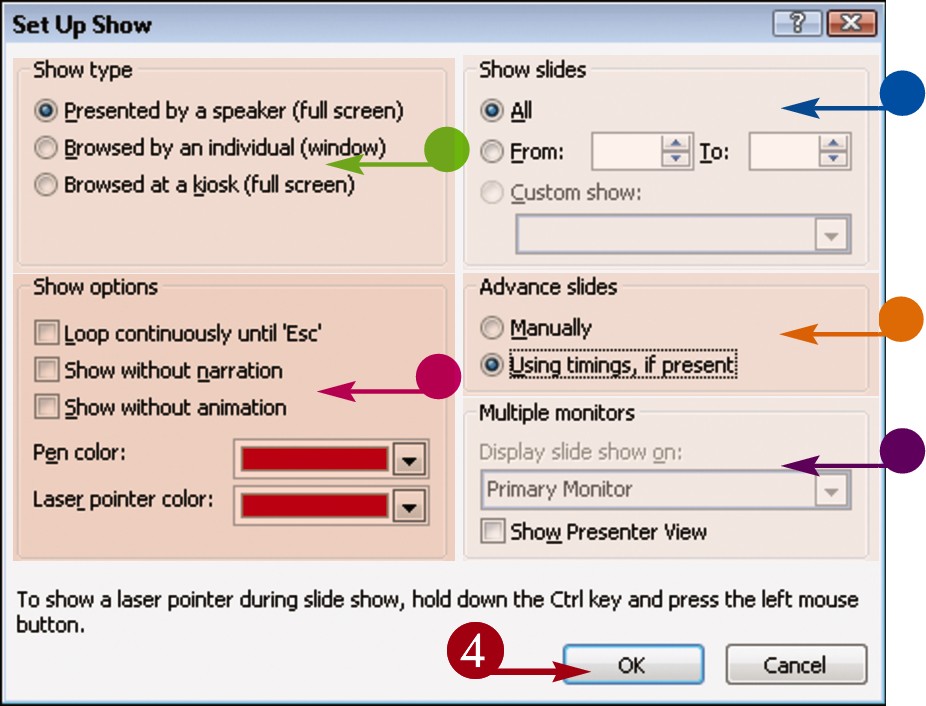
• The Show Type settings specify how the slide show is presented.
• The Show Options settings control looping, narration, and animation.
• The Show Slides settings specify what slides appear in the show.
• The Advance Slides settings specify how each slide advances.
• If your system has multiple monitors, you can use the Multiple Monitors settings to specify what monitor to use for your presentation.
Click OK.
PowerPoint assigns the new settings.
Create Speaker Notes
You can create speaker notes for your presentation. Speaker notes, also called notes pages, are notations that you add to a slide and that you can print out and use to help you give a presentation. (Be aware that in order to print out your notes, you must change the PowerPoint print settings. For guidance, see the tip at the end of this section.) You can also use speaker notes as handouts for your presentation. When creating notes pages, PowerPoint includes any note text that you add, as well as a small picture of the actual slide.
Create Speaker Notes
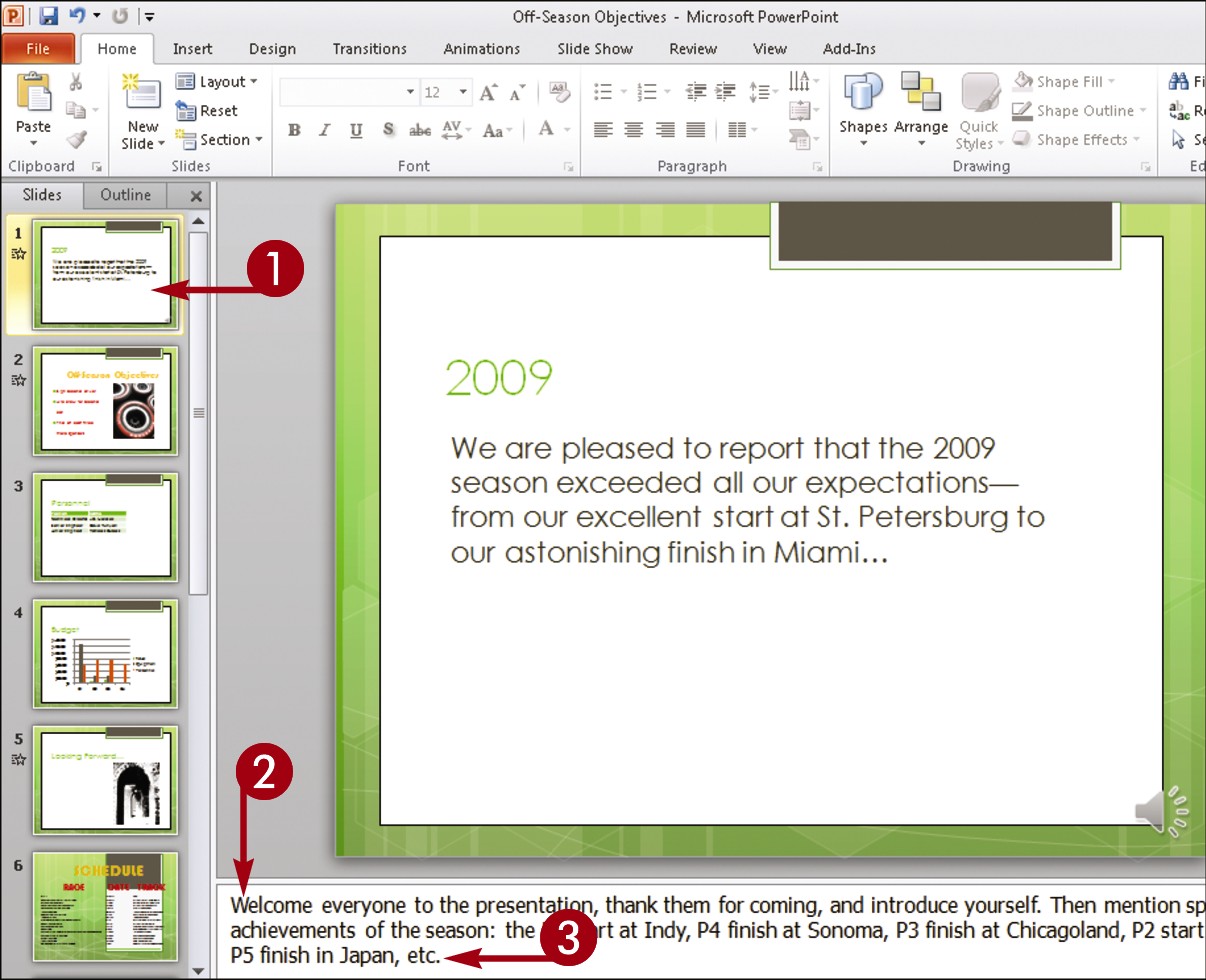
In Normal view, click a slide in the Slides tab to which you want to add notes.
Click in the Notes pane.
Type any notes about the current slide that you want to include.
You can repeat Steps 1 to 3 for other slides to which you want to add notes.
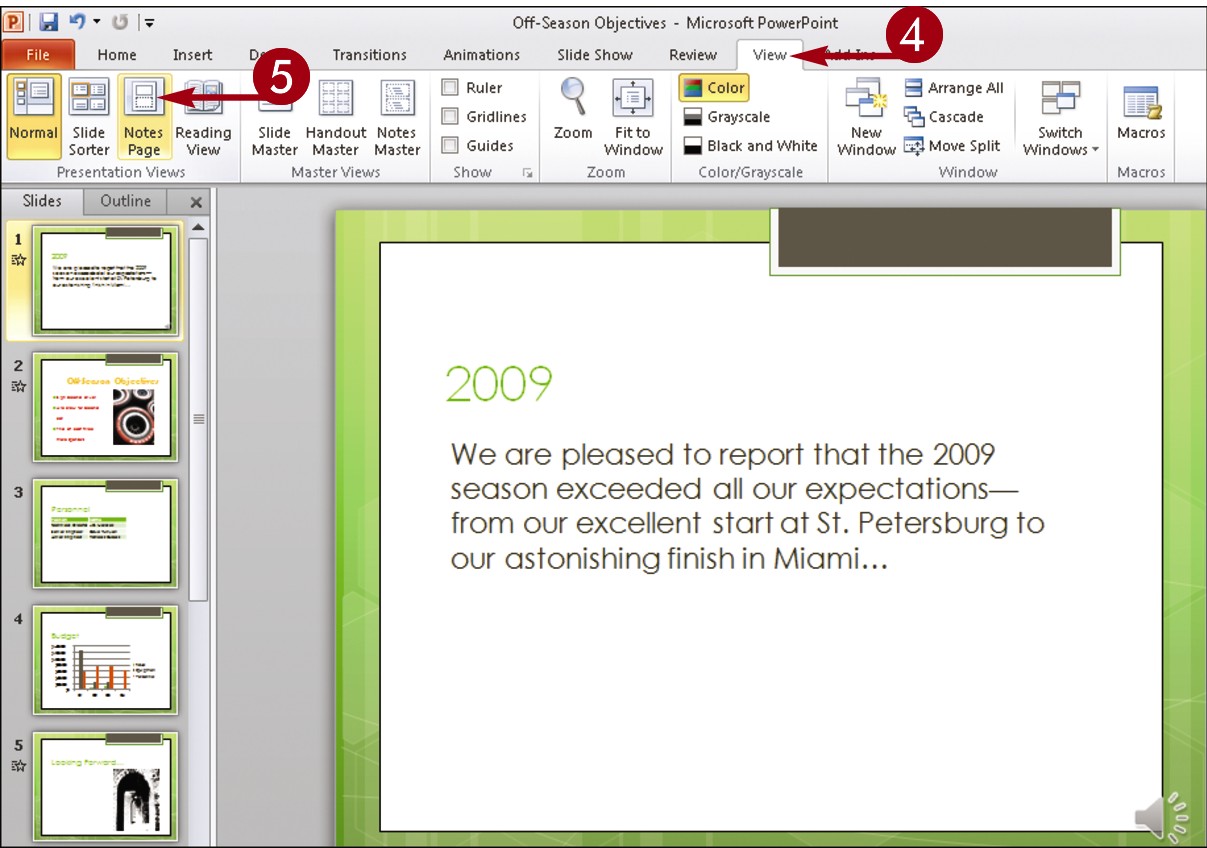
Click the View tab.
Click Notes Page.
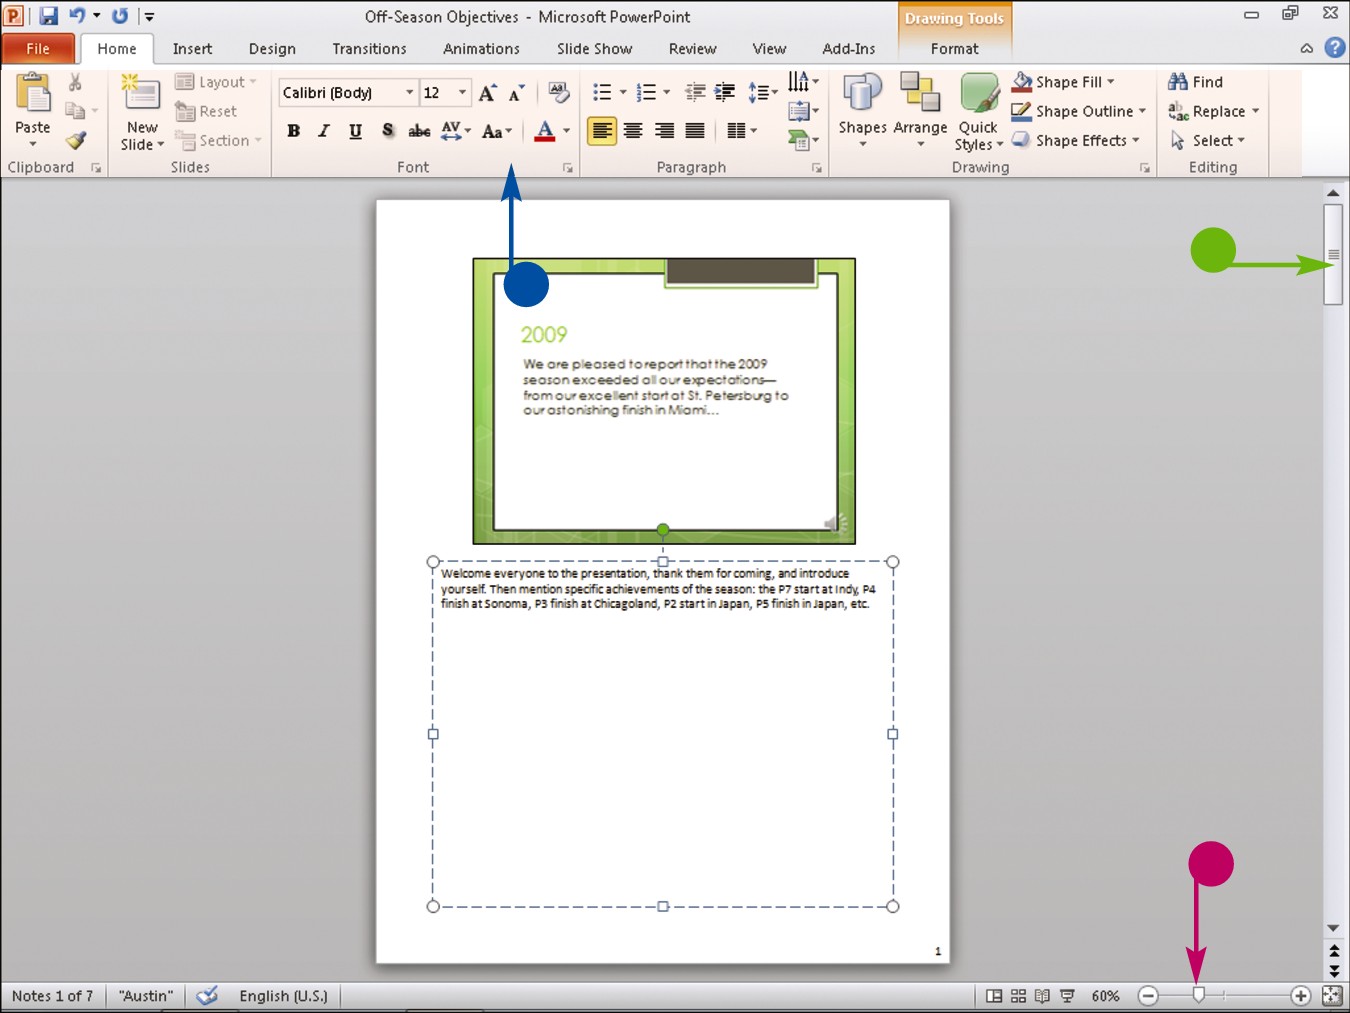
The Notes Page view opens and displays the first page in your slide show.
• You can use the scroll bars to scroll through the notes.
• You can drag the Zoom slider to magnify your view of the notes.
• You can edit and format your notes text.
Note: To return to Normal view, click the View tab and click the Normal button.
Simplify It
How do I print my notes?
Before you can print your notes, you must configure PowerPoint to do so. Follow these steps:
Click the File tab and then click Options.
The PowerPoint Options dialog box appears.
Click Advanced.
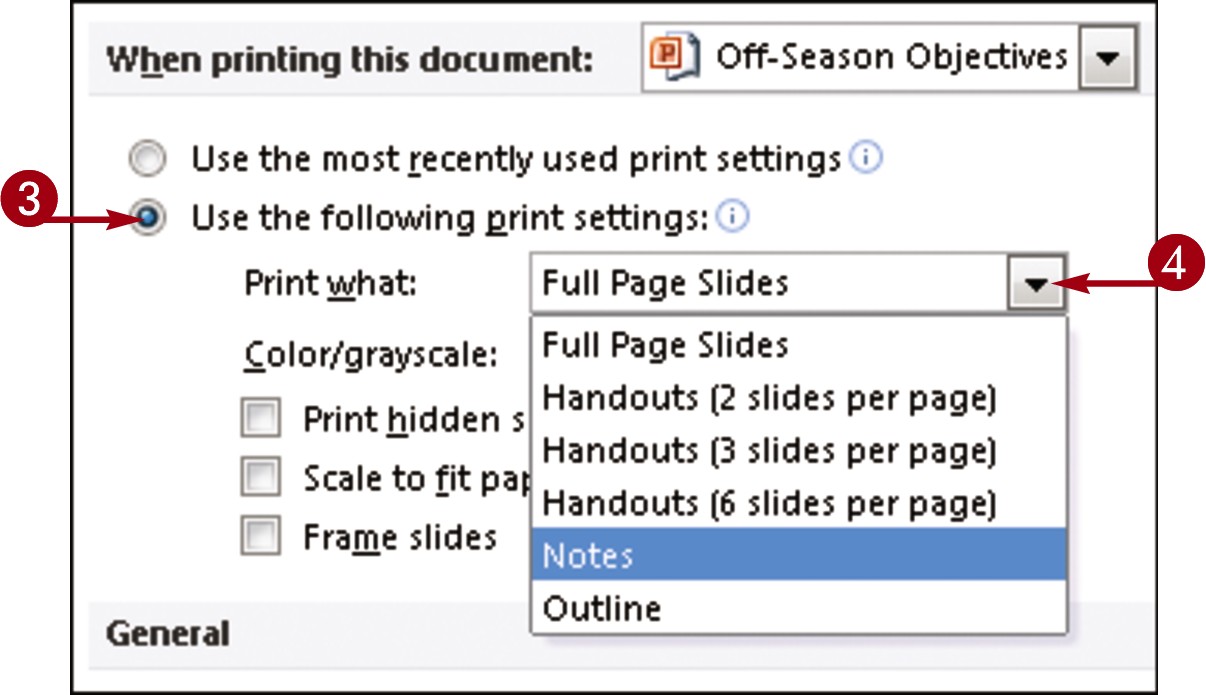
Under When Printing This Document, click the Use the following print settings radio button.
Click the Print what and choose Notes.
Click OK.
Click the File tab, choose Print, and choose the desired settings.
Rehearse a Slide Show
You can time exactly how long each slide displays during a presentation using PowerPoint’s Rehearse Timings feature. When you use Rehearse Timings, PowerPoint switches to Slide Show mode, displaying your slides in order; you control when PowerPoint advances to the next slide in the show.
When recording how long each slide is shown, you should rehearse what you want to say during each slide as well as allow the audience time to read the entire content of each slide.
After you record the timings, PowerPoint saves them for use when you present the slide show to your audience.
Rehearse a Slide Show
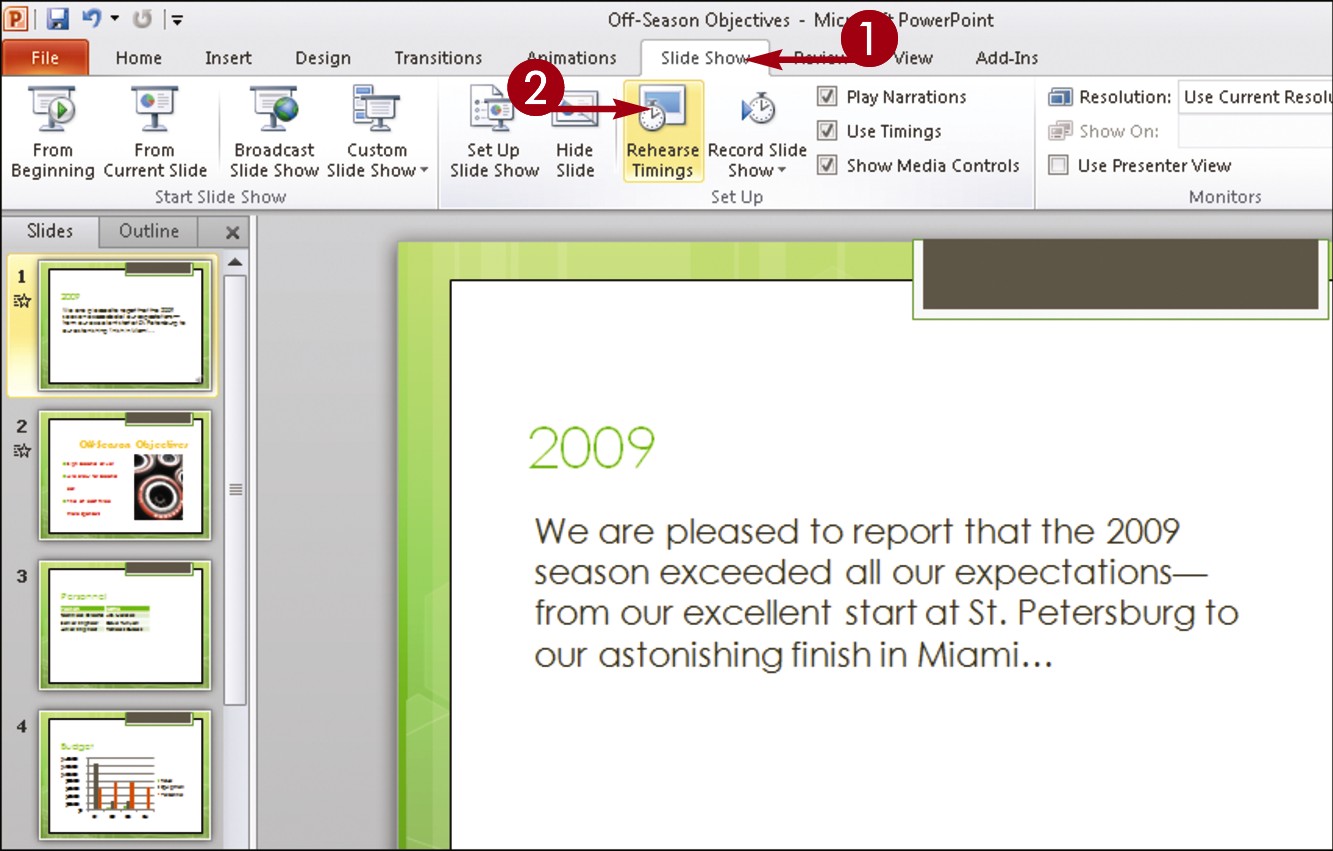
Click the Slide Show tab.
Click the Rehearse Timings button.
• PowerPoint switches to Slide Show mode and displays the first slide.
• PowerPoint displays the Record Slide Show toolbar and starts a timer.
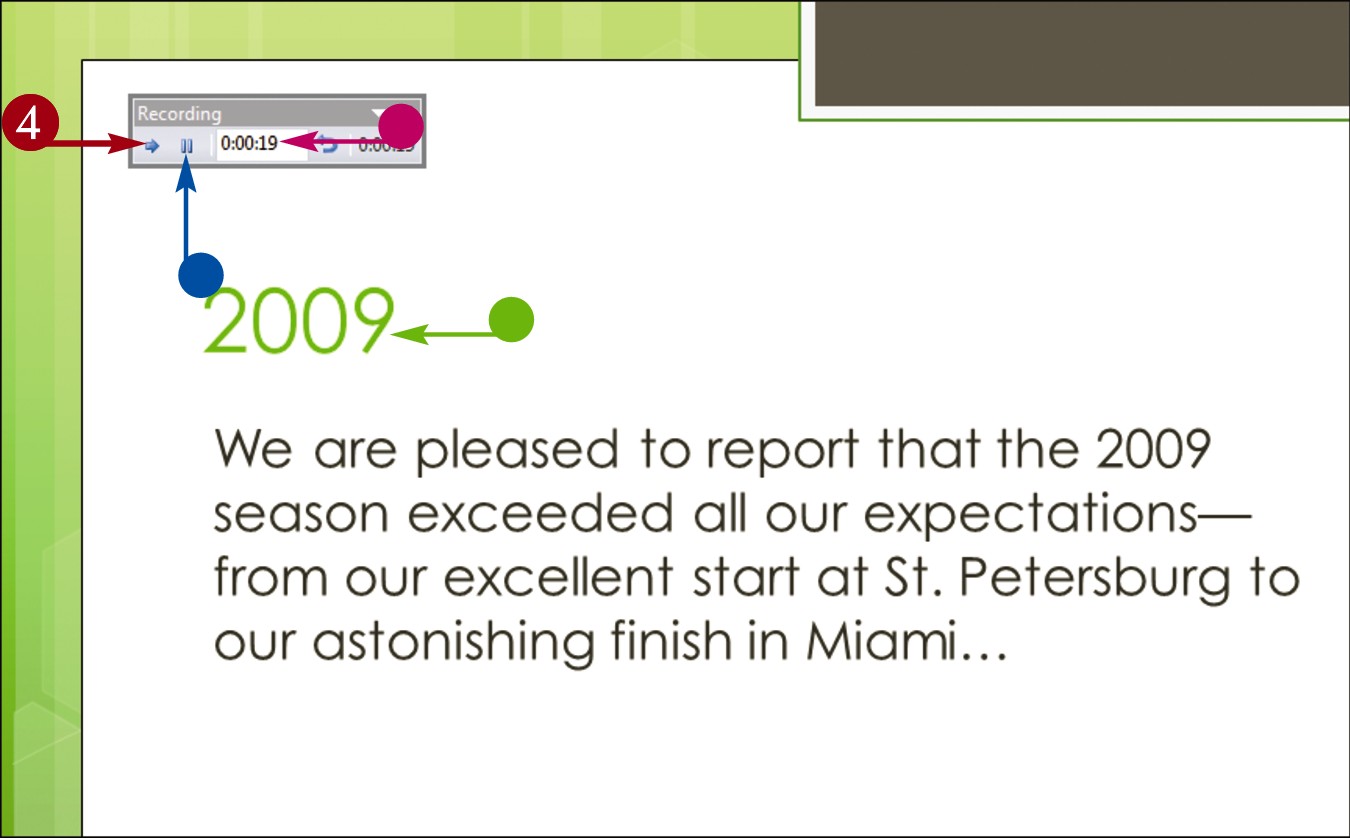
Rehearse what you want to say while the slide plays.
• Click the Pause button () to pause the timer. To restart the timer, you can click again.
When you finish with the first slide, click the Next button ().

PowerPoint displays the next slide.
Repeat Steps 3 and 4 for each slide in your presentation.
When the slide show is complete, a dialog box appears, displaying the total time for the slide show.
Click Yes.
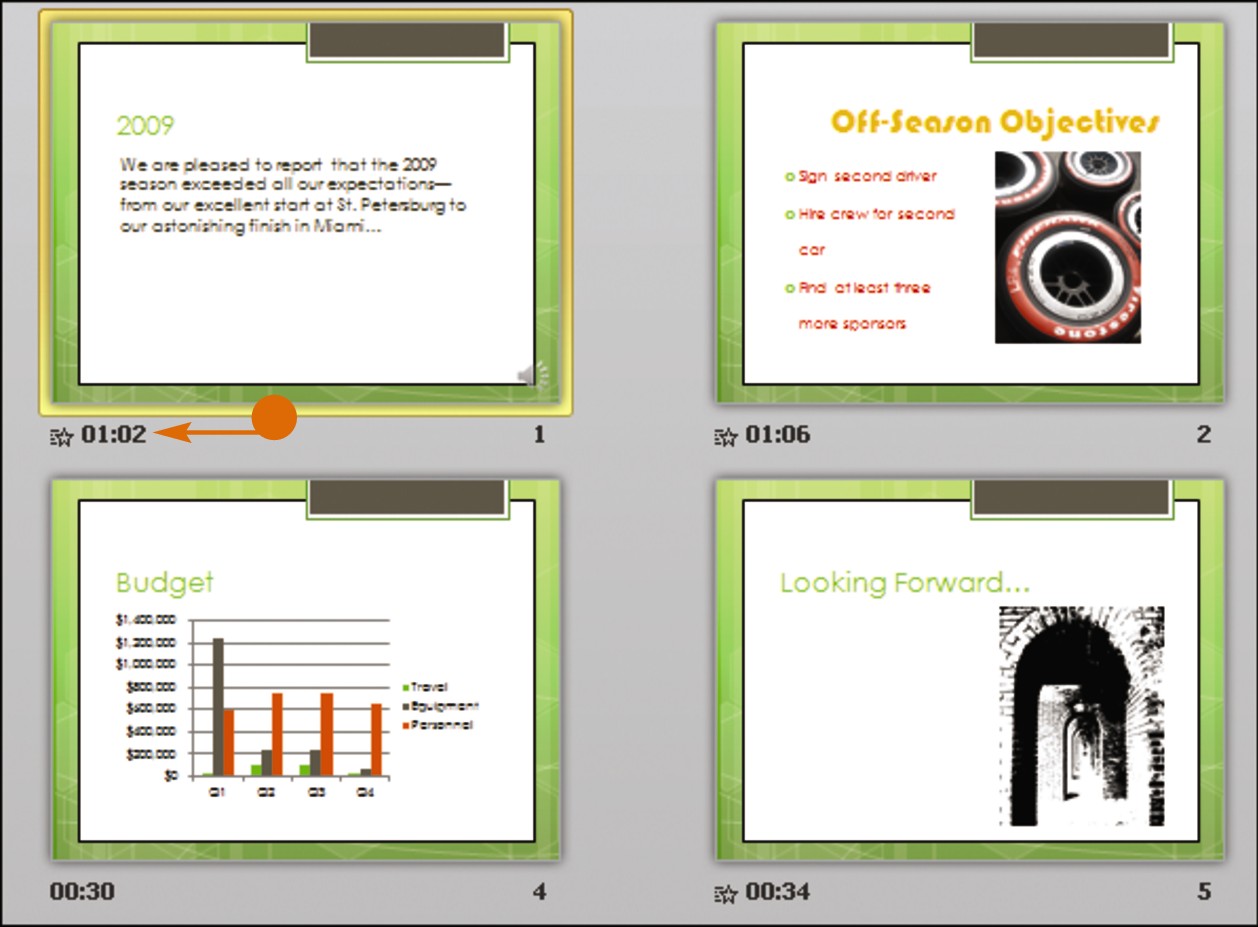
• PowerPoint saves the timings and displays them below each slide.
Simplify It
How do I create handouts for my audience?
One way to create handouts is to send your presentation to Microsoft Word. Follow these steps:

Click the File tab and then click Share.
Click Create Handouts.
Click Create Handouts.
The Send To Microsoft Word dialog box appears.
Choose a page layout.
Click OK.
Office launches Microsoft Word, with your presentation pasted in.
Click the File tab, choose Print, and choose the desired settings.
Run a Slide Show
You can run a slide show presentation using PowerPoint’s Slide Show view. Slide Show view displays full-screen images of your slides. You can advance each slide manually by clicking buttons that appear on-screen; alternatively, you can instruct PowerPoint to advance the slides for you.
To enrich the experience for your audience, you can use PowerPoint’s pointer options to draw directly on the screen using the mouse pointer. (You can choose from several pen tools and colors.) For example, you might circle an important sales figure or underline a critical point on a slide. You can end a slide show at any time by pressing  .
.
Run a Slide Show
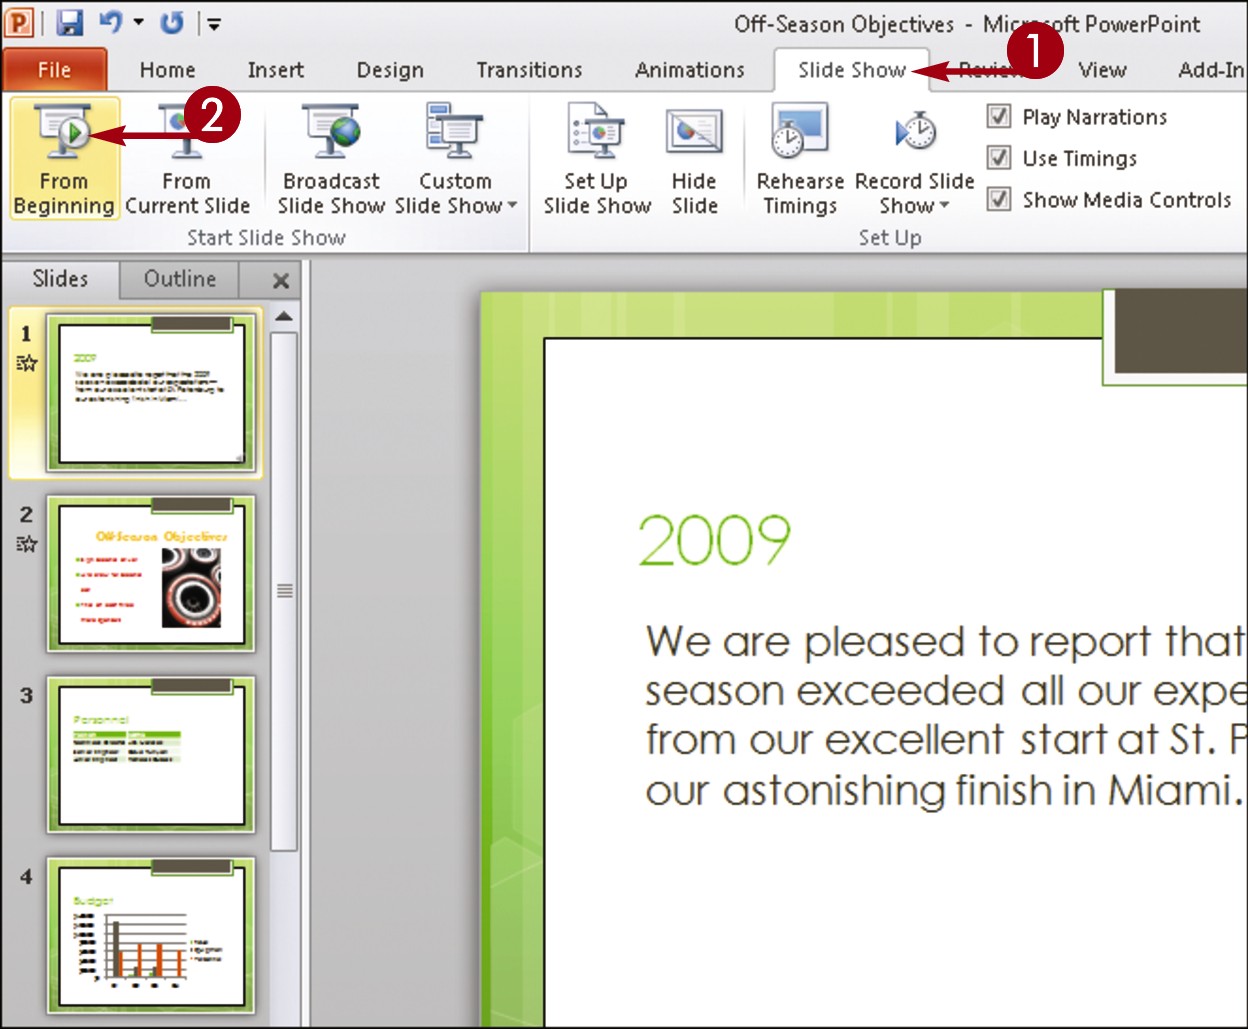
Click the Slide Show tab.
Click the From Beginning button.
PowerPoint switches to Slide Show mode and displays the first slide.
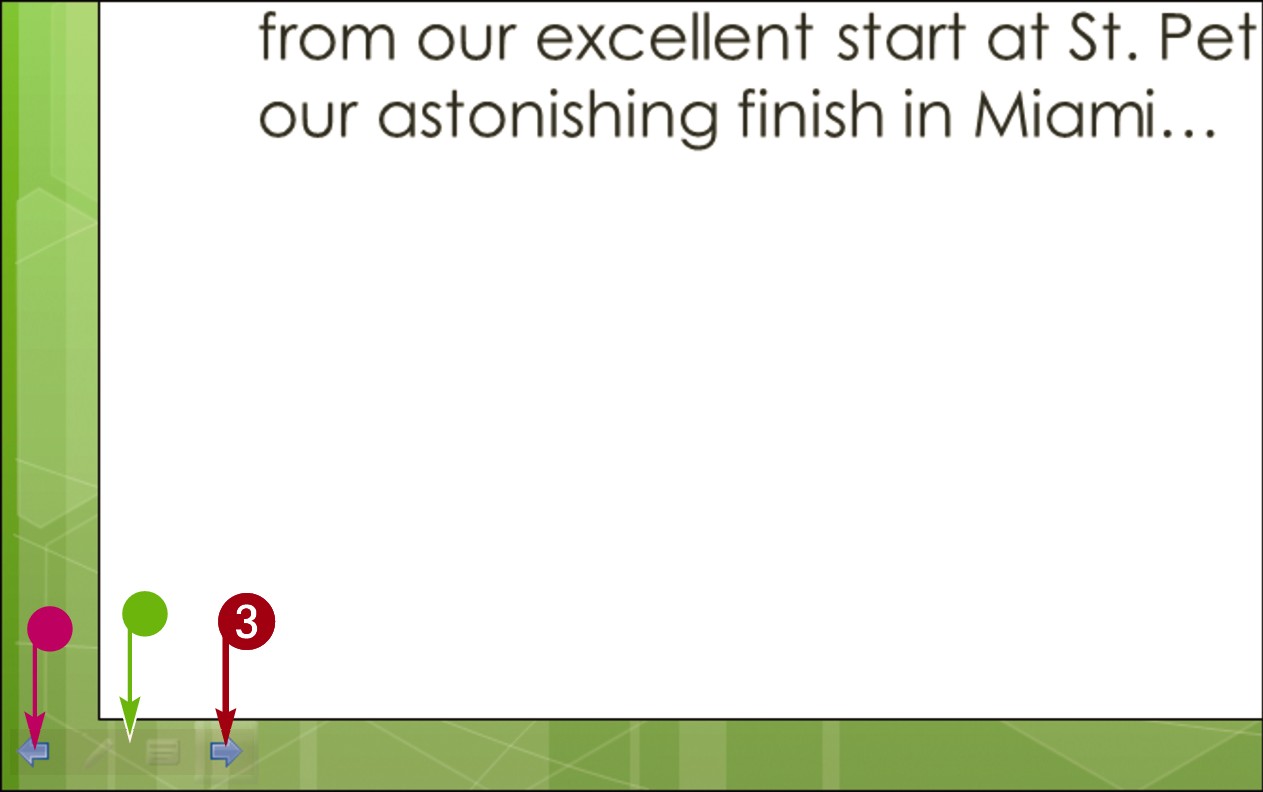
• When you move the mouse pointer to the bottom left corner, faint slide show control buttons appear.
Click anywhere in the slide to advance to the next slide or click the Next button ( ).
).
• To return to a previous slide, you can click the Previous button ( ).
).
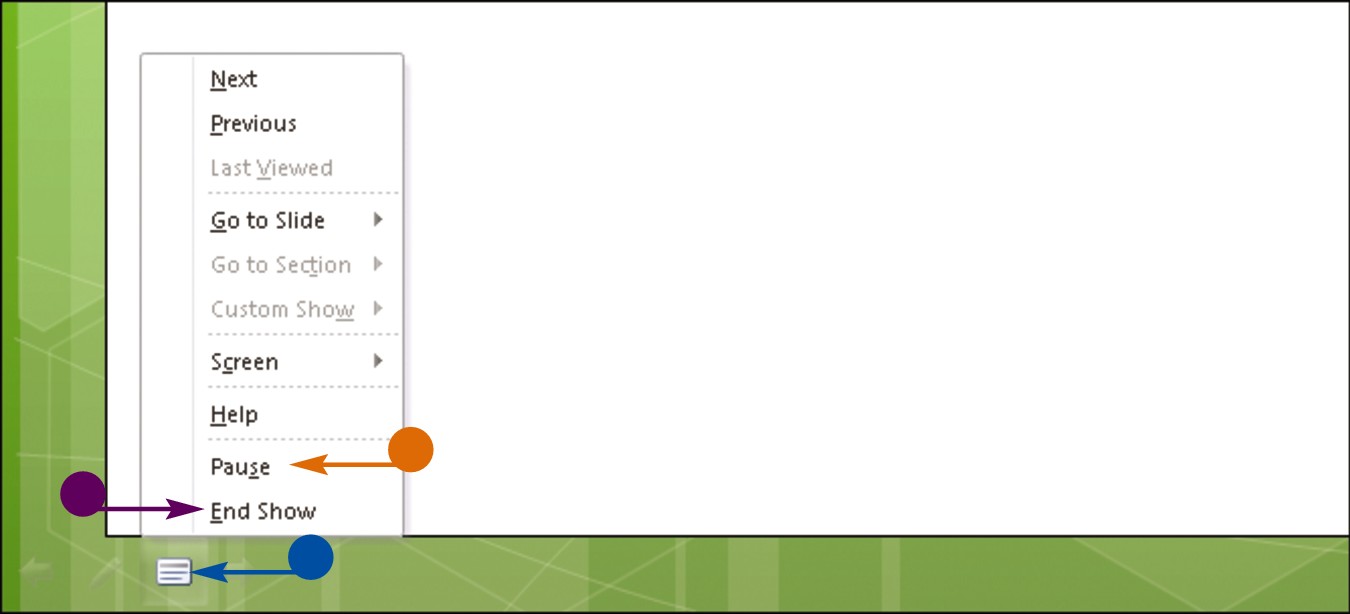
• To view a menu of slide show commands, click  .
.
• You can pause the show by clicking the Pause command.
• You can end the show early by clicking the End Show command.

When the slide show is complete, click anywhere on the screen.
PowerPoint closes the presentation.
Simplify It
How do I draw on my slides as I present the show?
As mentioned, you can use PowerPoint’s pointer options to draw directly on the screen using the mouse pointer. You can choose from several pen tools and colors. Follow these steps:
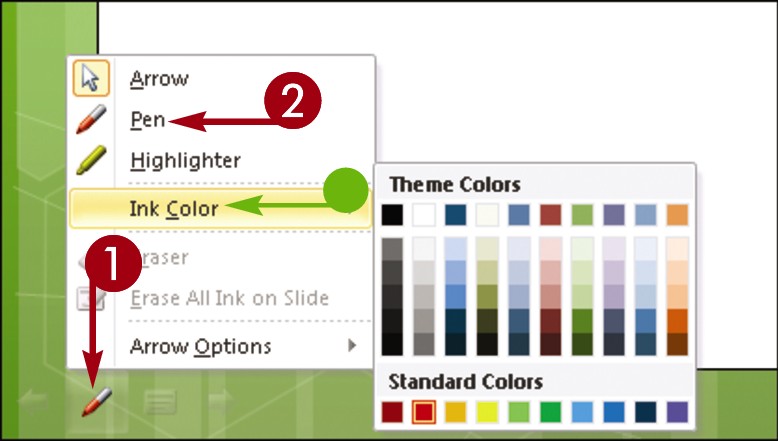
During the slide show, click the Pen button ( ).
).
Click a pen style.
• You can click here to choose a pen color.
Click and drag to draw on the slide.
To erase your markings, press  .
.
Package Your Presentation on a CD
You can save your PowerPoint presentation to a CD to enable you to share your presentation with others. With the Package for CD feature, PowerPoint bundles the presentation along with all of the necessary clip art, multimedia elements, and other items needed to run your show, including any linked files contained in your presentation. The CD even includes a PowerPoint Viewer with the file in case the recipient does not have PowerPoint installed on his or her computer.
If you prefer, you can save your presentation as a WMV movie file that includes any narration and timings you record.
Package Your Presentation on a CD
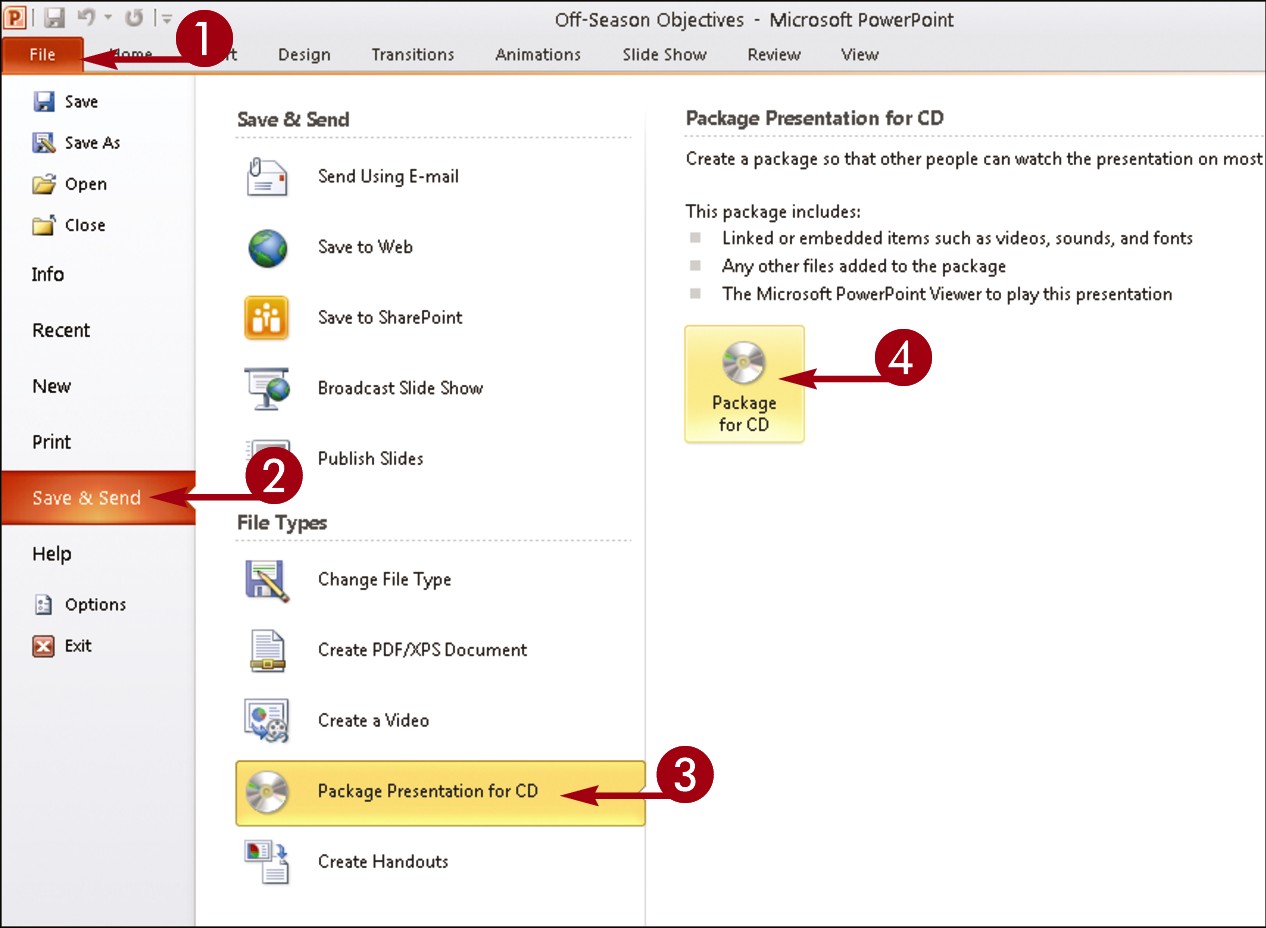
Click the File tab.
Click Save & Send.
Click Package Presentation for CD.
Click Package for CD.
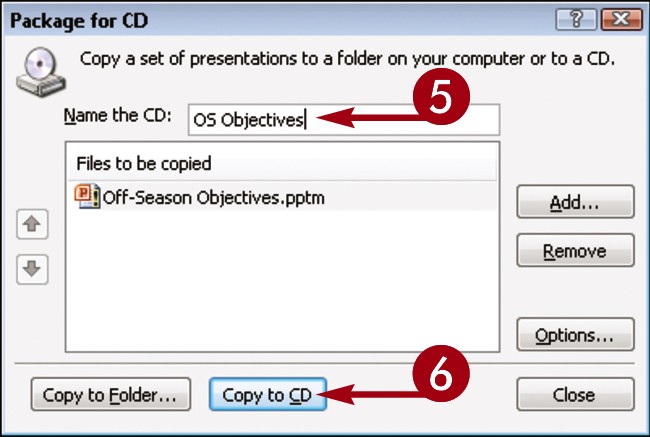
The Package for CD dialog box appears.
Type a name for the CD.
Click Copy to CD.
Note: If your presentation contains linked files, PowerPoint asks you if you want to include those files on the CD. If you trust the source of each linked file, click Yes.
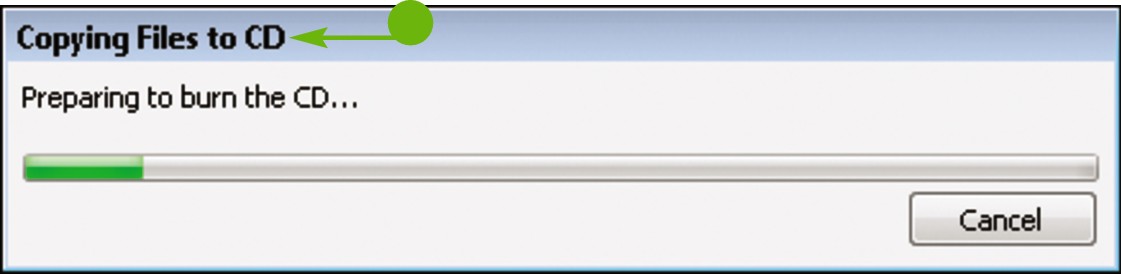
• PowerPoint copies the presentation files.
Depending on the size of the presentation, the copying process can take a few minutes.
When the copying process is complete, a dialog box appears.

Click No.
If you want to continue packing additional copies of the presentation, you can click Yes.
Click Close.
The Package for CD dialog box closes.
Simplify It
How do I save my presentation as a video?
To save your presentation as a WMV movie file, follow these steps:
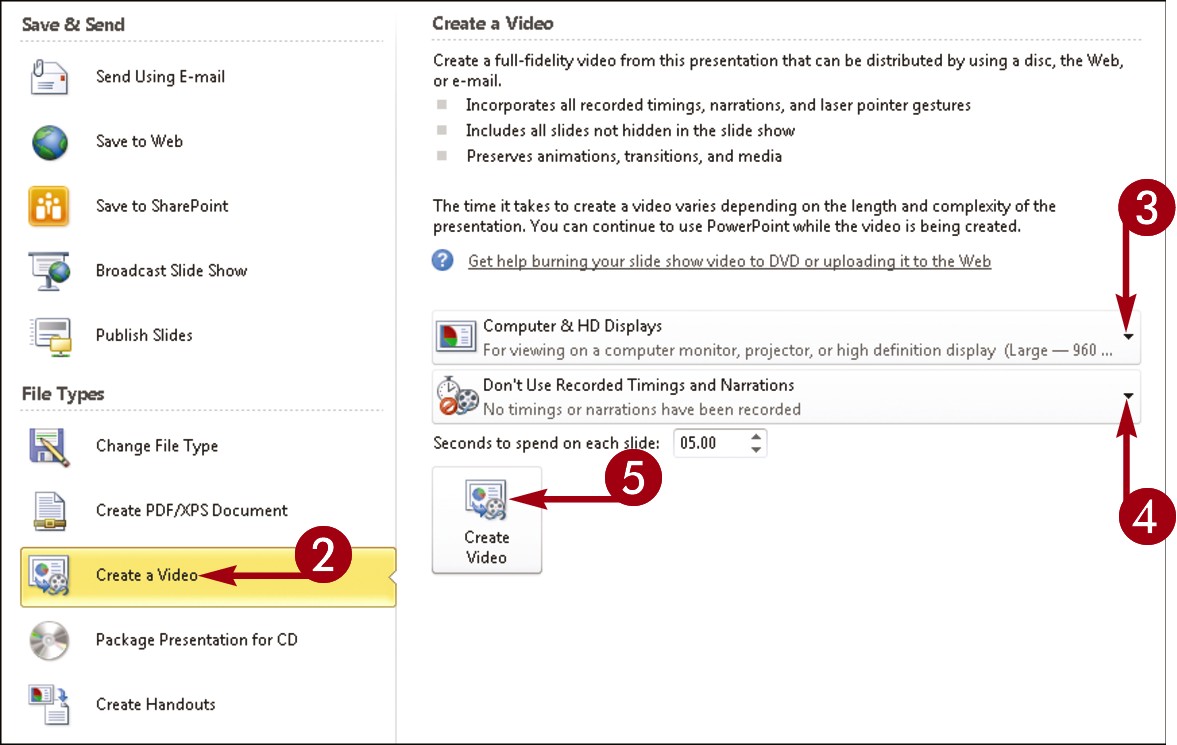
Click the File tab and then click Save & Send.
Click Create a Video.
Choose a quality level.
Specify whether recorded narration and timings should be used.
Click Create Video.
In the Save As dialog box, specify the folder in which the video should be saved.
Click the Save button.
PowerPoint saves the presentation as a movie file in the folder you specified.