 KITCHENS AND YOUR FAMILY MAGAZINE
 KITCHENS AND YOUR FAMILY MAGAZINE
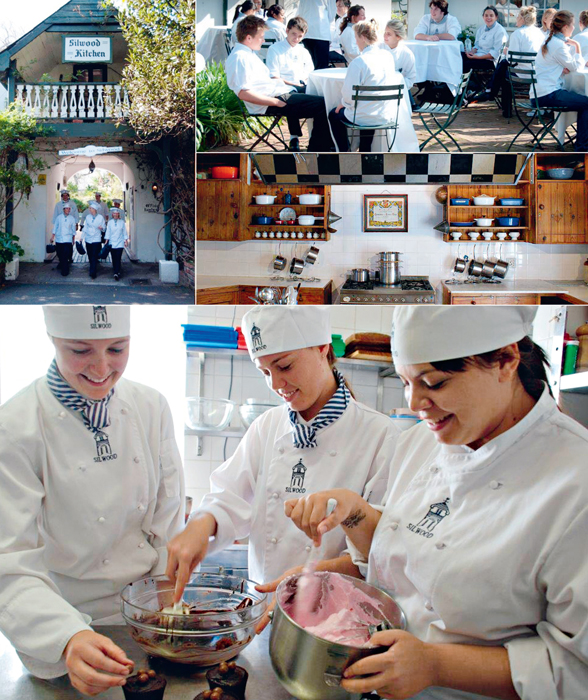
I studied at the prestigious Silwood Kitchens Cordon Bleu Cookery School in Rondebosch in the late 1980s. It was a great adventure. The school was smaller in those days, with space for only 34 students, some from as far afield as Zambia, Zimbabwe and Lesotho. Silwood was a fantastic foundation, encouraging me to specialise in food styling and writing and I soon found myself working for one of the leading cookery magazines in South Africa at the time.
At Silwood, we had a wonderful cake decorating teacher called Mrs Henderson. She taught me how to bake the most amazing wedding cake. I always called it Mrs Henderson’s fruitcake, but the recipe was actually passed down to the legendary Mrs Faull, from her Irish mother. Such a legend is this cake that Silwood students have been baking it at the school and beyond for some 35 years now. Me included.
A few years ago my brother’s and cousin’s weddings took place a mere two weeks apart and I rolled out the famous cake well in advance and slowly nurtured it to life with brandy – a tedious process. Eventually the time came to decorate. Late for an art exhibition out of town, I left the six layers of cake wrapped in foil on the kitchen counter and rushed out.
Slight panic set in on Monday when I returned and could not find the cakes. Running out of places to look for it, I eventually called Primrose, my domestic helper. She had only been working for me for a week. ‘Primrose, have you seen those silver things that were on the counter?’ ‘Yes Ma’am,’ she replied, ‘I thought you said I could take them home.’
She had mistakenly taken the cakes instead of apples I had given her, and was too shy to ask to make sure. There were tears all round, but eventually everything ended well. Emergency chocolate wedding cakes were ordered from local bakeries and Primrose sent a telegram to the reception that read: ‘Graham and Dorei Barnes, Congratulations on your Wedding Day. Sorry I ate your cake. Primrose Mthembu.’
A true story. Sadly Primrose passed away not long afterwards. But I never bake fruitcake without thinking about her.
This is my favourite Silwood recipe, named after Captain Howard Owen, who was the public relations officer for the city of Cape Town in 1964, the year Silwood started. He was a frequent visitor at the school and adored the apple pie so much it was eventually named after him as a sign of appreciation for his love and support of the school.
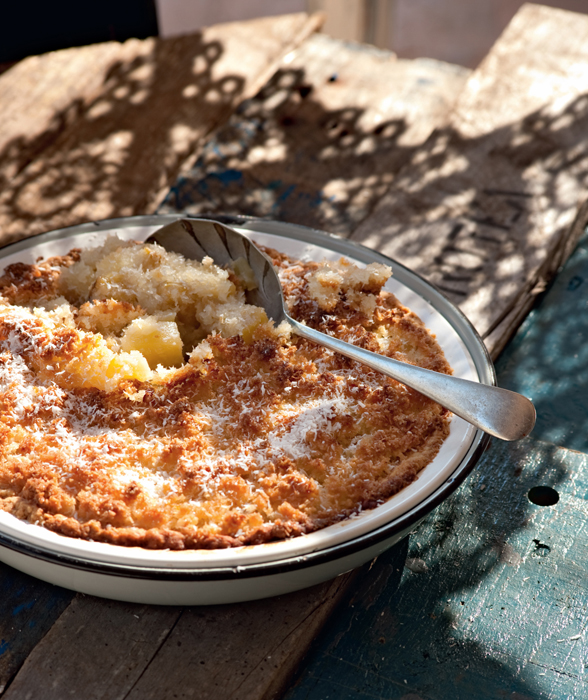
Serves 6.
TIP
This filling works best with Golden Delicious apples. It is not advisable to use canned apple pieces because this pastry requires a hot filling and canned apples will cook down to mush.
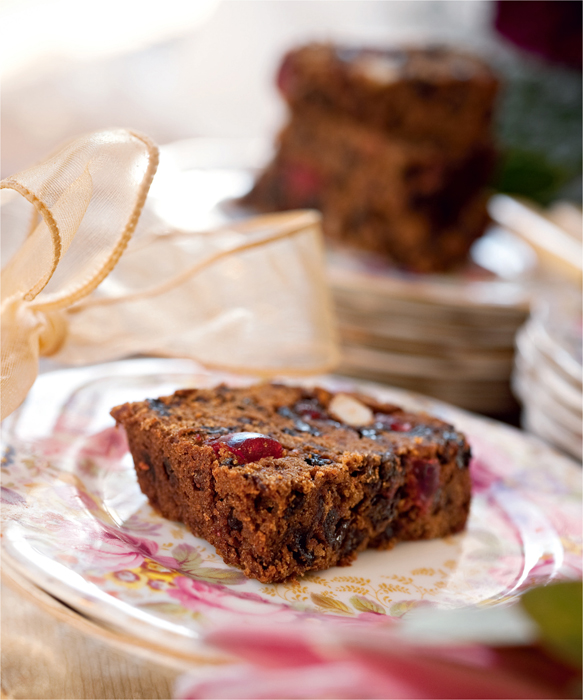
This fruitcake has formed the basis of all celebration cakes baked at Silwood Kitchens for the past 35 years. The recipe originates from Ballinrobe in County Mayo, Ireland and came to South Africa with Lesely Faull’s mother. The recipe has changed very little over the years and the only difference nowadays is that the fruit is plumped with water and not ale!
PREPARING THE TIN
You will need foil, brown paper or newspaper, and cotton string. Take the string and place it around the circumference of the cake tin to determine the length of foil that needs to be cut. Cut the string at the mark and measure against the foil. Cut the foil. Fold the sheet of foil in half horizontally. Smooth it out. Then fold the bottom half up by one-third to form a collar. Cut the collar at the bottom diagonally, creating 5 cm long slits all along the collar at intervals. Ease the collar into the tin like a fan, smoothing out any wrinkles. Prepare the base. Place the cake tin on top of a second piece of foil and draw around the tin on the foil with a pen. Cut out the shape neatly, then fit it into the tin and smooth out.
Fold double sheets of brown paper in half horizontally. Fold a collar that is one-third of the paper, and place around the tin. Secure with string. Trim the foil and paper together – the foil should not extend more than 5 cm above the rim of the tin.
TIPS
• For a more economical cake, use 5 × 250 ml (5 C) of fruit cake mix and 125 ml (1⁄2 C) chopped dates instead of the individual fruit and glacé fruits specified in the recipe. Never leave a fruitcake in the tin in the oven to cool overnight. It will become bone dry. Always remove from the oven and cool in the tin on a wire cooling rack overnight.
• Wash glacé cherries and dust them with flour before adding to any cake mixture. This prevents them from sinking to the bottom of the cake.
• If you are maturing the cake with brandy, don’t be tempted to pour more than 50 ml at a time over the cake, or this will cause it to crumble when cut. It is best to do a little each week for between six weeks and three months.
• Store the cake for up to three months wrapped in foil inside a metal or plastic cake container. Keep in a cool, dry place; never store in the fridge.
I seem to remember that I became very good at baking brandy snaps while at Silwood. We often catered for outside functions and I was usually a part of the brandy snap team. After 500 or so you become a pro. This is the famous Silwood recipe.
Makes 24–30.
TIPS
• I find it easiest if you have two trays, placing the second tray into the oven as you are removing the first. This way you can get a production line going. It also helps to have more than one wooden spoon to wrap the brandy snaps around while setting. The final result should be a cigar-shaped tube no thicker than your index finger.
• To make brandy snap baskets, simply remove the circle from the baking tray and place it over an upside down ramekin or small teacup. Gently nudge the circle into shape. Leave to cool.
• Store unfilled brandy snaps in an airtight container with layers of baking paper in between. Keep them in a cool, dry place away from light. They will stay crisp for up to three days.
I worked at Your Family magazine for many years as a cookery editor. In those days there were three of us: Wendy Silver, Kim Wessels and myself. We had an enormous test kitchen and worked very hard, but we laughed a lot and had great fun writing, testing and styling food all day long. I wanted to include a recipe from the test kitchen in my book. This big bake cake was one of mine.
Makes 1 large marbled cake.
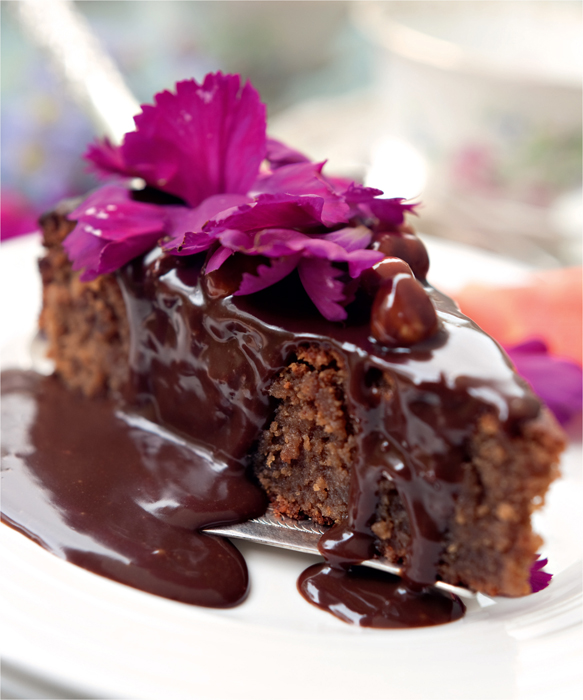
This fantastic, rich chocolate fudge cake recipe was my winning entry for a competition in Women’s Value magazine. I won a Kenwood Chef for being creative with the whisk! Women’s Value has long since been rebranded to Ideas magazine, but with their blessing I am able to share this recipe with you.
WHAT IS RIBBON STAGE?
Ribbon stage is a term in cookery we use to describe the consistency required to whisk egg yolks and sugar until very pale and extremely thick. The term ‘ribbon’ is from the test you need to do to see if the mixture is thick enough. Simply dip the whisk into the mixture, and then trail it across the mixture in the bowl in slow motion. The ribbon should be consistent and run down from the whisk onto the surface of the mixture in a steady stream without breaking, forming a ribbon-like pattern that sinks back into the mixture.
Makes 1 large cake.
TIPS
• The cake will look slightly undercooked when you remove it from the oven but will set as it cools down.
• Use dark chocolate for a richer flavour.
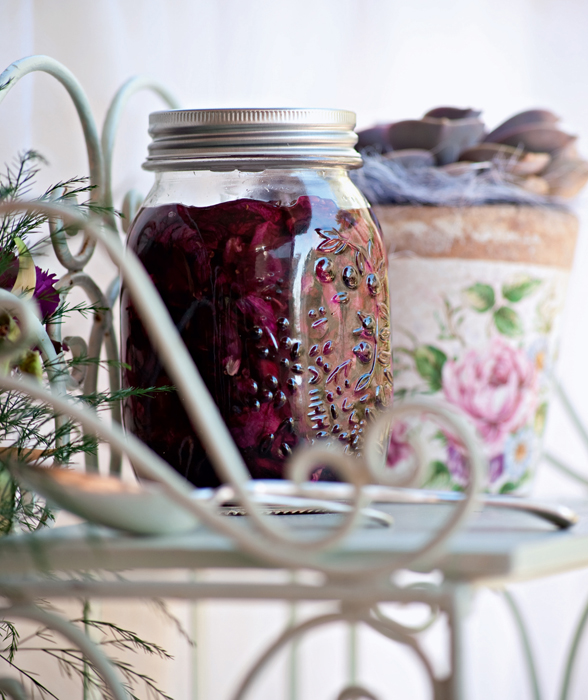
This is another great recipe from my Silwood days. Many flowers, such as roses, violets, marigolds, geraniums, lavender, camomile, calendula and nasturtiums, are edible and make magnificent cake decorations and additions to modern recipes. It is important to note, however, that commercial flowers are heavily sprayed with insecticide and if the flowers are not washed properly these insecticides can find their way onto your plate. Never stick a flower stem directly into a cake. Rather cut a small circle of clear cellophane to cover the cake before arranging your posy on top. Do not eat the stems or leaves, only the petals.
DID YOU KNOW?
Roses are used extensively in cooking in Iran. Rose-water, which is used in Turkish delight and nougat, can be found in the baking section of most large supermarkets or speciality food stores.
Makes about 2 medium jars.
TIPS
• Freeze rosebuds in ice cubes for display in drinks, or freeze rose petals and buds in an ice bowl to be used as an ice-cream serving dish. To make one of these, use two plastic bowls where one can fit inside the other. Add a few crushed ice cubes to the larger bowl. Add rose petals and fresh mint leaves. Place the second bowl on top. Place a heavy object inside to secure and tape the sides together to form a mould. Pour cold water in the gap between the two bowls. Freeze until solid. Remove the bowls by briefly holding the container under running hot water. Return the ice mould to the freezer for 15 minutes before using.
• Use darker rose petals to give jam colour. Lighter shades cook down to a brown colour and don’t look appetising.
• You can halve the recipe if preferred: 250 g rose petals is the equivalent of a very large bunch of roses from the supermarket.
• Rose petal jam is wonderful stirred into plain yoghurt.
• If you don’t have a sugar thermometer and want to see if the jam is at setting point, place a saucer with a little water on it in the fridge until cold. Then remove and place a teaspoon of jam on the saucer. If it forms a single jellied ball that wrinkles up when you push it gently with your fingertip, the jam is ready.