Xcode has been impacted with release fixes and enhances to the Swift language. So, sometimes, code that used to work easily now requires some coding changes before the compiler is happy with it. This is something that will always happen with a changing code base for a new language.
Start by opening Xcode. The best version of Xcode is the latest one, available from the Apple App Store at https://developer.apple.com/xcode/download/. Install Xcode, and when everything is set up, launch Xcode and follow these steps:
- Create a new project (Cmd+Shift+N).
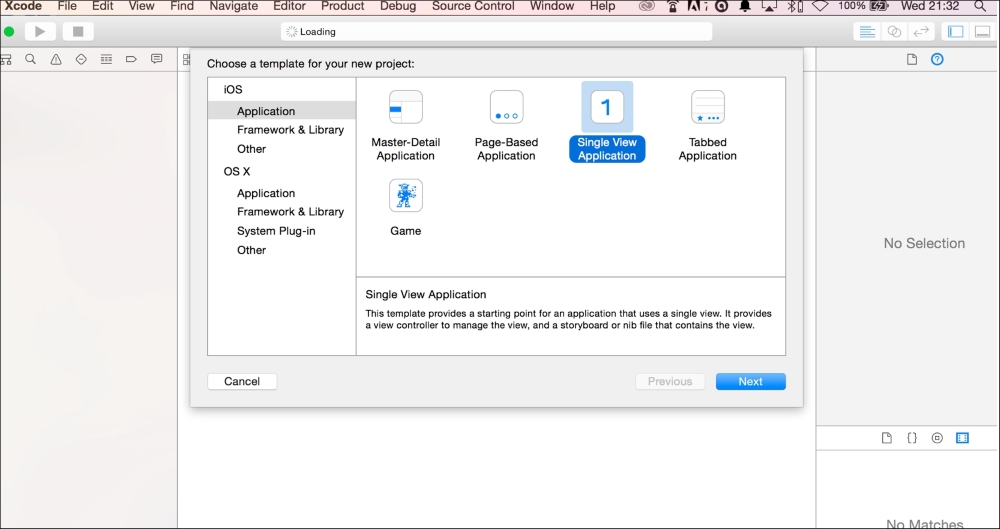
- In the template selector, make sure iOS | Application is selected. Choose the Single View Application template to start the process:
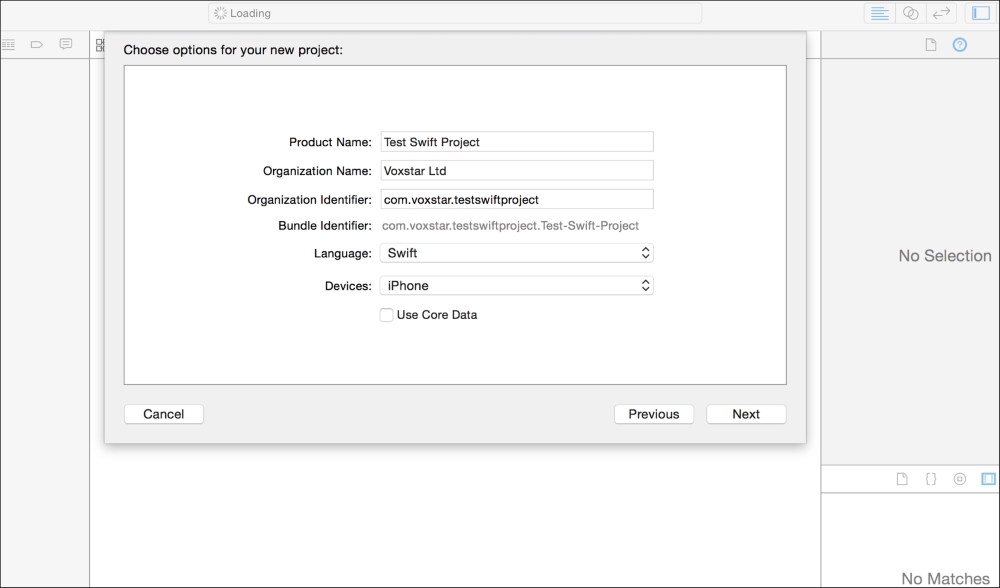
- You are then prompted to add the project name, so add a name like
Test Swift Project. - Next, add in the company name as
Voxstar Ltdor your company's name. - Next, add in the organizer identifier, in our case
com.voxstar.testswiftproject, which will identify a name for your apps and that is how it will be recognized by Apple. - Next, for the computer language, select Swift instead of Objective-C, which is what we are using in this chapter.
- For the devices, select iPhone, also ensure that the Use Core Data option is not selected. See the following screenshot as an example:
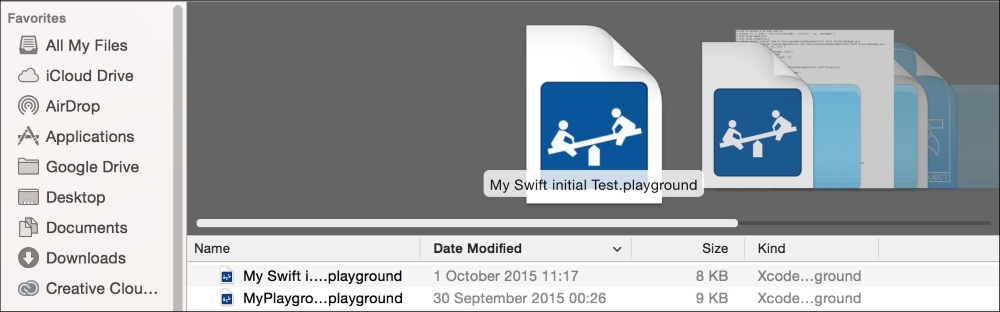
- Click on the Next button to continue this process. Thereafter, you have to store the location of your project files; we suggest you use the location where the main
.swiftdirectory is stored, as shown in the following screenshot. For this example, use theDocumentsdirectory, select and click on Next, and a new directory calledTest Swift Appwill be created. The following screenshots show the directory and project information within:
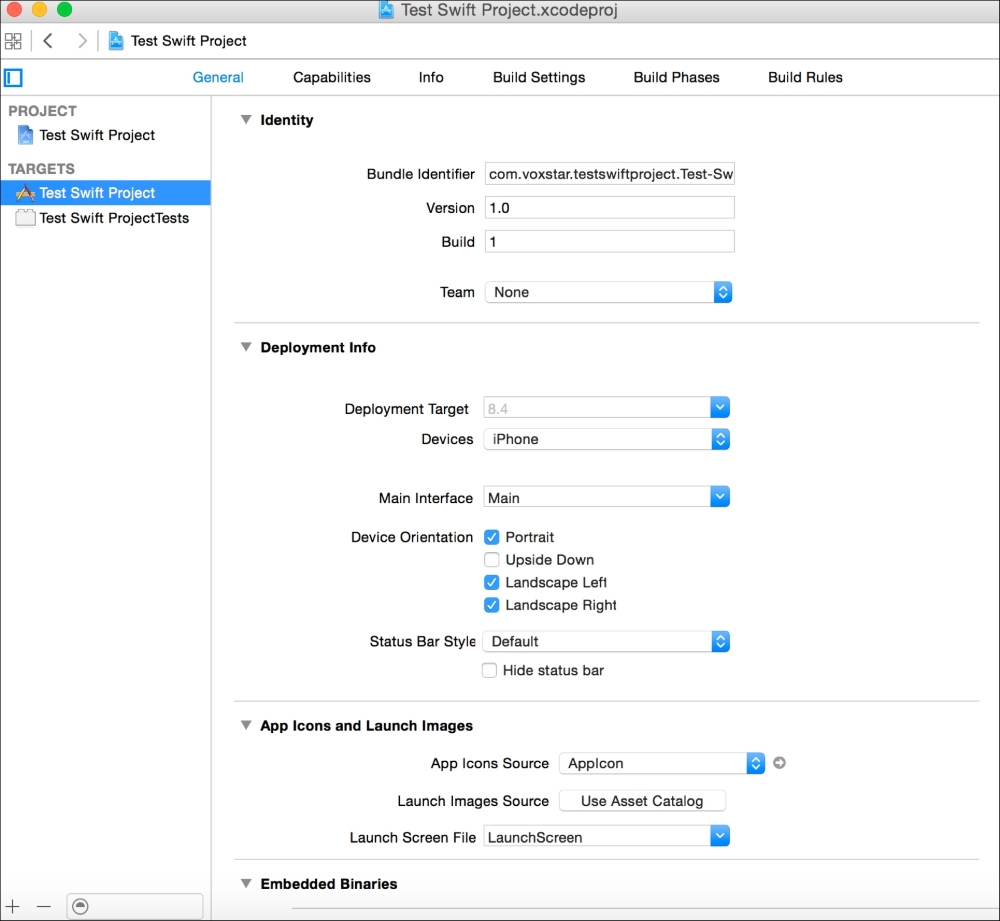
- Once the Create button is clicked on, the project details page is displayed, as shown in the following screenshot. A set of standard files, templates, and components are used as part of Xcode:
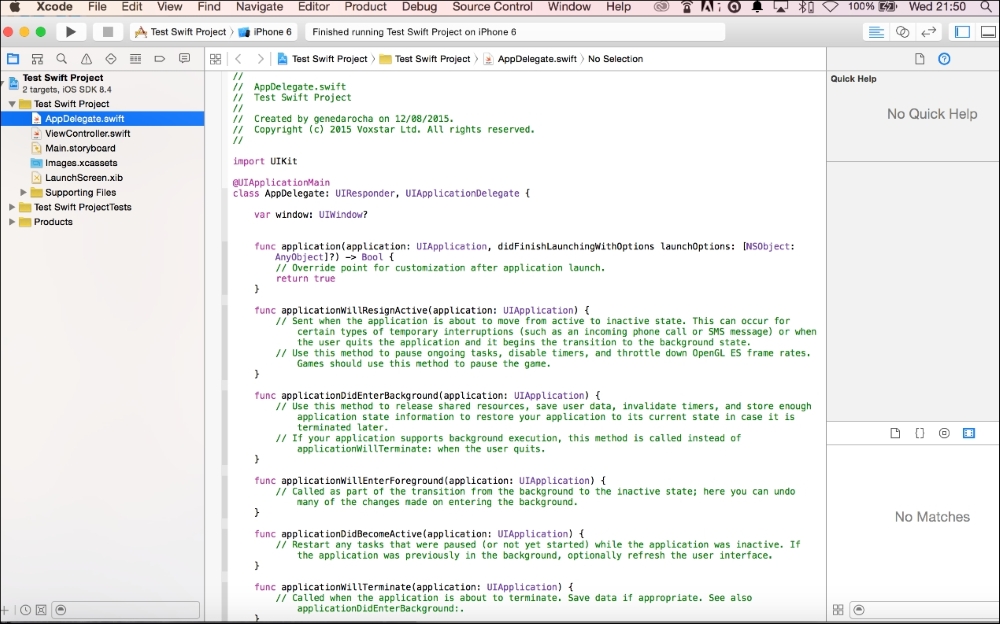
- To show what the standard app using an iPhone would look like, click on the Play button and watch the default screen and the output from the iPhone 6 simulator:

However, the first main entry place for the Swift application is the AppDelegate.swift file. This file is located in the application directory. Under the application directory, there will be a directory with the name of the app, and this is where the AppDelegate.swift file is located. In Xcode, click on it to open and you will find an array of information. This information will start with the standard comments that use your name and company details as part of the setup.
The main piece of information thereafter is the import UIKit statement. If you have developed in Objective-C before, this statement will be obvious and very familiar and reconcilable.
The UIKit will provide the essential infrastructure and backbone to manage and build these iOS Swift applications. It will contain the necessary user interface and other architecture to even handle and interact with the rest of the app. It provides support for motion-based events and handling touch events as well.
It will also support a model for iCloud support in addition to handling web and text content. It will support Apple and a push notification service. Further information can be obtained from the Developer Apple site:
Unlike Objective-C or other standard programming languages, Swift does not have a main function or file. Instead, you just mention the @UIApplicationMain statement in the main Swift file and all the relevant components are included. This line of code may never need to change, unless there is a major update or change.