Before we start to do anything, you have to start by building the environment and the software tools, and making some minor configurations to get everything ready. The app itself will be simple, and outline the process of creating an app for PhoneGap and HTML5.
You need to download the Xcode software to get the project working.
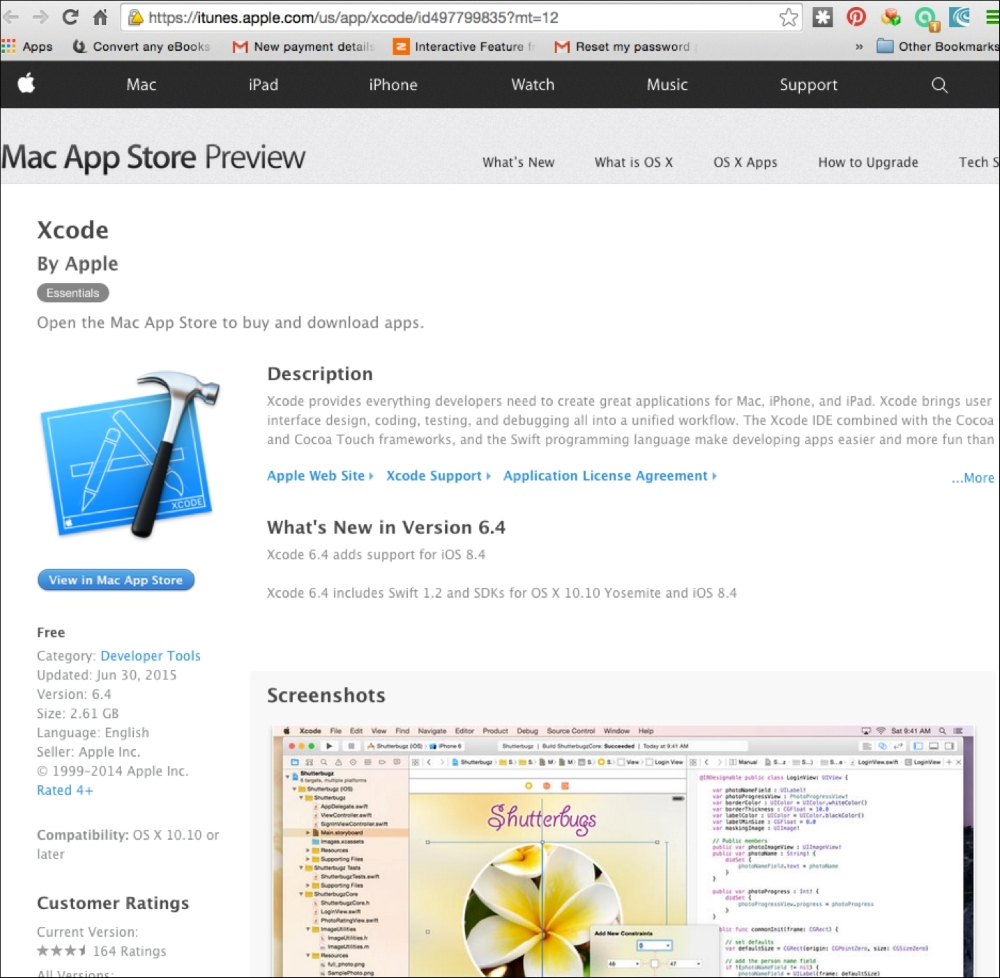
For Apple users, the Xcode command-line tool, and the Apache Cordova product can be downloaded from: https://itunes.apple.com/us/app/xcode/id497799835?mt=12.
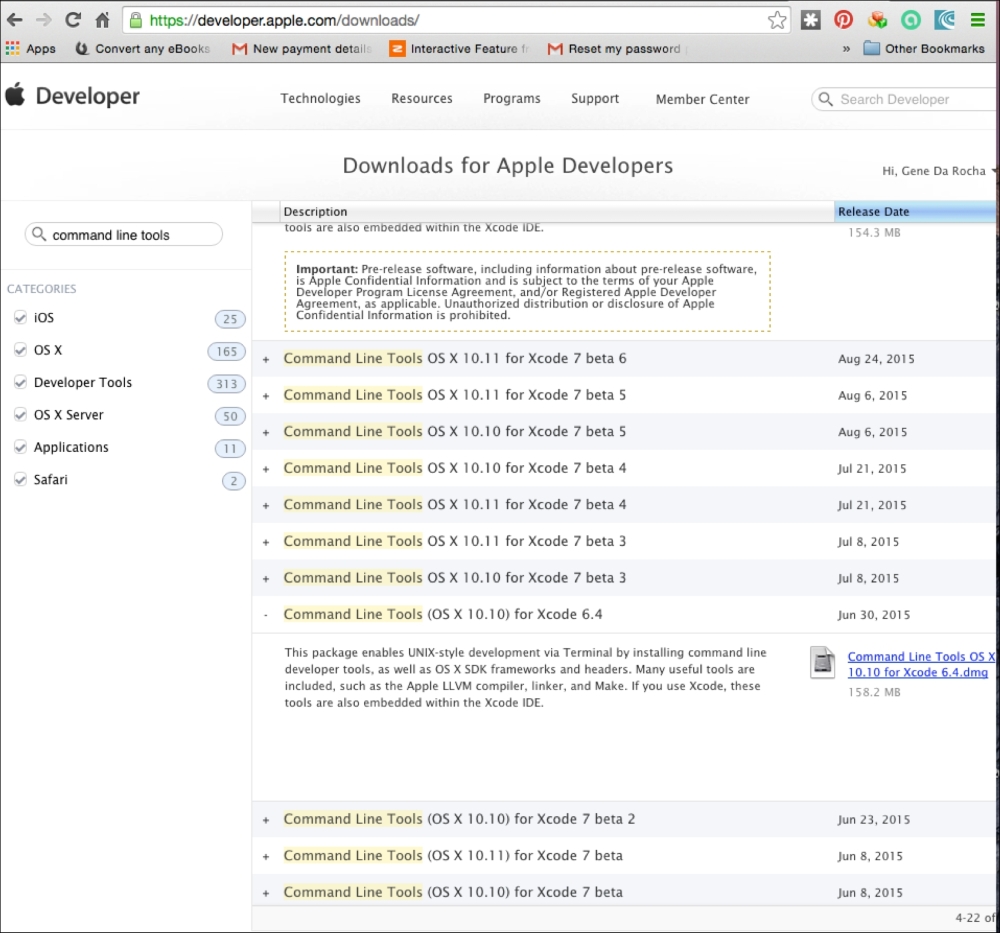
To get the command-lines tools for Xcode and other components, download them from https://developer.apple.com/downloads/index.action. You need to be a registered as an Apple developer to be able to download any extra components. A second and easier method for PhoneGap is to just download the software from the site and install it, as opposed to using the older, command-line way.
The following screenshot shows you Xcode in the iTunes Store:
The next screenshot shows the software available for a developer when you log in through an Apple Developer account. Only the command-line Xcode tools are required. It also shows you the command-line tools that can be downloaded and installed:
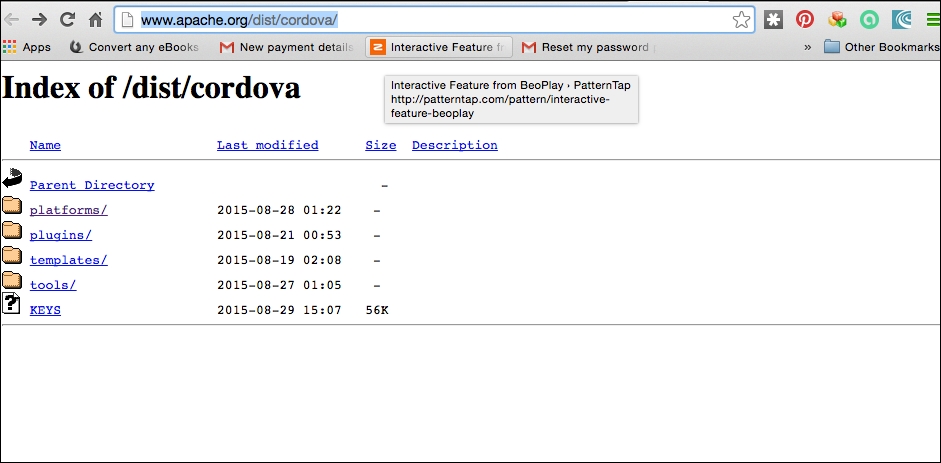
The next part of the process is to download the Cordova module of the software, as shown in the software in the following screenshot. This is the location of the latest Apache/Cordova release. PhoneGap was acquired by Adobe in 2011, and the project itself was donated to the Apache Software Foundation (ASF). There are two ways of using PhoneGap. One is its cloud-based service to build apps and the second is the local/manual version to build and package apps the PhoneGap CLI way. We will be using the PhoneGap CLI way in our first setup, as follows:
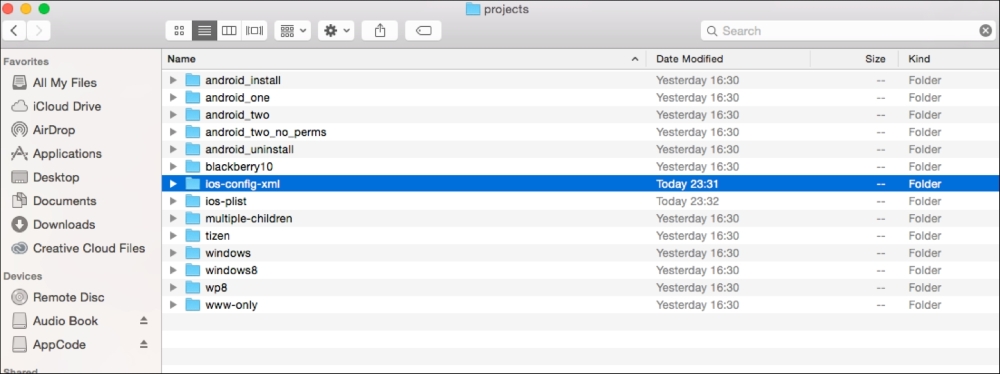
Download the Cordova software to the Downloads folder, unpack it, and within the cordova-ios directory, you'll find all the necessary components to use PhoneGap/Cordova with Xcode to create a simple app. The following screenshot shows the directory structure for the Cordova/PhoneGap system. As you can see, PhoneGap supports a variety of technologies and cross-platforms:
To proceed, we need to invoke the Terminal app. Initially, on your OS X machine, click on Applications | Utilities, and then click on the Terminal application, as shown in the following image:
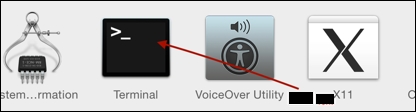
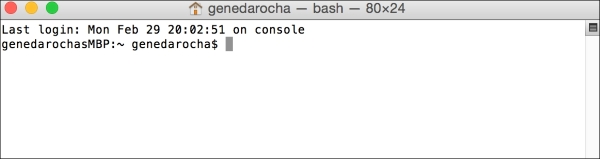
Once you click on the image, the following window for the Terminal app can be seen. It will allow you to carry on with the process of setting up the environment and required components. This is where you can carry out the necessary commands to install it:
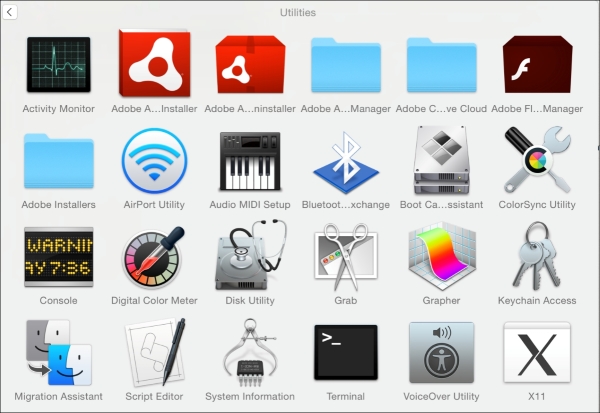
Click on the Applications icon on the toolbar at the bottom of the screen, then click on the Utilities folder, then click on the Terminal icon, as shown in the following screenshot:
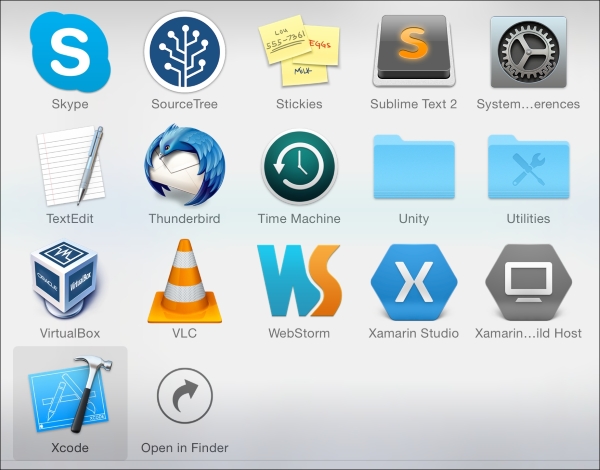
After selecting the Applications icon, click on the Utilities folder:
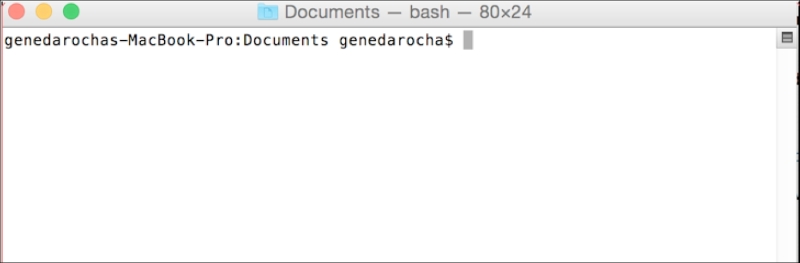
Once the Terminal window is clicked, the following window is displayed:
Once you're in this directory, perform the following commands: the first one is to create a project, and the second one is to create a directory with your app name:
$cd ~/Documents
$cordova create hello com.example.helloHelloWorld
A package for the Hello program has now been created using Cordova. Before you start to build any projects, the system needs to know which platforms to target, for example, Android, iOS, or Windows. Cordova now has the iOS platform added to it, as shown in the following code:
$ cd hello
$ cordova platform add ios
Once a platform is added, performing the following command will outline the platforms your application can work on:
$ cordova platforms ls
Installed platforms: ios 3.7.0
Available platforms: amazon-fireos, android, blackberry10, browser, firefoxos
Within the Hello application, perform a directory listing with ls-l and you will see a variety of directories, such as platforms. Set the platforms directory as the default. Then perform an ls-l listing to see a variety of directories, including the HelloWorld.xcodeproj file.
Once you open the Hello.xcodeproj file, Xcode will wake up and you will see the project name. You can enter a company identifier as well. See the following screenshot.
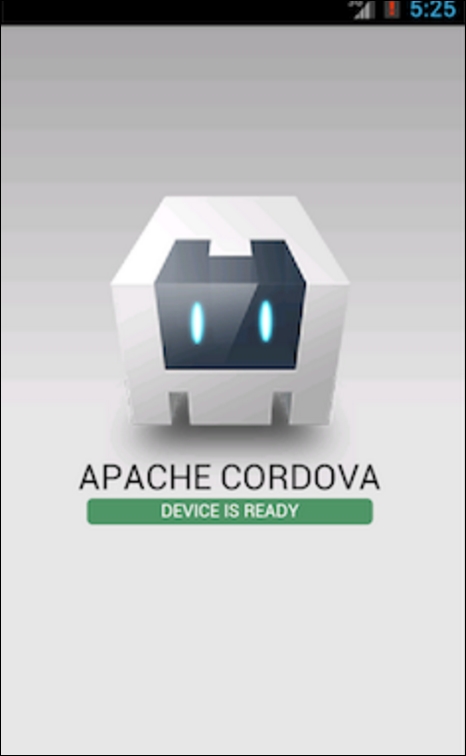
You will be prompted for a simulator phone to be selected upon execution. Select iOS simulator for iPhone 6.0. Next, select the simulator and click on the Run button to compile, link, build, and execute the simple application. You will be presented with the Cordova image, as shown in the following screenshot, and the Hello app will then be displayed:
At this stage, you have set up an Xcode project with Cordova or PhoneGap and some basic code. Now it is time to add some HTML5 code into the mix to show how both aspects of PhoneGap/iOS and SQLite work together.
In addition to the method used previously to install Cordova, the easiest way is to download and install PhoneGap directly, without going through the command-line method. Click on the Download button on the PhoneGap download page at http://phonegap.com/download.
The process may alter for some of its versions, but will usually be the same for most of them. Next, the .zip file is downloaded, so open it up and extract the files to a directory. Then install the PhoneGap program, which will deliver the interface, and once this step is complete, create an Xcode project, as shown in the following screenshot. Since you have done this before, doing it this way is even easier:

When you've performed the preceding task, like with previous installations, an extra icon for PhoneGap will appear. Since you have installed the components required for Xcode and PhoneGap to work together, you are now ready to start developing.
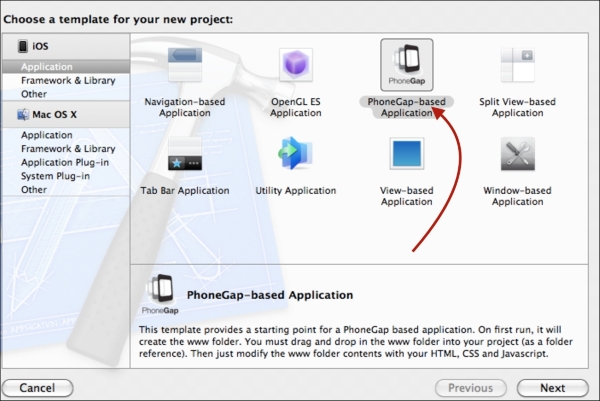
The following screenshot shows how to select the PhoneGap app type:
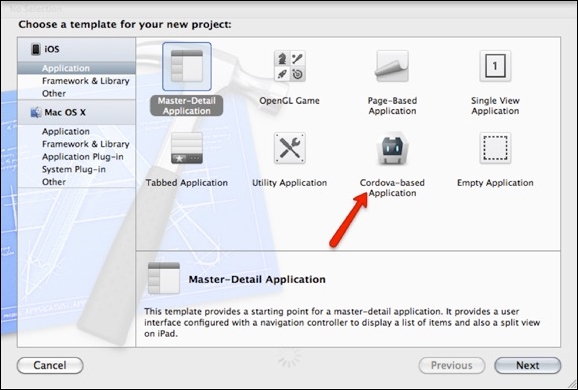
When creating a Cordova application, you must select the Cordova-based application template, as shown in the following screenshot:
Next, choose the project name for this project—enter Hello:
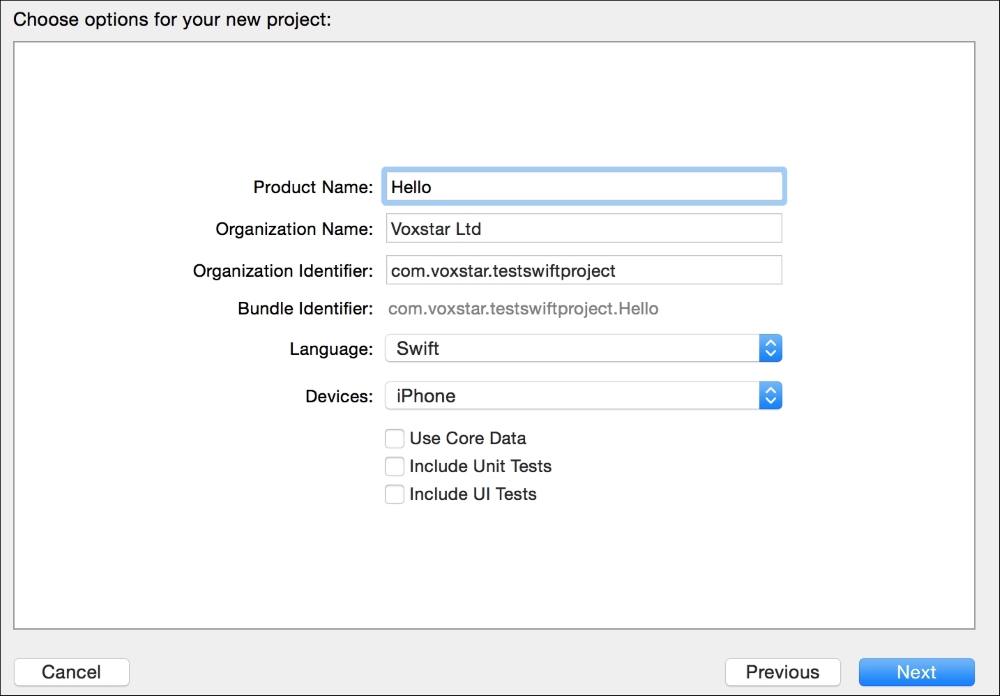
The next field is for a company identifier ID. Like before, please add a unique identifier, which is usually the reverse of the domain name.
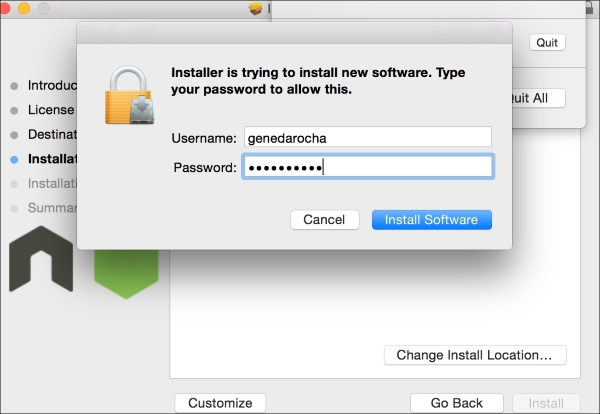
This is a standard way to install the PhoneGap framework with Xcode. In your browser, go to https://nodejs.org/ and press the Install button to download the JavaScript library called node.js. Finally, enter the admin/username and password details to install the software locally:
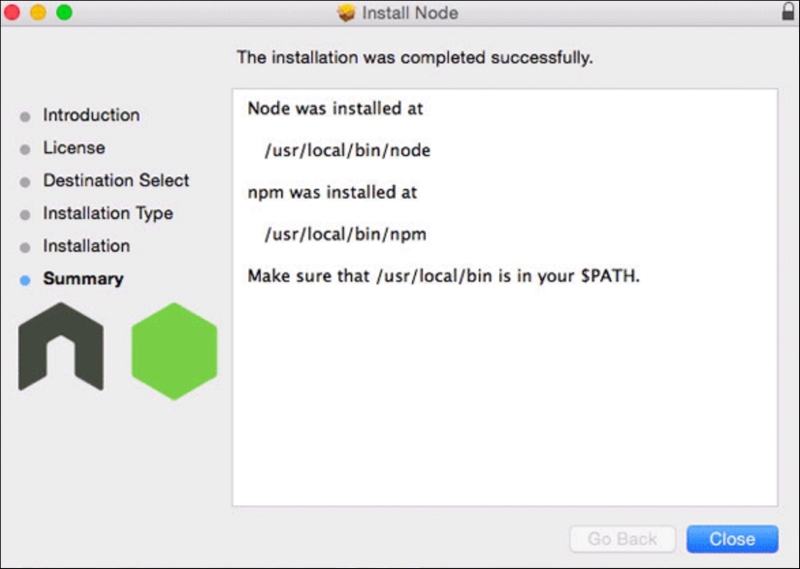
Your successful installation message will be as follows:
Once it is installed, follow these steps:
- Open up a terminal application and type in the following command:
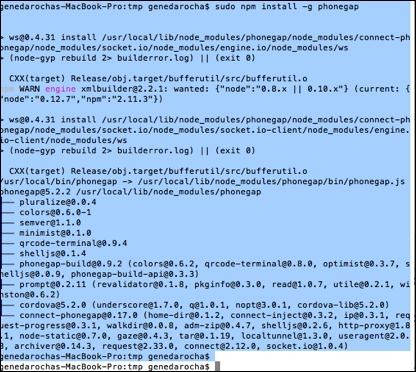
$ sudo npm install –g phonegap - Enter the password for root as well to perform the actual installation. Once this is done, you can use the PhoneGap command and prompt it for some help or assistance.
- The following is a screenshot of the PhoneGap program installing the software using the preceding command:
- Next, to actually set up your application, please perform the following commands. First position and set the default to the right directory within the terminal application program.
- Run the
$ phonegap create Hellocommand. (Hellois your app's name.) Next, set the default to the application directory in which you just created your PhoneGap app.
The following screenshot shows the local directory and the creation of a new Cordova project called Hello. A new project has been created with all the necessary components for this new test app:
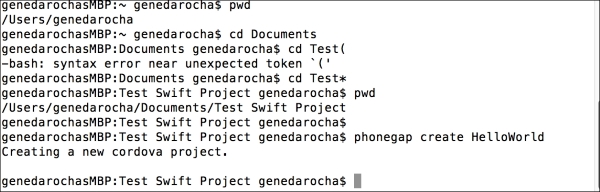
Next, at the prompt, perform the following command to run the application in iOS. Run the $ phonegap run ios command. If you run the iOS project from anywhere, the following error will be displayed. But if you set the default to the right directory (Hello), then it will work:
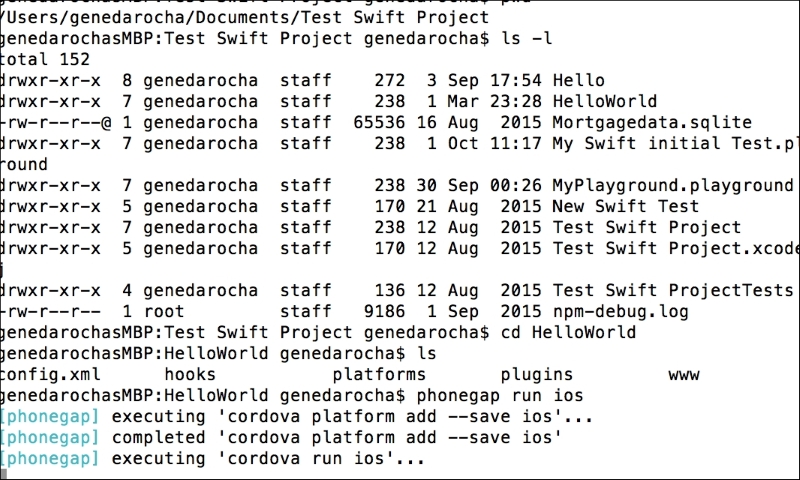
- In the next code, you can see the call to PhoneGap to get the app working. The process has been made much smoother, to operate and work for the benefit of creating apps.
- Next, we will add some HTML5 to the source code:

- Once the new Hello basic application has been compiled and built, the following image will appear, showing the Cordova system. This is very important, and it is key to know that PhoneGap and its Cordova components are registered and working as intended:

- We can now develop this app further by adding some SQLite and HTML5 code. It is very important to get the base of the product set up, tested, and ready for further development:

Note
Further information about PhoneGap can be found at docs.phonegap.com.
To open the code base using the Xcode project file (Hello World.xcodeproj), follow these steps:
- Click on the file in the Hello Directory | Platforms | iOS, which will then bring up the Xcode, code, and source files.
- The following is a screenshot of the Xcode source file area for our test application. In order to add the SQLite library to your project, click on the Build Phases tab, then select the Link Binary with Libraries menu option and add one of the following libraries from
libsqlite3.dyliborlibsqlite3.0.dylib:
Next, open the Hello Xcode project file as shown in the following screenshot. Within the structure, expand the Xcode project to reveal the HTML file within. Then add some of the following HTML5 code into the .html file, and compile, and run it:

Add the following HTML5 code, which will perform some simple SQLite statements. It will take a couple of input numbers; check for the existence of a local database/local tables, create necessary tables, store the data, and retrieve it. This code will be part of Xcode; use Cordova/PhoneGap to compile the source code, and execute the results to run the mobile app. Once you enter the code into the index.html file within the Hello app, save the file, and quit Xcode.
This is a simple HTML5 app, which creates a database called testdb. It checks to see whether the BLOGS table is created. If not, then it will create the BLOGS table, enter two records for blog information, and display the data on the screen. You can see the following code and results:
<!DOCTYPE HTML>
<html>

<head>

<script type="text/javascript">

var db = openDatabase('testdb', '1.0', 'Test DB', 2 * 1024 * 1024);
var msg;

            db.transaction(function (tx) {
tx.executeSql('CREATE TABLE IF NOT EXISTS BLOGS (id unique, log)');
tx.executeSql('INSERT INTO BLOGS (id, log) VALUES (1, "This is test blog 1")');
tx.executeSql('INSERT INTO BLOGS (id, log) VALUES (2, "This is test blog 2")');
                           msg = '<p>Blog message created and row inserted.</p>';
document.querySelector('#status').innerHTML =  msg;
                           });

                           db.transaction(function (tx) {
tx.executeSql('SELECT * FROM BLOGS', [], function (tx, results) {
var len = results.rows.length, i;
                                                        msg = "<p>Found rows: " + len + "</p>";
document.querySelector('#status').innerHTML +=  msg;

for (i = 0; i < len; i++){
                                                        msg = "<p><b>" + results.rows.item(i).log + "</b></p>";
document.querySelector('#status').innerHTML +=  msg;
                                                        }
                                                        }, null);
                                          });

</script>

</head>

<body>
<div id="status" name="status">Status Message</div>
</body>

</html>- Click on the Terminal app, and within the Terminal app, set the default to the
Helloapp directory, as shown in the following code:
- Perform the
phonegap run ioscommand, which will bring up the PhoneGap/Cordova start screen, as shown in the following screenshot. This shows that the Cordova/PhoneGap environment has been set up properly, and the application will start to execute: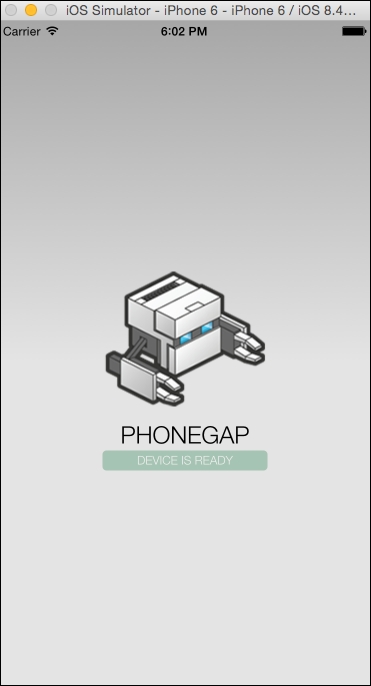
- The following is the output from the
Helloapp. It shows two records, which are inserted, and then displayed. It is a simple process, but the workflow is the same as we discussed: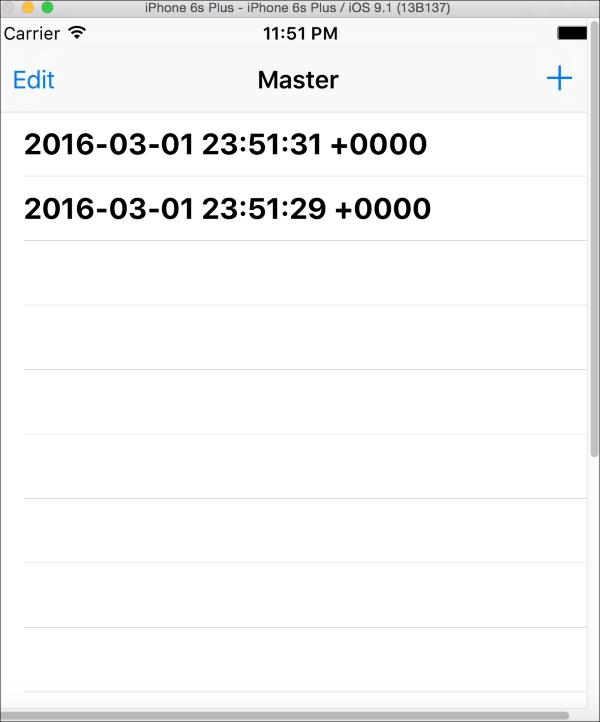
After this exercise, you have learned how to install Node.js and Cordova, and how to create a simple iOS application, run Xcode, and simulate a simple application using an iPhone 6.