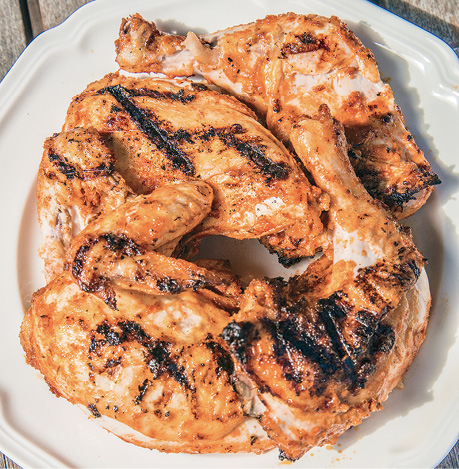
Reverse sear. The best cooking technique for poultry is the reverse sear. Set up a two-zone configuration on your grill. Slowly warm the bird at low to moderate temperatures (225 to 325°F) in the indirect zone with the lid down until it is not quite done (about 145°F). This helps render fat and prevents flare-ups and burning the volatile skin. Then hit it with high direct radiant heat, lid up, to brown and crisp the skin and meaty side.
Break down the bird. When you grill chicken parts, the meat can brown on all sides (remember, brown is flavor), and you can remove each piece when it hits the optimum temperature. Some cooks worry that more cut surfaces mean more moisture loss, but cut parts cook a whole lot faster than a whole bird, and the longer the bird is on the heat, the more it dries out.
You can save money by purchasing a whole bird and cutting it up yourself. Use kitchen shears to remove the backbone and save it for making chicken stock. Chicken stock is one of those ingredients that has endless uses, and homemade is always better than store-bought. Trim off excess fat and skin and the tips of the wings and throw them in with the back for stock. Add the neck and giblets. Save the liver in the freezer and when you get enough you can grill them or make a pâté.
Snip the thin meat that connects the thigh to the breast. If you wish, you can cut the drumstick off the thigh and you can cut the wing off the breast.
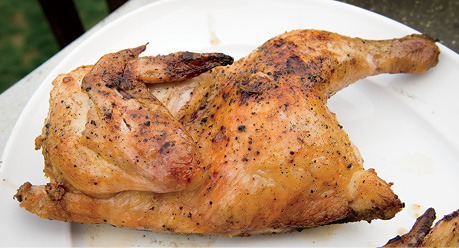
Halving the bird. Cutting the bird in half is also a good technique. The fat drains easily through the cut skin, and you can brown both sides. The problem is that the thighs easily tear off when you move the meat around, since there is little other than skin holding them to the breasts, and the wings are on top of the breast, so they cook at a much different rate than everything else.
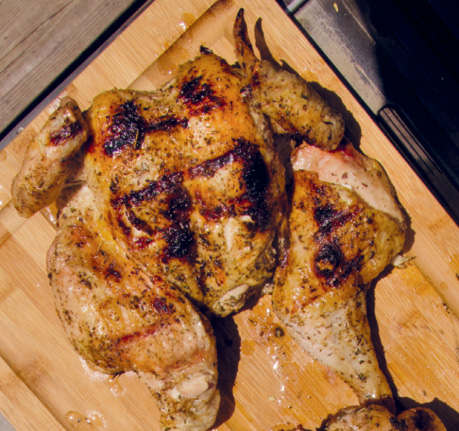
Spatchcock (butterfly) the bird. Take out the backbone and flatten the bird. Cook the bird skin up on the indirect side, then flip it skin down on the direct side for a few minutes. This browns all sides, but you have to be careful that the legs don’t fall off when you flip.
Roasting it whole. You can roast a whole bird easily on the grill. The problem is that all the heat still comes from the outside, so the outside tends to overcook while the inside remains colorless and sometimes undercooked. Because breasts are much thicker than other parts, and they are not very forgiving, cooking whole birds usually ends up with something over- or undercooked.
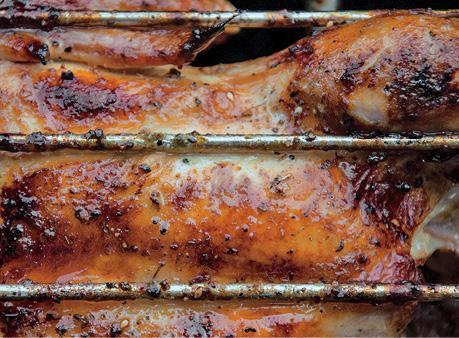
Rotisserie chicken. Season the interior and exterior of a whole bird, and the juices from the rotating bird will roll around on the surface and fewer juices will fall into the fire compared to when it is sitting still on the grill.
-
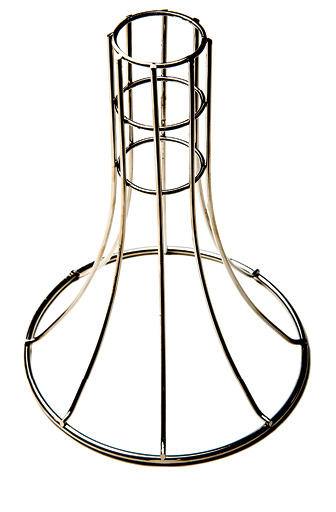
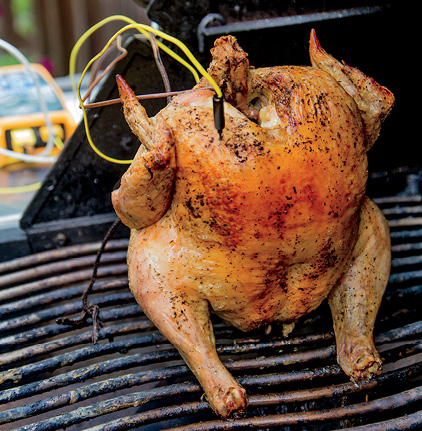
Vertical roast. If you must cook whole birds, I recommend vertical wire roasting frames, which allow air to enter the cavity and cook the meat on the inside. Vertical roasting over indirect heat uniformly cooks the meat and crisps the skin. The legs are closer to the heat so they get close to optimal temperature, while the breasts lag just the right amount behind. As long as you monitor the temperature the meat will be moist and tender. But the inside still doesn’t brown because the air gets trapped in there, and convection flow browns better. If you use a wire roasting frame, I recommend that you insert a knife down into the neck cavity from above and open a “chimney” connecting to the abdominal cavity, so hot air can travel through.
Myth Beer can chicken is the best way to cook a bird.
BUSTED! Yes, I know your BCC tastes wonderful. Yes, I know your neighbors and family think it is absolutely, positively fabulous. That’s because it is a roast chicken, and what’s not to love about roast chicken?
But beer can chicken is a waste of good beer and an inferior cooking technique.
The popular procedure is to use room-temperature beer, drink half the can, and punch holes in the top. Some folks put herbs and spices in the can and use a nice flavorful rub. Insert the can in the cavity of the bird and place it on the grill.
Believers think the beer moisturizes the meat. But there’s no way the beer can escape the can and contact the flesh because the can blocks sideways movement of the beer and the beer never gets hot enough to steam and come out the top. We have measured it.
Here’s why: The chicken is a thick, wet insulation blanket wrapped around the beer. It is, in effect, a chicken beer koozie, so the beer warms at about the same rate as the meat. Remember, the meat is 70 percent water and the beer is more than 92 percent water. The beer and chicken become a single thermal mass. If you cook the chicken to 160°F, the beer will not rise above 150°F, 62°F below the boiling point of water. In all my tests, the weight of the can was the same before and after cooking, and in some cases, because fat had dripped into the can, it weighed more! With a fat layer on top, metal can all around, and a temperature below boiling, there is no way the beer can escape the can and moisten or flavor the meat.
Believers also say the beer adds flavor. According to Scott Bruslind, laboratory manager at Analysis Laboratory, on average, 92 percent of beer is flavorless water and 5 percent is flavorless alcohol. If you want to add flavor to the inside of the bird, throw herbs and spices in there!
BCC is also a health risk. Since the center of the bird is cooled by the beer can, the risk of undercooking is high. And wiggling that can out of the cavity can cause a nasty burn.
The final proof: Many fine dining restaurants serve roast chicken, but you’ve never seen a white-tablecloth restaurant serve beer can chicken, have you? That’s because professional chefs know there are many better ways to roast a chicken. And they hate wasting beer.
Proper meat temperature. Remember, you cannot tell when chicken is safe by wiggling the drumstick, or watching for the juices to run clear, or looking at the color of the flesh. There is only one way: a modern digital thermometer (see page 96). Place your instant-read food thermometer probe in the thickest part of each piece, but don’t touch the bones. The wings will finish much faster than the other parts, so put them on late and be prepared to remove them early.
Dark meat has about 10 percent fat, so it tastes and feels best at about 170°F. Since white meat has only about 6 percent fat, and it dries out quickly if it is overcooked, it has its best texture and juiciness at about 155°F, but that’s 10°F below the USDA recommendation and the risk is too great at that temperature. I recommend cooking it to 160°F and letting the temperature rise to 165°F from carryover while it moves from the cooker to the carving board.
Cooking temperature. Chicken and turkey don’t have a lot of tough connective tissue, so they don’t have to be cooked as low and slow as things like pork ribs. You can reverse sear parts and halves starting at 325°F on the indirect side in order to render more fat from the skin and get it crispier. If you have a smoker or grill that doesn’t get to 325°F in the indirect zone, you will need to cook the bird longer. Don’t sweat it. The skin will still brown because the Maillard reaction can take place at lower temperatures, though at a much slower pace. Besides, the smoke is going to darken the skin, too. If the skin isn’t crisp by the time the meat hits 145°F, move the bird over direct heat or put it in an indoor oven or on a grill at 350 to 400°F.
Going skinless. I know the skin tastes great, and there is a lot of moisture and flavor in the fat just under the skin, but if you take it off, you can save enough calories to have ice cream for dessert. Surprisingly, you can get a nice crispiness on skinless chicken during the searing part of the reverse sear. Add the right rub and you get a bark.
Smoking poultry. Go easy on smoke. It is really easy to oversmoke poultry. It likes smoke, but not too much.
