Your approach to fixing non-manifold edges will vary depending on the circumstances. As a general rule of thumb, my strategies are:
- Are there other contributing issues? As we have seen, other problems in the model can lead to non-manifold edges. As the first plan of attack, remove doubles and check face normals.
- Do you have missing faces? It is possible your non-manifold edges could be resolved by hitting F to create a missing face.
- Are these extra edges or geometry? Sometimes deleting the offending non-manifold edges puts your model back intact.
If the model is still troublesome, you do have the option to delete and recreate offending edges and faces. That could be a tedious venture. Luckily, the 3D Printing Toolbox has a button to make model changes for you. The steps to use that are:
- In Object Mode, right-click to select the troublesome object.
- In the Tool Shelf on the left side of the screen, look under the 3D Printing tab and click the Make Manifold button:
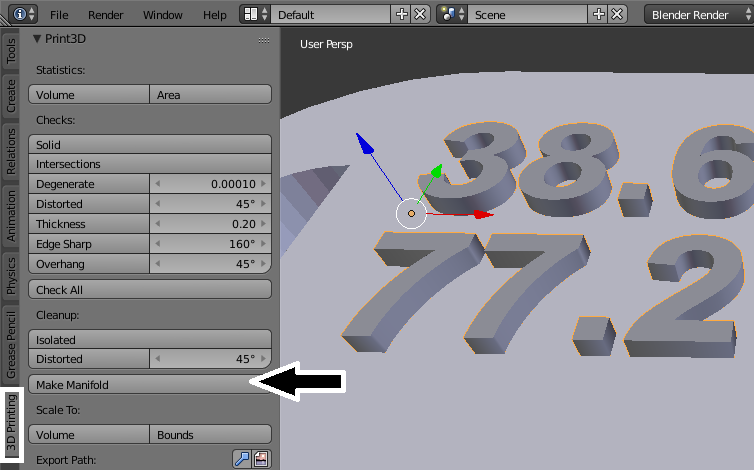
An information section at the top of the screen will list the changes that were made to your model. This includes changing and making new faces:

If you don't like the automated changes or if your model still gives you issues, do not despair. There are tools outside of Blender that can repair your model and prepare it for 3D printing. One such tool is already installed with Windows 10.