
Part 1
Rick’s Recipe
New to digital wedding photography? Want to jumpstart your photo learning? Yeah, well then this chapter is for you. It offers some basic tips— time-proven techniques you can use to get a feel for weddings and to develop an eye for photographing them.
Check out this chapter first, and then move on to more detailed information in the subsequent chapters.
Hey, I know you want to dive into all the cool techniques in this book, but I figure some of you might want to start with some general tips on being a wedding photographer first. Start with the basics on how to go about covering one of the most important days in a couple’s life.
These are just a few quick tips, illustrated with istockphoto.com photographs. Let’s go!
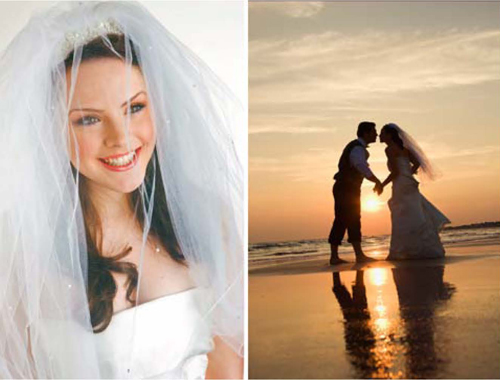
Know Your Gear
First and foremost, you must know you gear—your cameras, lenses, flashes and so on—inside and out before you show up to shoot a wedding. Since you’ll be shooting in a variety of lighting conditions, indoors and out, you must be prepared for everything. No surprises. You also must know your computer system and your digital image-editing programs … very well. You simply can’t afford to miss, mess up or lose a shot. It’s a wedding!
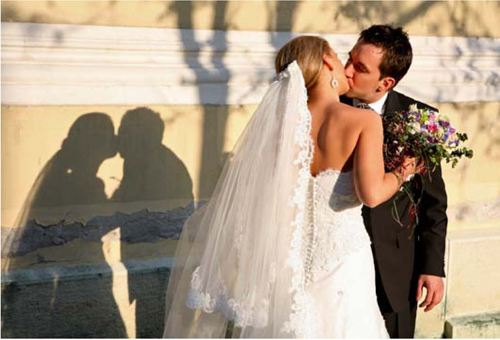
See the Light
Light is the key component in every picture. No light, no picture. You need to look for shadows and highlights, and know when to expose for each. You need to see the contrast range in a scene, and you need to see the color and direction of the light. Keep an eye on the light, and you’ll get pictures that will light up the hearts of your clients.

Get to Know the Bride
The bride is the centerpiece of a wedding day. In almost every case, she is the one for whom your pictures are most important. Get to know her. Know what she likes and what she dislikes photographically, and be aware of the people and things she holds especially dear on her wedding day. Also get to know her personality, and try to capture it in your photographs. Try to put yourself in her shoes (well, so to speak).
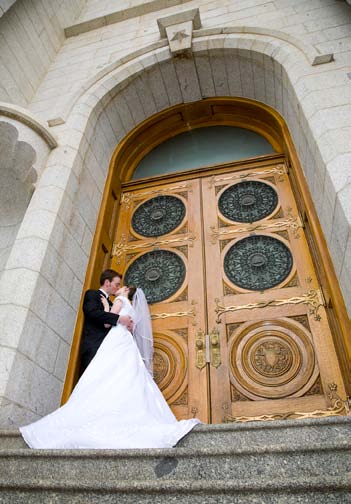
Scout the Location
Before the big day, spend some time at the wedding site looking for creative angles. Look for potential challenges as well as opportunities. Take some test shots indoors and out and experiment with ISO, white balance, etc. Follow the motto of the Boy Scouts of America: Be prepared. Keep in mind that you will not be able to move around so freely during the ceremony. Make a plan.
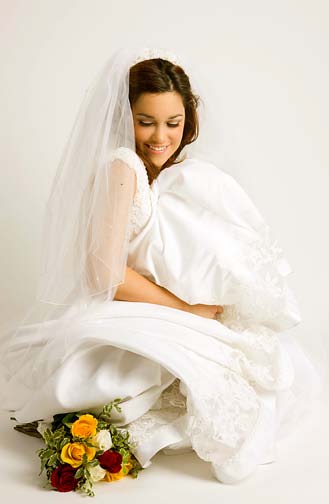
Point and Shoot in the Studio
When a bride and groom come into your studio, they don’t want to see you experimenting with different lighting set-ups. What’s more, they don’t have the time for your experimentation. Therefore, you must know your lighting set ups completely. When the bride and groom get under your lights, it should become an exercise in point-and-shoot photography.
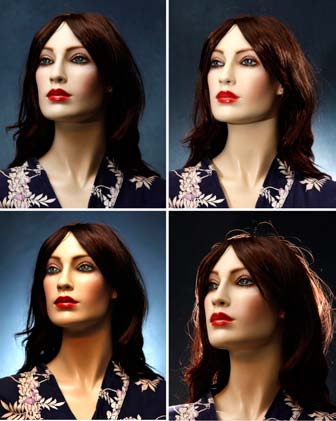
Practice Studio Lighting witha Dummy
One easy and affordable method for honing your lighting skills is to practice with a mannequin. When working with a dummy, you can place lights in different positions for different effects… and without any threats of charging you overtime.
Here you see, clockwise from the top left, the effect of using:
- one main light
- a main light with a background light (set to half power) and a hair light
- a main light with a background light (set to full power) and a hair light
- a main light and a light behind the subject pointed at the subject
As I mentioned on the previous page, you can’t waste time experimenting during a real shoot. If you do, you may look like a dummy.
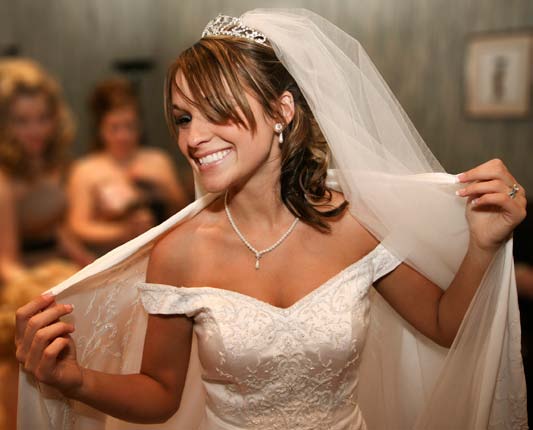
Cover the Excitement at the Bride’s House
For the bride and her friends (and often her parents if they are not too nervous), one of the most enjoyable parts of the wedding day is before the ceremony, when the bride’s friends are gathered at her home. Show up on time (not early and not late) and capture all the fun.

Don’t Miss the Key Ceremony Shots
Sure, be creative and take photographs that perhaps not every wedding photographer on the planet would take. But don’t miss those all-important shots, especially the first kiss. Make a shot list with the bride and groom before the big day, so that no one is disappointed during the photo-review session.
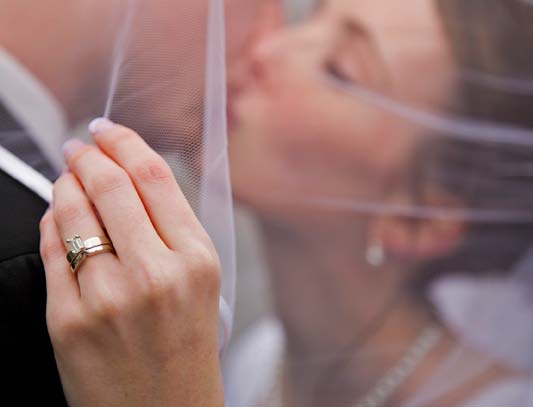
Don’t Forget the Details
On the wedding day, it’s important for you to see the big picture, capturing all the fun and excitement. But it’s also important to photograph the details, including the wedding ring(s), table placards, wedding cake toppers, etc.
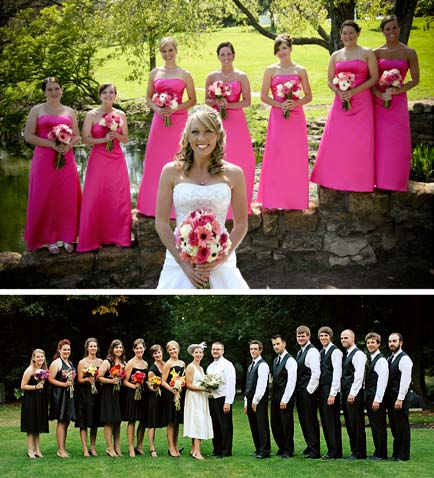
Be Creative with Group Photographs
Check out these two images. The top image shows creative posing in a nice setting. The bottom image is a standard “get in line” shot. Before the wedding day, find out how many people will be in the group photos, and plan your shots—posing and location—accordingly.
Utilize Nice Natural Backgrounds
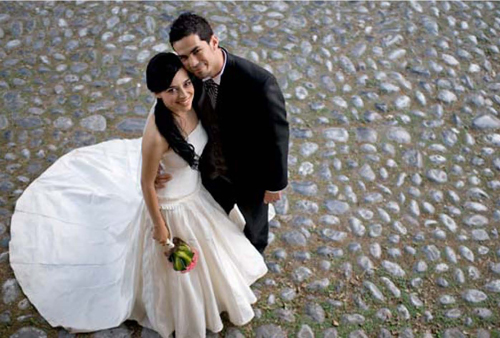
The background of a photograph is critical, so scout the locations in which you’ll be shooting and look for interesting backgrounds. Remember to always look up, down and back.
Shoot from Creative Angles
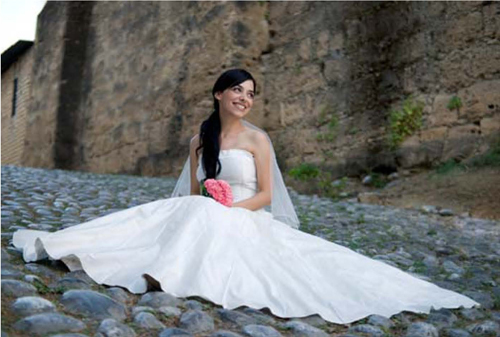
If you want all your pictures to look the same, then take every one from a standing position … and shoot only the bride and groom when they are standing up, too. Ho hum! Want something different? Experiment with different poses and shooting angles; you’ll get a much more interesting set of images. Important: Keep the comfort of your subject(s) in mind at all times. Don’t ask them to do things they would not do naturally.
Learn Digital Darkroom Enhancements
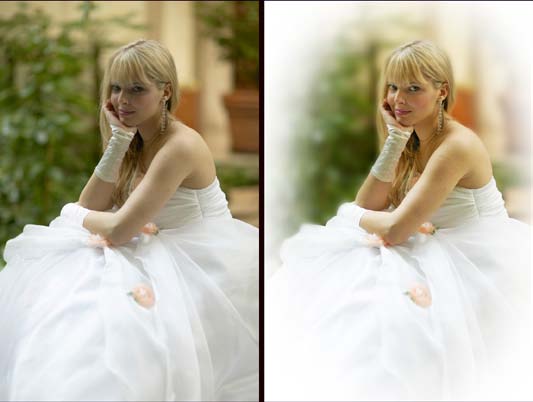
If you want to be competitive with other wedding photographers in your area, then learn Photoshop. Photoshop can not only save many a day by fixing some of your mistakes, but it also offers many creative enhancements that brides love! Don’t miss the Photoshop section of this book.