By default, it displays the Work Items screen, showing you the items assigned to you or the tasks/bugs you’re working on or have worked on. We have created a new project so you will get a blank page; to start with work items, you need to create a few backlog items and then assign them within the team.
Click on Backlog and then add a title for your Product backlog from the new template that appears on the screen. See the following screenshot:

You can see in the preceding screenshot that, by default, you are given six sprints. Now, open a newly created product backlog item and provide a complete description – details such as efforts for this work, who will work on this item, or who will be the owner of this work item. See the following screenshot, which shows everything:

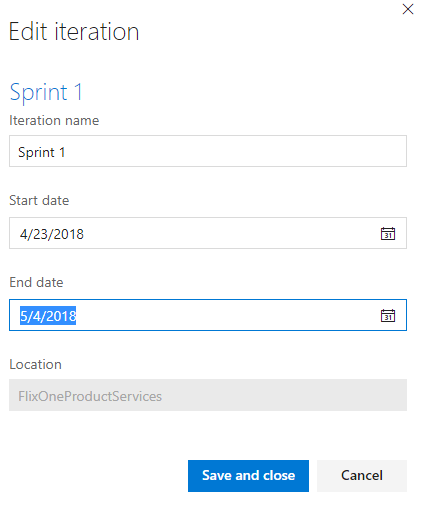
Now, go to Sprint 1 and set the dates – you should set the dates to start your current iteration as shown in the following screenshot:
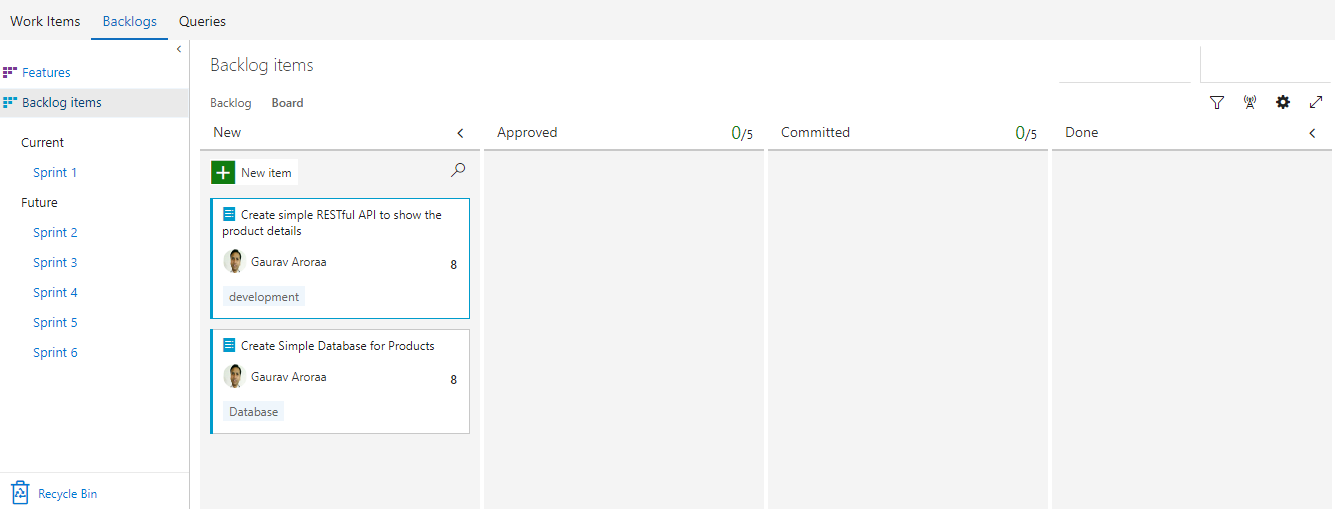
Similarly, you can add more product backlog items. Do not move items to Sprint 1. The board view of the Backlog items screen would look like the following screenshot: