You need to have access to Visual Studio Online/TFS Online (now VSTS) to host a project. For this you need to follow these steps:
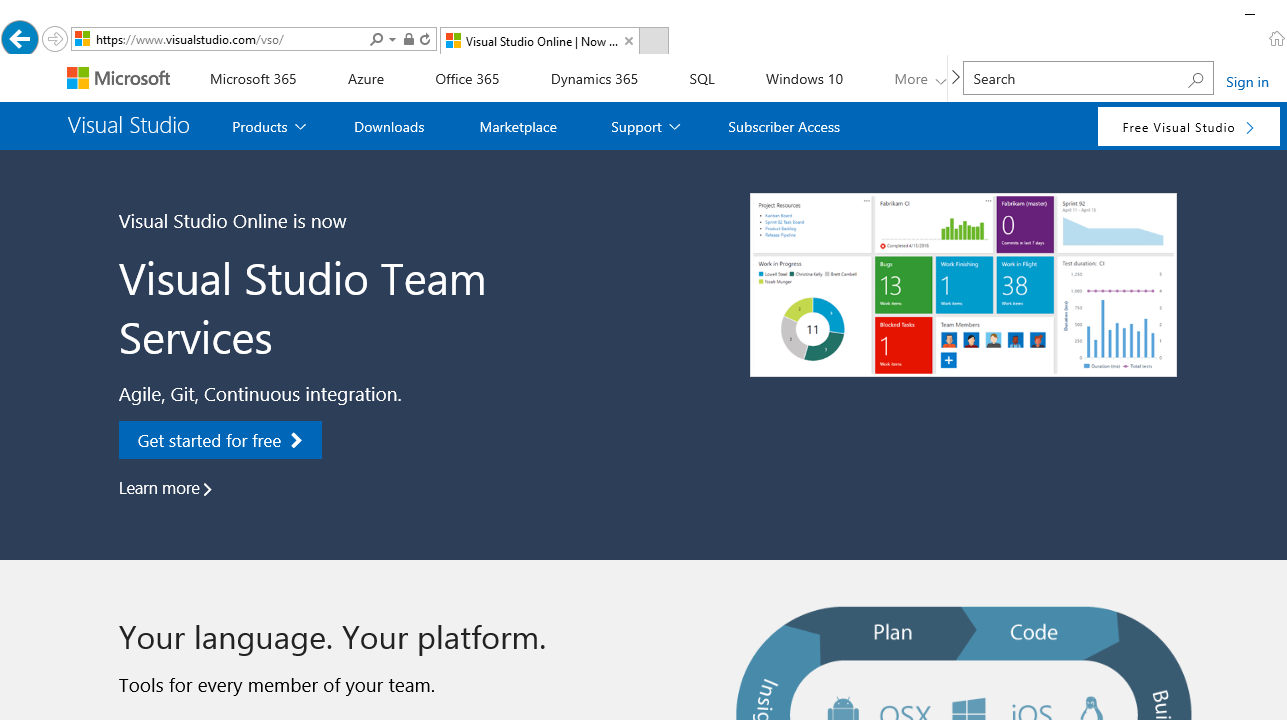
- Go to https://www.visualstudio.com/vso/ using your preferred browser.
- Click on Sign in, as shown:

VSTS home screen
- Enter your Microsoft account; you can create one if you don’t have one.
- Follow the steps and create your account.
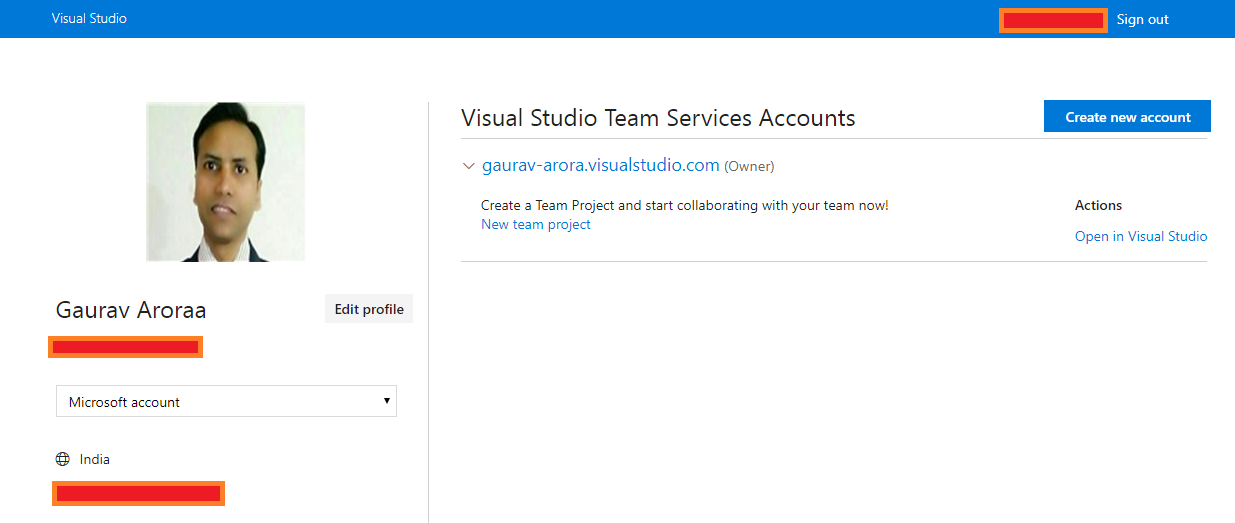
- You will be redirected to your Visual Studio Team Services Accounts page:

VSTS my profile page
- Click on Create new project.
- You will be redirected to a new page where you will be asked for some information related to your project.
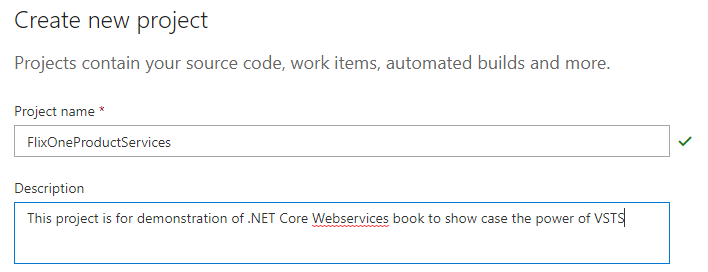
- Add your project information, as in the following screenshot:

Creating a new project
- Select your version control – you will be given the choice of Git or Team Foundation Version Control (TFVC).
If you are confused with the options, refer to this link for a comparison between Git and TFVC: https://docs.microsoft.com/en-us/vsts/tfvc/comparison-git-tfvc?view=vsts.
In our case, select Team Foundation Version Control:

- Now, select Work Item Process, refer to https://docs.microsoft.com/en-us/vsts/work/work-items/guidance/choose-process?view=vsts to know more about the various options available. In our case, select Scrum:

- Now click on Create.
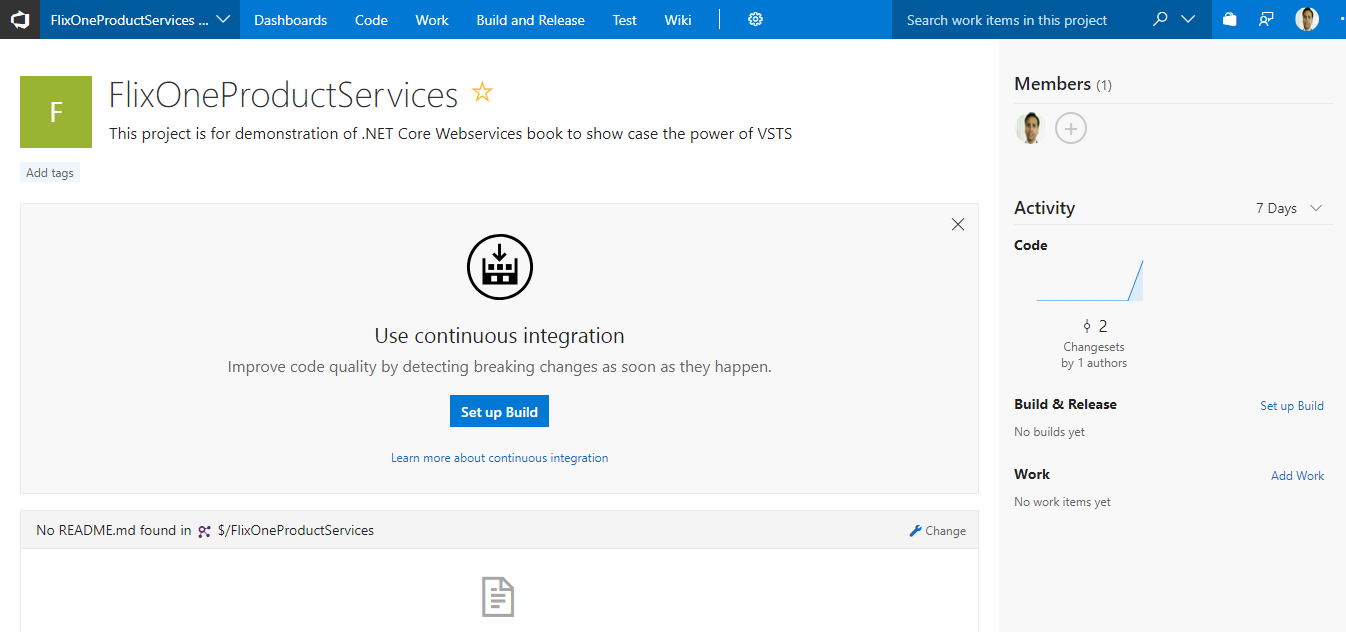
- You will be redirected to a newly created project page that looks like the following screenshot:

FlixOneProductServices project main screen
- The project main screen is a quick display page, where you can see all the activities quickly.
Your project is created and now you are ready to start with your project.