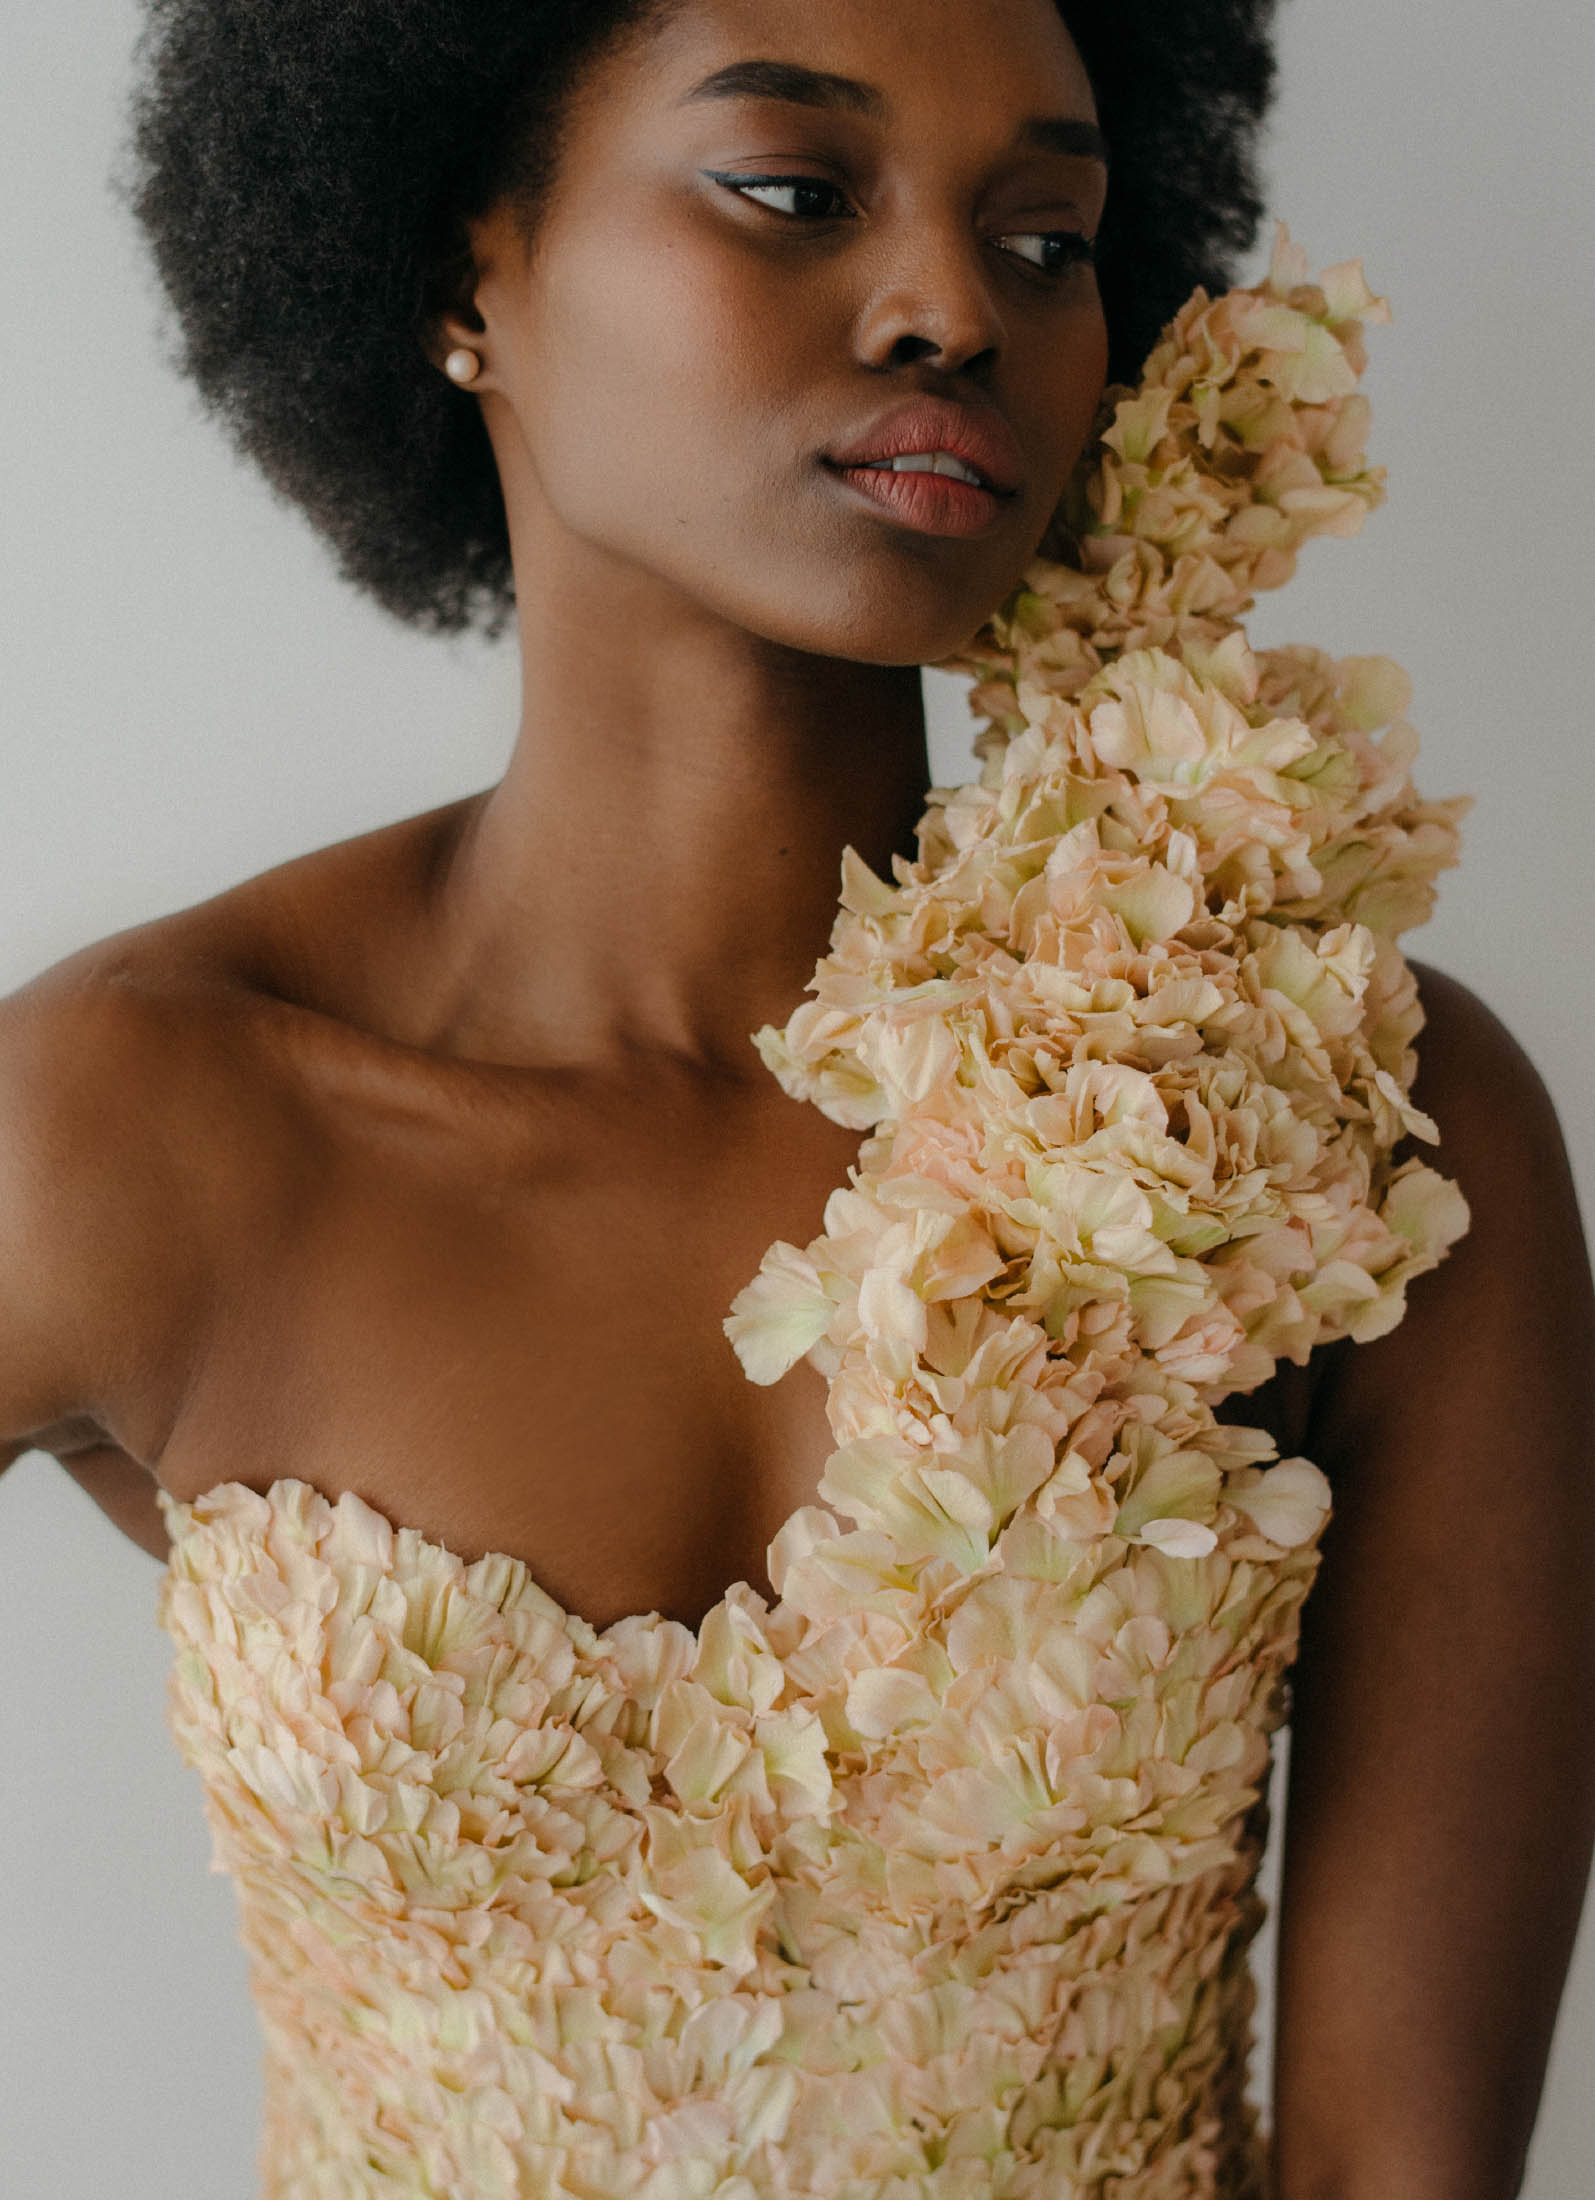
The idea for this carnation petal bustier was loosely inspired by the incredible couture designer Krikor Jabotian. I happened upon a particularly beautiful photo of his work—an intricately ruffled, multidimensional construction of fabric petals arranged on a brocade bodice—and it sparked my imagination. I used a purchased bustier as the base for this design and created the asymmetrical shoulder portion of the bustier out of craft foam, then sewed that to the bodice. This design took me 61/2 hours to make, using an estimated 2,660 carnation petals. The leathery durability of the carnations made them the perfect choice for such a time-consuming piece.
STEP 1: Cut the carnation calyxes, freeing the individual petals. You can cut them ahead of time or as you work.
STEP 2: Cut a 10 by 3 in (25 by 7.5 cm) oval out of the faux leather as the base for the craft foam part of the design.
STEP 3: Sketch ovoid shapes of various sizes on the craft foam. This is where you can have fun and experiment. The shapes don’t need to be perfect, as they’ll be covered entirely with carnation petals. Aim for 10 to 15 ovals, ranging in size from 41/2 to 61/2 in (11 to 16.5 cm) long and 3 to 31/2 in (7.5 to 9 cm) wide. Cut them out.
STEP 4: Roll each craft foam oval to form a little cone. Hot glue the seam of the cone to secure.
STEP 5: Place the bustier on the dress form and snap it into place.
STEP 6: Tape the faux leather platform for the shoulder piece to the form to keep it in place while you’re attaching it. Either affix it to the bustier using hot glue, or, if you want to use the bustier for a future project, sew it to the bustier using fishing line or a heavy-duty thread.
STEP 7: Add the cones to the faux leather base using hot glue. Press and hold each cone in place until the glue sets. Work your way down the faux leather base, staggering and alternating direction with each cone. In addition to gluing the cones to the faux leather base, also glue them to each other. Add any additional cones to fill out the design as desired.
STEP 8: Cover the entire bustier with clear packing tape. This will protect the surface of the bustier so it can be used again and also provide a more reliable surface for the petals to adhere to. If the tape feels insecure, unsnap the bustier and, working with long lengths of tape, wrap the entire inside and outside of the bustier.
STEP 9: Trace a line with floral glue to the exterior perimeter of the highest cone. Press individual carnation petals to the glued area, making sure each is adhered. In addition to adding glue to the cone, you can add some to each petal for added strength. Work your way around the entire cone, row by row, before moving on to the next cone.
STEP 10: After the shoulder portion of the bustier is complete, move on to the breast cups. Trace a fine line of floral glue on the top edge of the cup and attach individual petals, pressing each in place for a few seconds. Work across the entire contour of the cup, then add another line of adhesive and start another row of petals underneath the first. With each row, pay attention to the contour of the area and shorten your rows appropriately to trace the line of the breast cup.
STEP 11: Trace a fine line of glue across the entire trunk of the bustier. Place petals in uniform rows, working your way across the torso area. Continue until the entire bustier is covered with neat rows of petals.
STEP 12: For added visual interest and to break up the uniform rows of petals on the torso, add a cascade of petals starting from the top of the torso all the way to the bottom.
STEP 13: Once the bodice is completely covered, consider gluing on individual petals to cover any problem spots or to add more movement to the shoulder portion of the design.
STEP 14: Spray the completed piece thoroughly with water, cover with a plastic bag, and store in your cooler or a dark cold place.