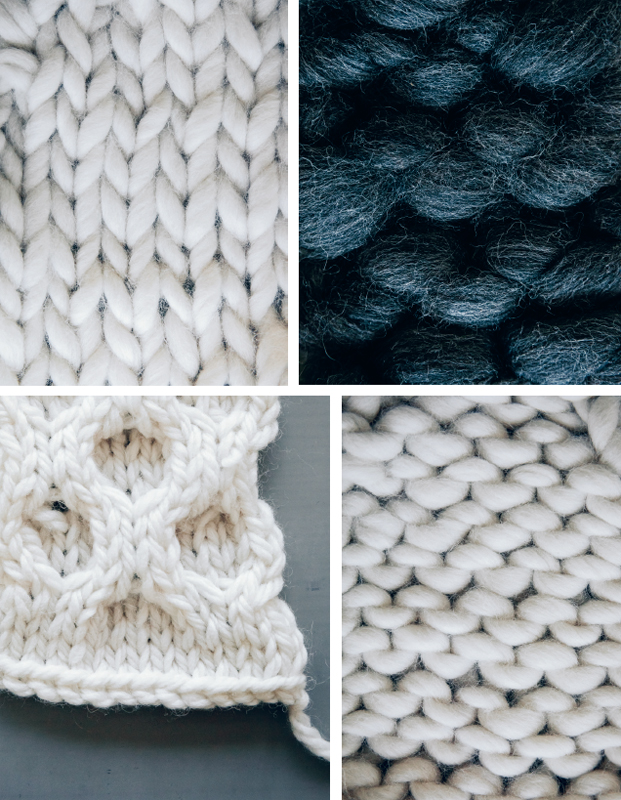
All knitting designs involve a bit of maths to create them! Each design will have had many experiments with yarn, needles and stitches in their creation. I knit many swatches to experiment with the weight, feel, and drape of the knitted fabric. Once I am happy with one, the selected swatch is then measured to give a stitch count and a row count. These figures are then used to calculate the pattern instructions so that the design can be replicated.
The stitch and row count, or tension, is unique to the particular design or to the designer who has created it. Allowance may have been made for ease, stretch or hand feel of the fabric, which means that the tension stated in a pattern may differ to that stated on the ball band. Yarns generally comply with an industry standard weight and recommended needle size. The ball band or label around a yarn will specify a stitch and row count following these guidelines.
In order to achieve the best possible result when following a pattern, it is always recommended to knit a tension swatch before you begin the project, to make sure that you are on the same wavelength as the design or designer – i.e. achieving the tension as stated at the beginning of the pattern instructions. If your tension is looser or tighter than the one stated in the pattern, your garment will be larger or smaller than the specified size. So time spent here can save a lot of heartache later on.
A pattern will give a tension that is a stitch count and a row count measured over 10cm on a particular needle size. The way that you knit, hold the yarn and needles, how you control the yarn through your hands, and even your mood (many knitters will have experienced a tighter tension when stress levels are high!) will effect the tension. That is what makes us all individuals and gives all handmade garments their own signature. I always knit a much larger square than the minimum 10cm, usually 25cm square, to achieve a more accurate result. It is important to also experiment with a size smaller or larger needles to see how this changes the feel of the knitted fabric.
Most books will recommend pinning out an area of your swatch and measuring it with a tape measure or a ruler, however I have found that most knitters are reluctant to do this. Therefore to simplify the process I use a basic square template (quickly cut out from scrap cardboard), whichcan be placed over your large knitted swatch to define the 10cm square area within which to count the stitches.
1. Knit a large swatch using the recommended needles and desired yarn.
2. Wash and dry, or simply steam the swatch, then pin it out on an ironing board or blocking board.
3. Place the cardboard square template over swatch.
4. Count the stitches inside and make a note. Count the rows inside and make a note.
If the number of stitches and rows is greater than it says in the pattern, your tension is tighter, so you should try a larger needle. If the number of stitches is fewer, your tension is too loose and you should change to smaller needles.
The stitch count is the most important as most patterns will require you to work to a certain length.

