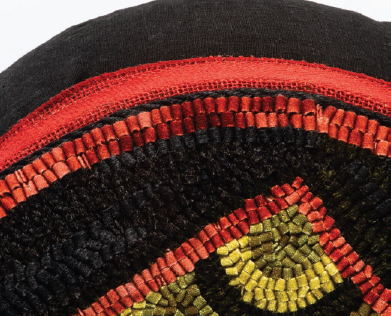
HEARTFELT
Finished wallhanging1: 9½˝ × 1˝ • Finished ottoman2: 9˝ × 14˝
Technique:
1. Wool appliqué
2. Rug hooking
Iam always on the lookout for beautiful materials to use in my creations. While on the hunt for hand-dyed wool, my mother and I stumbled across Donna Bennett. Little did I know that a friendship would be born, with much collaboration to follow!
Donna’s rug hooking is beautiful, and she is a wonderful teacher. We have participated in many events together, and we always have a good time. She is one of the best dyers I know, creating beautiful colors for any wool project.
These projects were especially fun to design because I was able to make the wool appliqué pattern for the Wool Appliqué Wallhanging and the rug hooking pattern for the Rug-Hooked Ottoman exactly the same. Even though the visual design is the same, you can end up with two very different looks and final products. I hope you try them both, especially if you are a dabbling creative. If not, maybe you’ll make a matching set with a friend, like I did, to add a little heart to your home.

Photo by Rebekah L. Smith
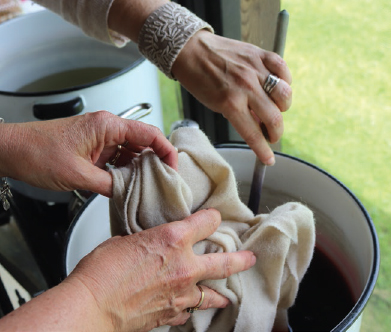
Donna and I teach a wool-dyeing and appliqué class together every year.
—Rebekah
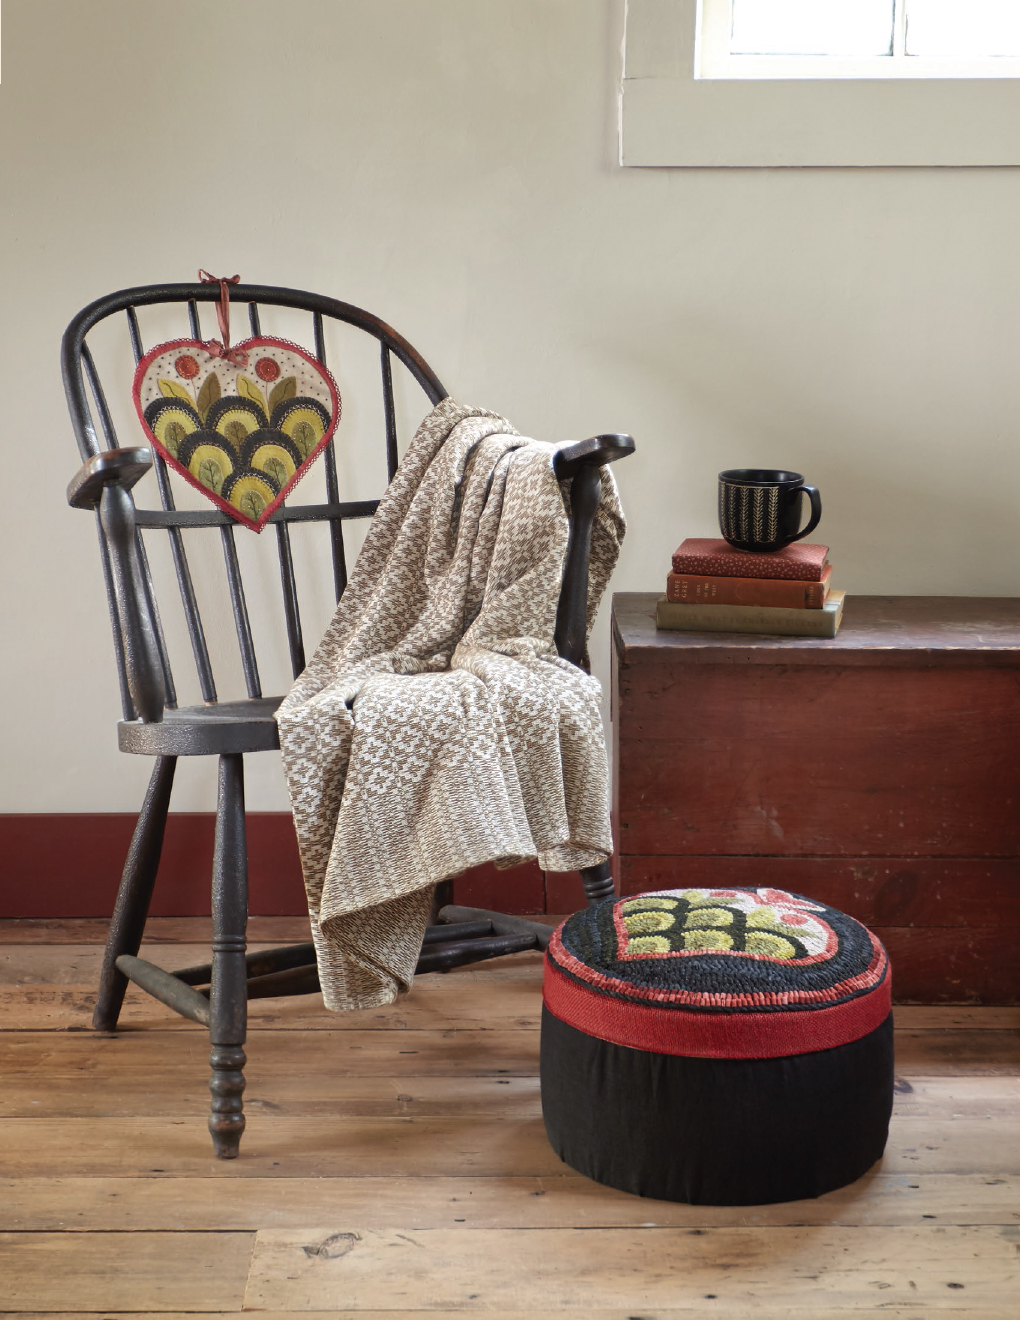
Make a set of matching hearts for your home.
Wool Appliqué Wallhanging
MATERIALS
• 1 antique-white wool rectangle 11˝ × 11˝ for large heart background
• 1 black wool rectangle 8˝ × 11˝ for 6 large scallops
• 1 light-green wool rectangle 7˝ × 10½˝ for 6 medium scallops and 2 leaves
• 1 green wool rectangle 5˝ × 8˝ for 6 small scallops and 2 leaves
• 1 red wool rectangle 1½˝ × 3˝ for 2 circles
• 1 black wool rectangle 11˝ × 11˝ for backing
• Embroidery floss: 1 skein each of dark brown (DMC 3371), dark mustard (DMC 829), and antique white (DMC 841)
• 30˝ length of ⅜ ˝-wide double-fold bias binding
• 24˝ length of ribbon or twill tape for bow and hanger
• Freezer paper (such as Quilter’s Freezer Paper Sheets by C&T Publishing)
Getting Started
Refer to How to Wool Appliqué as needed for additional details on these steps.
1. Cut out the wool appliqué pieces using the pattern.
hint Add some extra length to your freezer-paper patterns for the second and third row of scallops and the leaves for the overlap.
2. Lay out the wool project to be sure you have all the pieces.
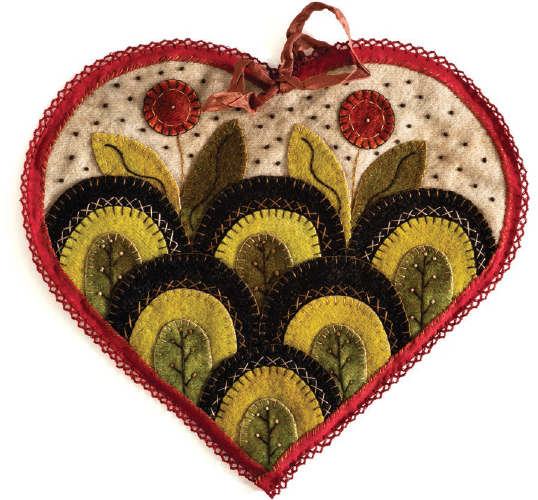
Wallhanging by Rebekah L. Smith
Making Your Project
Refer to Stitching Your Projects for details on the blanket stitch and embroidery stitches.
1. Using the blanket stitch, appliqué all the wool pieces to the heart background.
2. Add the embellishment stitches as desired.
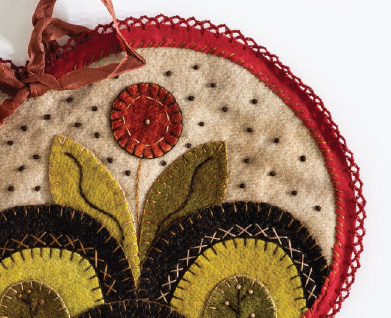
Detail of the wool-appliqué heart
3. Using a steam iron on the wool setting, press the finished piece on the wrong side.
4. Pin together the finished heart and the backing heart.
hint To help keep everything aligned, you may want to baste together the two pieces.
5. Pin the bias binding around the outside edge of the heart, starting at the bottom point.
6. Once you have gone all the way around, turn under ½˝ of the bias binding and overlap the piece at the bottom point.
7. Whipstitch the binding all the way around the heart on both the front and the back.
8. Tie a bow in the center of the ribbon/ twill tape. Knot together the 2 ends.
9. Stitch the bow to the center of the top of the heart.
Rug-Hooked Ottoman
MATERIALS
• ⅛ yard of light green, medium green, and antique-white wool
• ¼ yard of black wool
• ⅛ yard of red wool
hint Cut 3/16˝-wide strips for the heart and details and ¼˝-wide strips for the background and outer border. (If you’re using a strip cutter, use a #6 cut for the 3/16˝ strips and a #8 cut for the ¼˝ strips.)
• 1 rug-hooking linen square 22˝ × 22˝
• 1 decorator-weight cotton rectangle 10½˝ × 46˝ for ottoman base
• 1 batting rectangle approximately 6˝ × 43˝ (Size may vary. See Hint, at right.)
• 1 paper square 13˝ × 13˝ for bottom of ottoman
• 1⅜ yards of 1½˝-wide twill tape
• 1⅜ yards of 2¼˝-wide jute ribbon
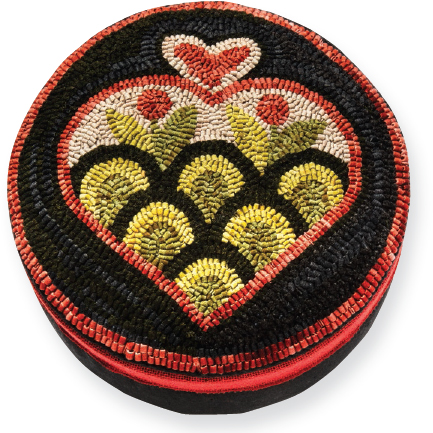
Ottoman design by Rebekah L. Smith, rug hooking by Donna Bennett
• 1⅜ yards of heavy twine or braid
• 1 round papier-mâché box with lid, 14˝ in diameter
• Nonflammable contact cement or tacky glue
• 1˝ foam brush
hint The size of the batting may vary. You will need to measure your box to be sure.
Getting Started
Refer to How to Rug Hook as needed for additional details on these steps.
1. Transfer the pattern to the rughooking linen.
2. Cut some of the wool strips to get the center motif started. Continue to cut strips as needed as you hook your project.
Making Your Project
1. Hook the red outline of the heart.
2. Starting with the bottom scallop, hook in the dark green; then hook in the light green and the black. Do this for each of the scallops, working your way up the piece from the bottom.
3. Hook the flowers and leaves; then fill in the white background of the large heart. Finish the center motif with the white outline and red heart at the top.
4. Hook the outside border in red to frame the piece and keep the circle uniform.
5. Fill in the remaining black background.
Finishing
1. Baste the cotton batting together around the base of the box.
2. Press a ½˝ hem along one short side of the decorator cotton.
3. Wrap the decorator cotton around the box and batting, and pin in place with the hemmed side overlapping. There should be extra fabric overhanging the top and bottom evenly.
4. Blanket stitch down the side of the cotton.
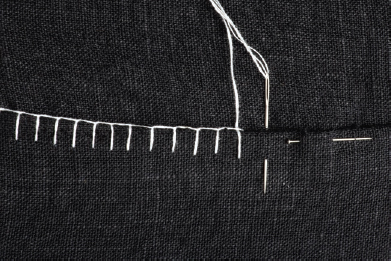
Stitching the ottoman sides
5. Cut slits in the overhanging fabric around the bottom of the ottoman.
6. Using the nonflammable contact cement or tacky glue and following the manufacturer’s directions, glue the overhanging cotton to the bottom of the ottoman base. The fabric sections will overlap a bit.
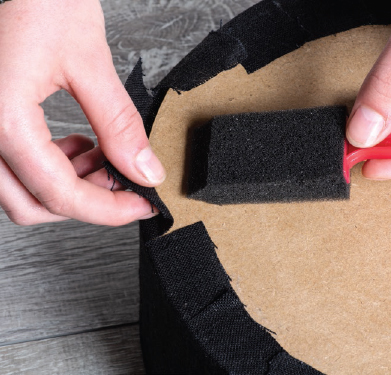
Gluing the edges over the ottoman bottom
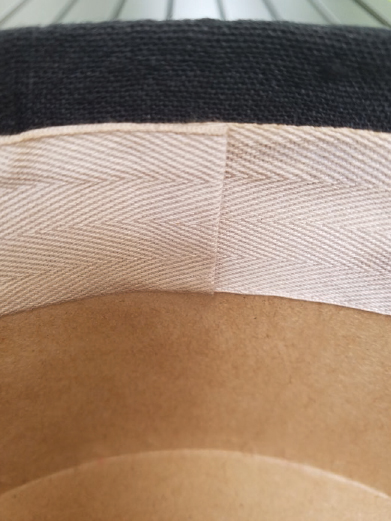
7. Glue the top overhanging linen to the inside of the box; then glue the twill tape over the cut edges of the linen. Fold under the end of the tape ½˝ and glue it neatly over the beginning of the tape. Let the glue dry for several hours.
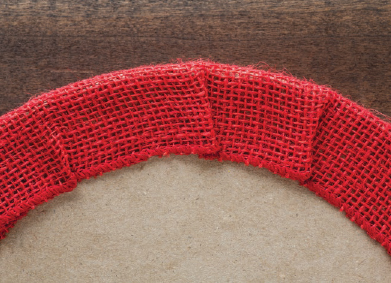
8. Glue the jute ribbon around the side of the box lid. To glue the jute ribbon to the top of the box lid, simply add glue to the top edge of the lid and press the jute ribbon over, making small folds in the ribbon on the top of the lid. Let the glue dry for several hours.
9. Cut a 12˝ circle out of the paper, and glue it to the bottom of the box.
10. Trim around the finished hooked top, leaving 2˝ of linen.
11. Notch the linen all the way around the circle.
12. Turn under and press into place.
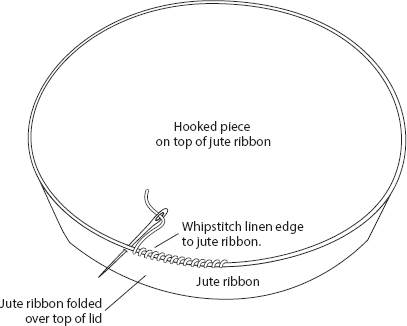
13. Determine the placement of the rug on top of the box lid. Whipstitch it to the jute ribbon all the way around.
14. Glue the heavy twine into place, filling in the space between the hooked piece and the edge of the box lid.
