PINWHEEL POSY
Finished table rug1: 36˝ × 18˝ •Finished pillow2: 20˝ × 20˝
Technique:
1.Wool appliqué
2.Yarn sewing
Kathy Wright, an antiques dealer and textile arts aficionado, has been a longtime family friend. We met through antiques, but our common interests extend beyond that. Kelsey, Kathy, and I volunteered together at the local historical society, cataloging collections, planning events, and staging historic rooms. There’s never a quick visit with Kathy—we always have so much to talk about!
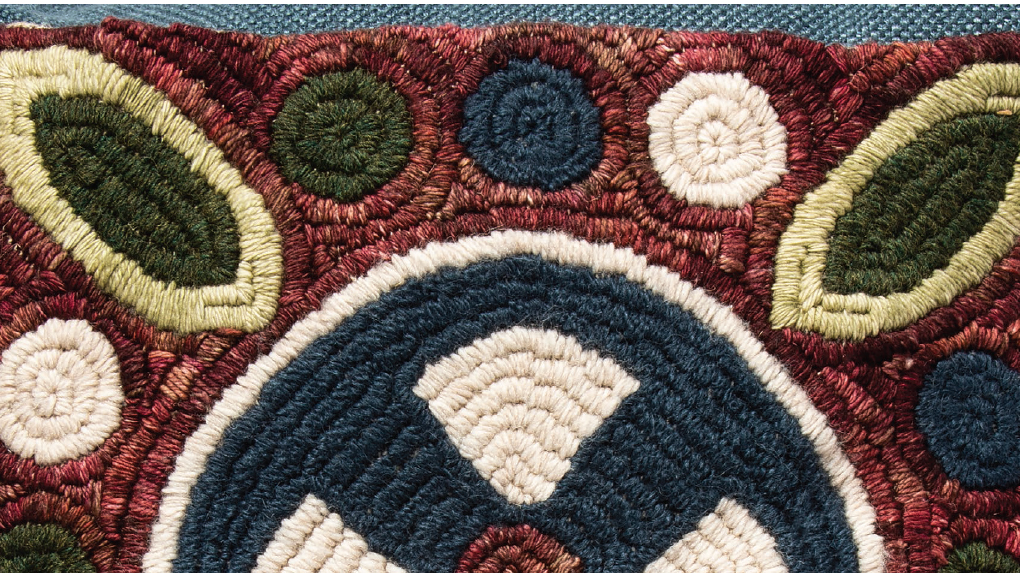
Not many people have heard of yarn sewing, which predates rug hooking and is sometimes mistaken for it. Traditionally, yarn-sewn items were purely decorative, ranging in use from bedcovers to table rugs, and were meant to add a little beauty to the early home. Some more delicate examples actually use silk thread on a fine linen.
The Yarn-Sewn Pillow in this project takes a more folky tone, using heavy wool yarn and a loose-weave linen. It is the perfect project for a beginner in yarn sewing. On the other hand, the wool appliqué version of the design, the Wool Appliqué Table Rug, is for the more adventurous stitchers who want to try a larger project.
We asked Kathy for her advice about yarn sewing. Famous for her profound “Kathy-isms” (as we call them), she replied, “You can’t push a river; just go with the flow.” And so it is with yarn sewing!

Photo by Tessa Christine Smith
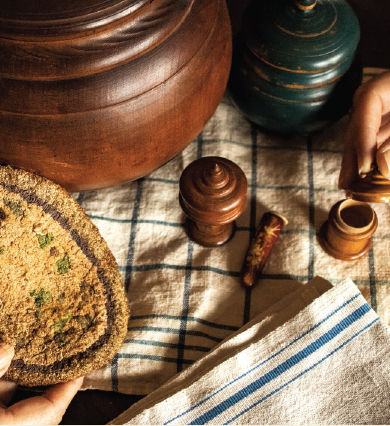
Kathy and I share a love of all things historic and antique.
—Rebekah
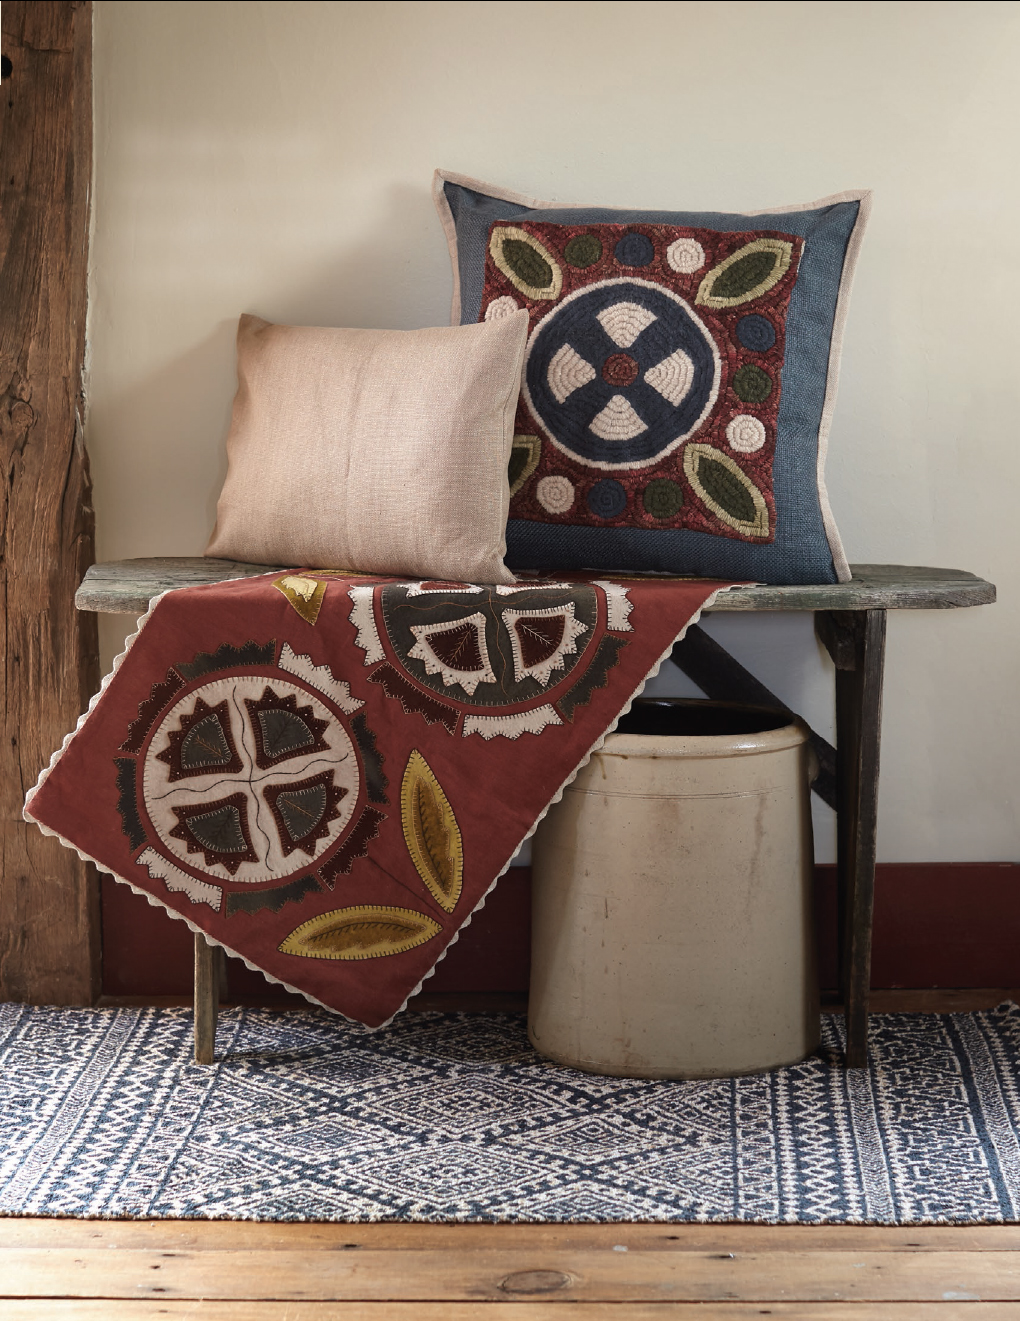
This table rug and matching yarn-sewn pillow add different wool textures to your home.
Wool Appliqué
MATERIALS
• 1 antique-white wool rectangle 12˝ × 23˝ for 2 large circles, 4 small flowers, and 8 edges
• 1 dark-blue wool square 15˝ × 15˝ for 1 large circle, 4 small flowers, 4 flower centers, and 8 edges
• 1 dark-red wool rectangle 10˝ × 15˝ for 4 small flowers, 8 flower centers, and 8 edges
• 1 light-green wool rectangle 10˝ × 11˝ for 4 large leaves and 2 leaf centers
• 1 green wool rectangle 9˝ × 10˝ for 2 large leaves and 4 leaf centers
• 1 dark-red linen rectangle 19˝ × 37˝ for background
• 1 linen rectangle 19˝ × 37˝ for backing
• Embroidery floss: 1 skein each of dark brown (DMC 3371), dark mustard (DMC 829), and antique white (DMC 841)
• 3⅛ yards of linen rickrack for trim
• Freezer paper (such as Quilter’s Freezer Paper Sheets by C&T Publishing)
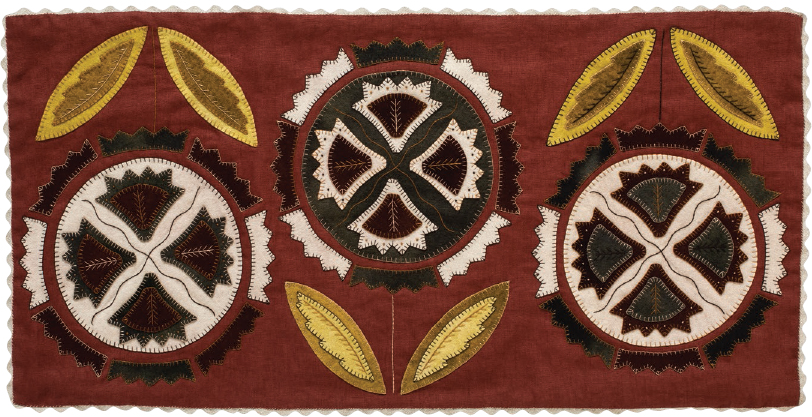
Wool appliqué table rug by Rebekah L. Smith
Getting Started
Refer to How to Wool Appliqué as needed for additional details on these steps.
1. Cut out the wool appliqué pieces using the pattern.
2. Lay out the wool project to be sure you have all the pieces.
Making Your Project
Refer to Stitching Your Projects for details on the blanket stitch and embroidery stitches.
1. Using the blanket stitch, appliqué all the wool pieces to the background linen.
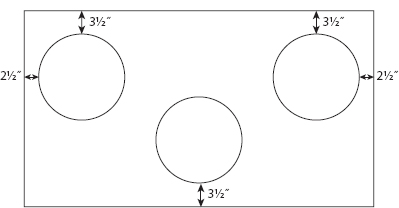
Placing the large circles on the background
2. Add the embellishment stitches as desired.
3. Using a steam iron on the wool setting, press the finished piece on the wrong side.
4. Iron a ½˝ hem all the way around the linen background.
5. Pin the rickrack trim to the back of the hem with only the top half showing.

Pinning the rickrack edging
6. Blanket stitch or whipstitch the rickrack edging all the way around the piece.
7.Iron a ½˝ hem all the way around the backing linen.
8. Pin the backing linen to the finished piece. Blanket stitch or whipstitch all the way around, attaching the backing linen to the rickrack edging.
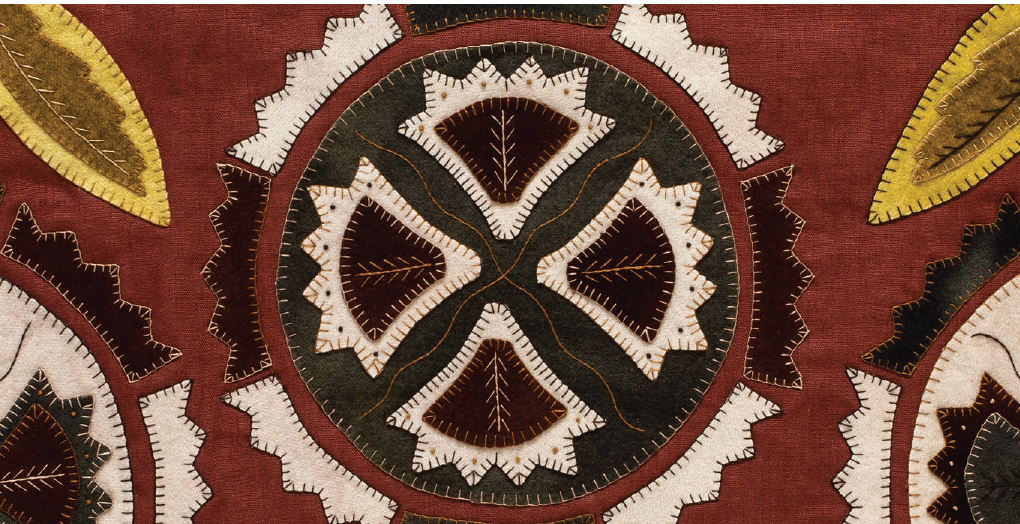
Detail of the wool appliqué
Yarn-Sewn Pillow
MATERIALS
• 1 rug-hooking linen square 17˝ × 17˝
• Tapestry needle
• 630 yards of red hand-dyed wool yarn
• 369 yards of natural off-white wool
• 220 yards of dark blue yarn
• 123 yards of dark green yarn
• 210 yards of light-green hand-dyed yarn
• 1⅝ yards of ½˝-wide twill tape
• 20× 20˝ finished pillow in a complementary color
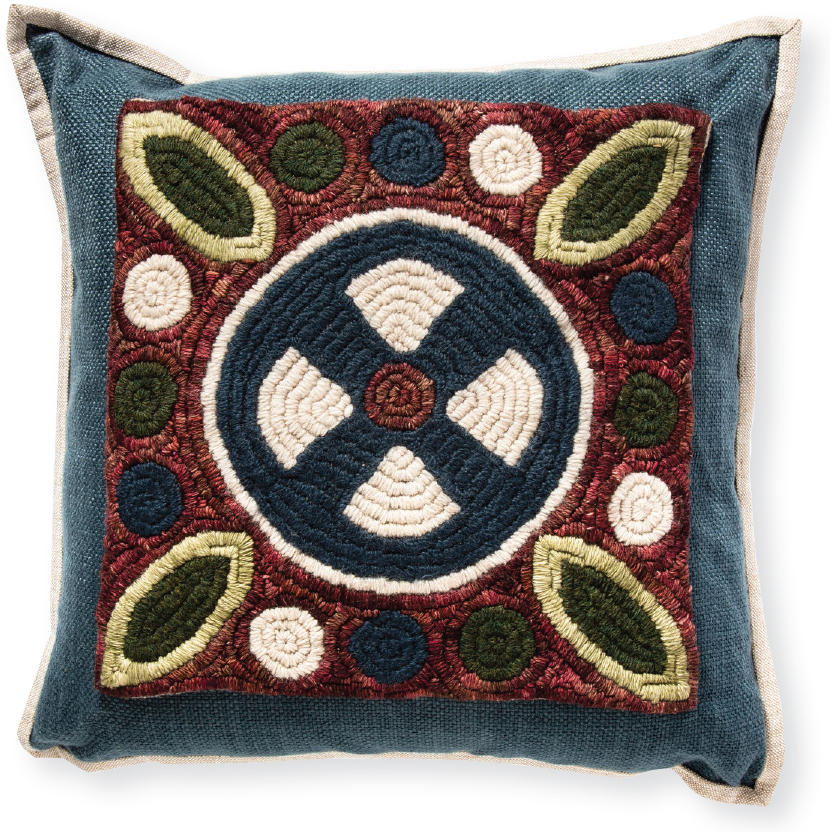
Design by Rebekah L. Smith, yarn sewing by Kathy Wright
Making Your Project
Refer to How to Yarn Sew as needed for additional details on these steps.
1. Trace the pattern onto the rughooking linen.
2. Stitch the large center-motif details; then move outward, stitching the circles.
3. Stitch the leaves, starting with the centers. Once the centers are filled in, stitch the leaf borders.
4. Stitch 1 row of the outline to stabilize the piece and keep the inside background stitches from distorting the project edge. Fill in the background, starting in the center and moving out from there.
Finishing
1. Turn the rug onto the wrong side. Using a damp towel covered with a piece of muslin or cotton, press with an iron on the wool setting.
2. Trim the rug-hooking linen, leaving a 1˝ hem allowance.
3. Turn under the rug-hooking linen and cover with the twill tape. Pin into place.
4. Whipstitch the twill tape on both sides.
5. Using a lot of pins, pin the piece to the pillow, making sure it is straight and centered.
hint It is helpful to tack down each corner first to keep the piece from shifting as you sew it.
6. Use a coordinating thread to whipstitch the piece to the pillow.
