paper • pencil • scissors • blank cards • scraps of wallpaper or decorative wrapping paper for motifs • pinking shears • glue
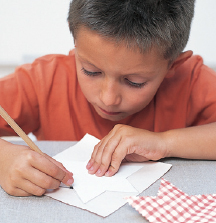
create template Trace the star template on page 154 onto a piece of plain paper and cut it out. Place the template on the back of the decorative paper, and draw around it. You will need two paper shapes per card.
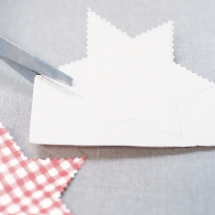
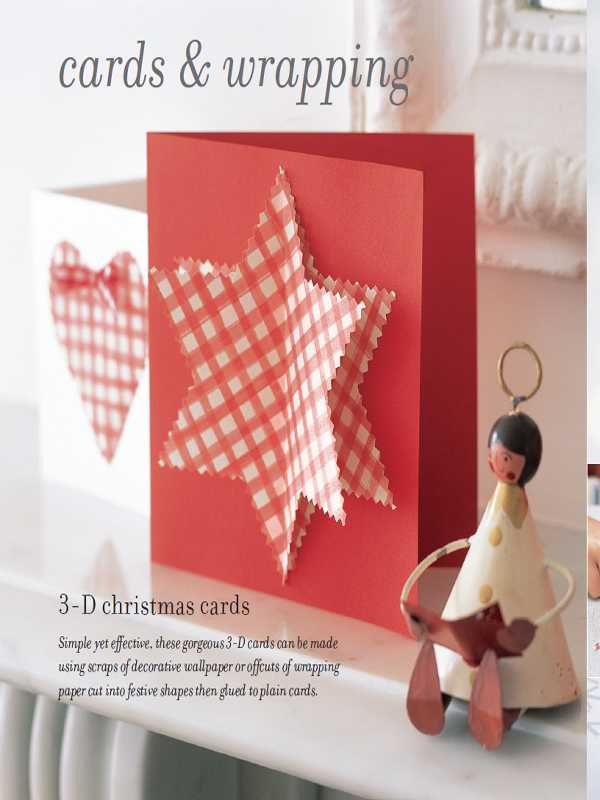
cut out motifs Use the pinking shears to carefully cut out the star motifs (you could use other decorative-edged scissors for different effects). See overleaf for more ideas for different festive motifs.
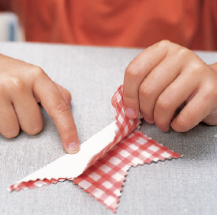
make centre fold Take one of the paper star motifs and fold in half, with the right side of the paper facing inwards. Press down this fold. This is the 3-D element of the star on the front of the card.
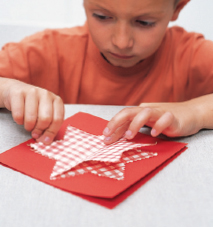
finish off Glue the unfolded star to the front of the card, making sure that all the corners are firmly stuck down. Now dab glue all the way down the fold on the back of the second star, and stick it on top of the first star. When the glue is dry, gently fold the corners outwards to create a 3-D effect.
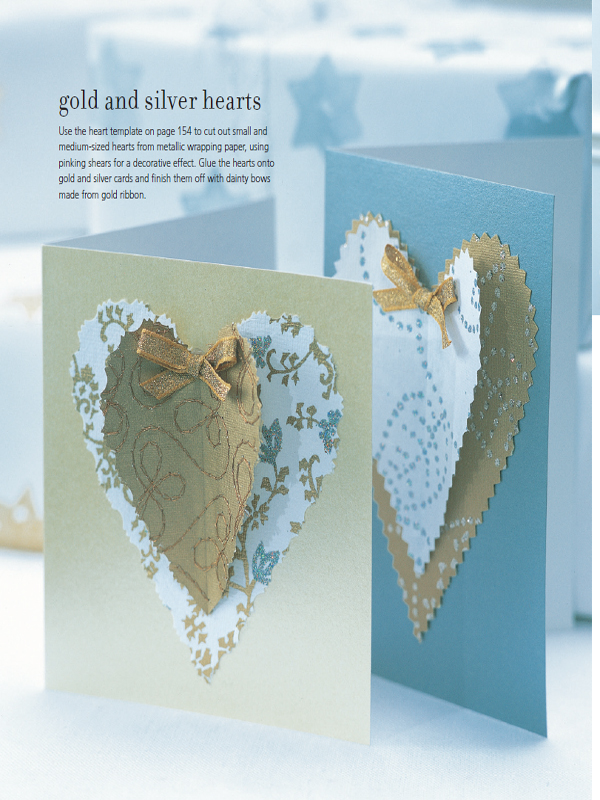
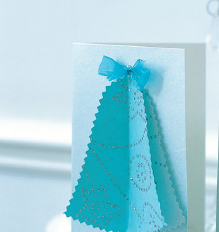
blue bells
Simple bell shapes cut from blue and white paper (using the template on page 154) create a pretty, punchy effect on plain white cards. They are topped with sheer white and blue ribbon bows to finish.
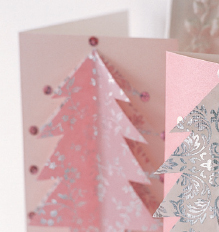
glittery trees
Use the template on page 155 to snip Christmas tree shapes from pretty sugar-pink and silver patterned wrapping paper. The trees are finished off with sparkling ‘baubles’ – pale pink and silver sequins glued to the ends of the branches.
little tips
Instead of buying whole sheets of wrapping paper, visit a craft shop and buy a pack of craft paper. These packs include an assortment of decorative printed and embroidered papers that are the perfect size for making the cards here. Scraps of wallpaper also work well, as they are thicker than wrapping paper, which makes them ideal for 3-D shapes.
medium-sized potato • star-shaped cookie cutter • chopping board • sharp knife (to be used by an adult only) • paper towels or a dry cloth • paints in your chosen colours • saucers to hold the paints • sponge paint roller • plain white paper
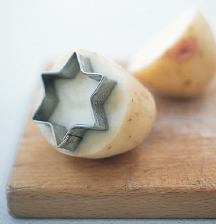
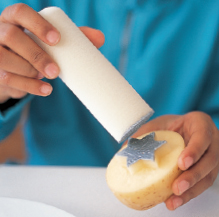
cut out shape Cut the potato in half, making sure the surface of the potato is as flat as possible. Place the cookie cutter on a chopping board with the sharp edge facing upwards. Press the potato firmly down onto the cutter, leaving the cookie cutter standing proud of the cut surface of the potato by about 5mm/¼in, so you can cut around it.
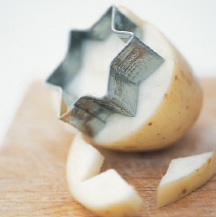
cut away edges Ask an adult to cut away the edges of the potato using a sharp knife. This needs to be done very carefully, to ensure the star shape is as clear as possible. Press the potato down onto a dry cloth or some paper towels to remove any excess moisture, which can make the paint watery.
apply paint Pour the paint into a saucer and use the end of the sponge paint roller to apply the paint to the star shape. Don’t apply too much paint to the potato, as this will make the design bleed. If you have applied too much paint, gently blot the potato on a paper towel to remove the excess.
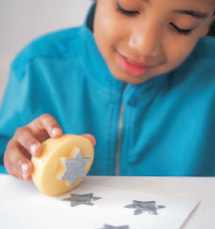
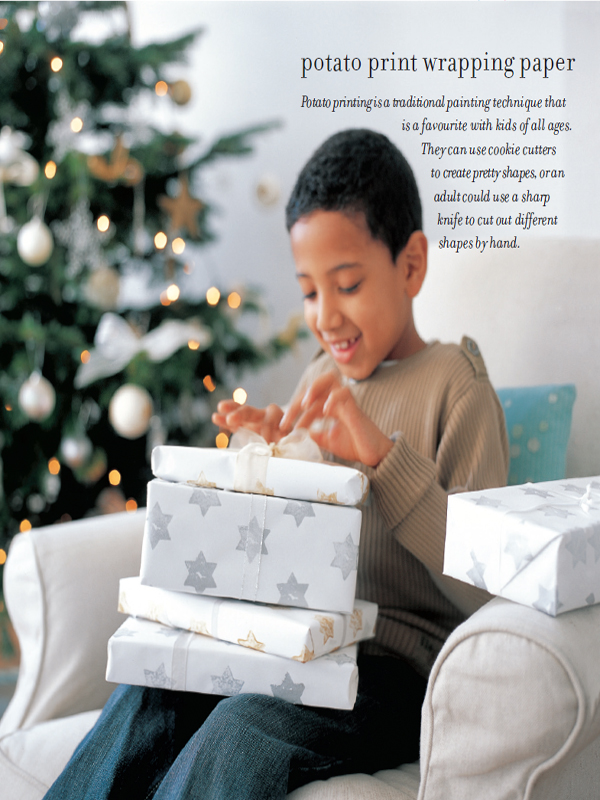
get printing Begin printing. To make sure the design prints clearly, use a gentle rocking motion, moving the potato from side to side without lifting it from the paper. This will apply the paint evenly, even if the cut surface of the potato is not flat. Continue to print the stars at evenly spaced intervals. Allow the paint to dry completely.
A holly-shaped cookie cutter was used to create this festive design. It was then stamped onto plain brightly coloured pieces of card to create funky Christmas cards. Decorated with blobs of glue and a sprinkling of silver glitter, the end result looks both fun and festive.

little tips
Potato printing also looks very effective when carried out on fabric – but make sure you use fabric or stencil paint so the item can be washed. Follow the manufacturer’s instructions to ‘fix’ the fabric paint, as some fabric paints must be fixed with a hot iron.
card for tag • scissors • foam pad • stamping ink • rubber stamp • glue • hole punch • plain white paper • 15cm/6in string per tag

cut out gift tag Cut out a rectangle of card measuring about 8cm/3in by 15cm/6in. Use scissors to snip off the top two corners of the card on the diagonal, to form the top of the gift tag.
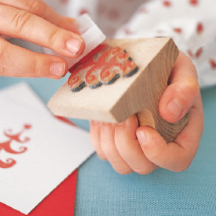
apply printing ink Cut out small pieces of white paper measuring about 5cm/2in by 8cm/3in. Using the foam pad, apply some stamping ink to the front of the stamp, making sure the design is completely and evenly covered.
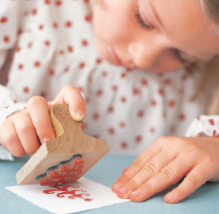
stamp motif Place the stamp firmly on the centre of a piece of white paper and use a gentle rocking motion to make sure that the design is completely transferred onto the paper. Leave to dry completely.
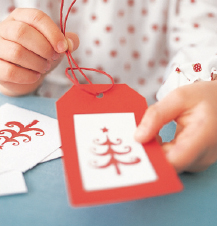
finish off Glue the paper design to the front of the tag. Use a hole punch to make a hole between the two angled corners of the tag. Thread the string through the hole in the tag to finish.
plain cake or cookie tin • red paint • paintbrush • assorted scraps of wrapping paper • scissors • glue • acrylic varnish (if desired)
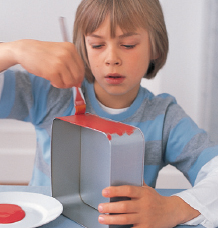
paint tin Paint the tin inside and out using the red paint, then leave it to dry. If necessary, apply a further coat of paint for better coverage, then allow the tin to dry completely.
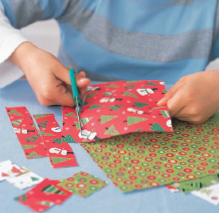
cut paper pieces Cut the wrapping paper into small squares and shapes using the designs of the paper as a guide. Experiment by laying out the shapes on the top of the tin lid so you can work out how many pieces of paper you will need.
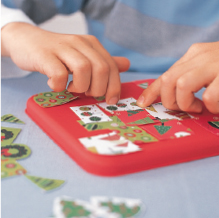
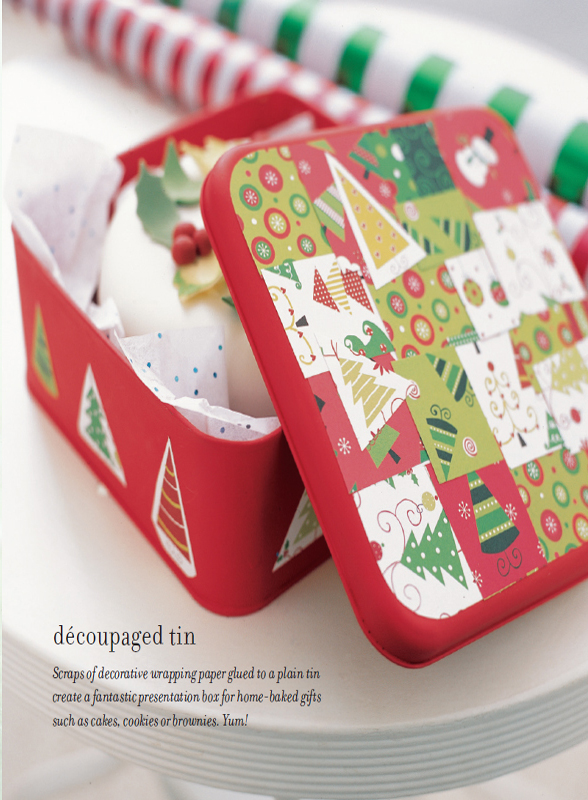
découpage lid Start by sticking the pieces of paper to the corner of the lid. If the corners of the lid are curved, you will need to cut curved corners with scissors to fit. Continue to stick pieces of the paper all over the lid until the painted area is completely covered. Once the lid is finished, leave to dry completely.
finish off When you have finished the lid, start sticking smaller motifs such as Christmas trees all the way around the sides of the tin. Leave the tin to dry completely. You may wish to apply a couple of coats of acrylic varnish to the tin to make it more hard-wearing. Allow to dry completely.
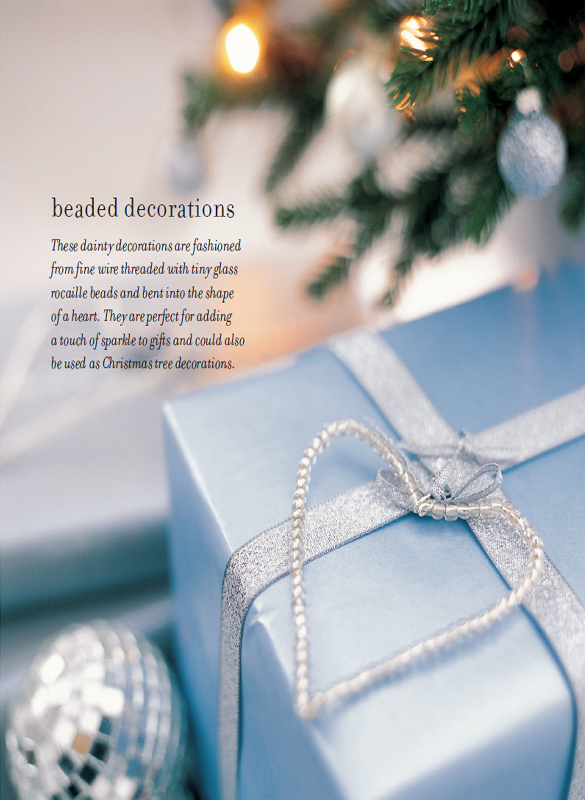
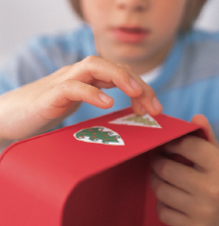
wire for hearts (30cm/12in per heart) • glass rocaille beads • pliers (if required) • silver ribbon (5mm/¼in wide) • scissors
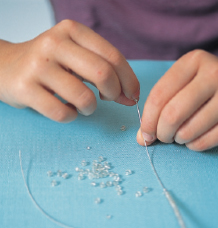
thread beads on wire Fold the wire in half and bend it into a ‘V’ shape to form the base of the heart. Begin threading beads onto both sides of the wire. Continue threading until all the wire is covered, only leaving about 2cm/¾in of bare wire at each end.
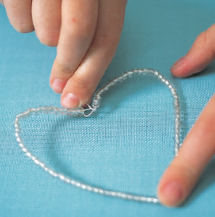
shape into heart Hold the ends of the wire and bend them inwards to form the curved top of the heart. Twist the ends together to prevent the beads from falling off the wire.
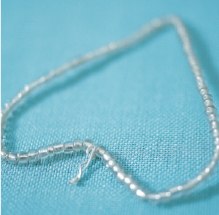
twist ends of wire Twist the ends of the wire to form a loop for the ribbon. If the wire is very stiff, it may be advisable for an adult to do this, using a pair of pliers.
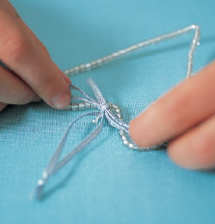
attach hanging loop and bow Cut a 10cm/4in length of ribbon. Thread it through the wire and knot the ends of the ribbon to form a loop. Trim the ends of the ribbon on the diagonal to prevent them fraying. Cut another length of ribbon about 10cm/4in in length and tie around the wire in a pretty bow to finish.
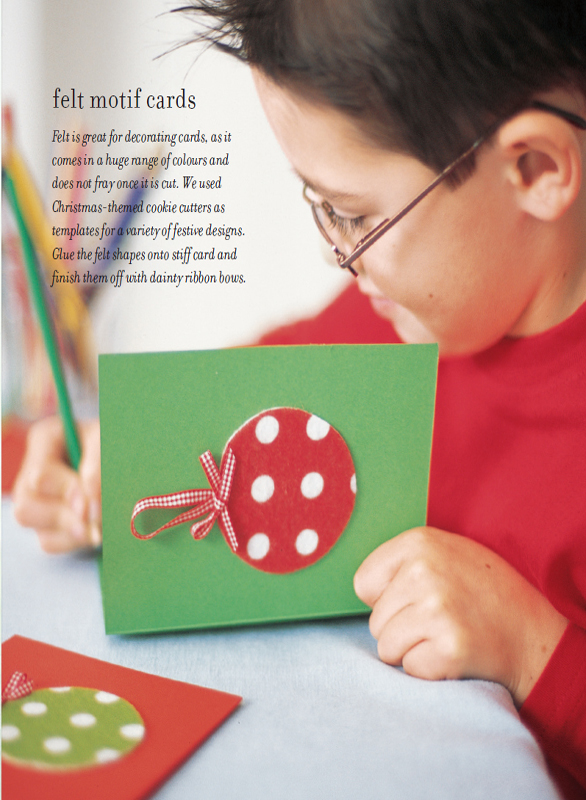
round cookie cutter • felt squares • pencil • scissors • 15cm/6in gingham ribbon (6mm/¼in wide) • glue • blank cards
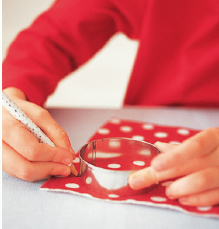
cut out felt motif Use the circular cookie cutter (or a similar object) as a template for the bauble shape on this card. Place it on the felt and draw round it with a pencil. Carefully cut out the bauble shape. If you are making more than one card, it’s a good idea to cut out all your felt shapes at the same time.
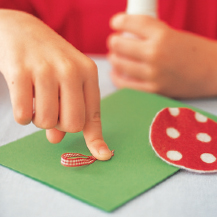
glue on hanging loop Cut a piece of gingham ribbon about 5cm/2in long and fold it into a loop. Glue the ribbon onto the card just below where the top of the bauble will be positioned. Press down firmly to secure it in place.
stick on felt shape Apply a thin layer of glue to the back of the felt bauble shape and stick it onto the card, making sure that you have covered both the ends of the ribbon loop. Press down firmly and allow to dry completely.
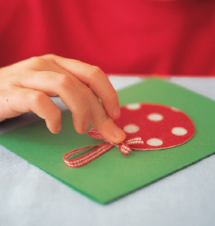
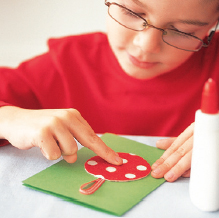
finish off Make a ribbon bow from the gingham ribbon. Apply a small dab of glue to the back of the bow, and stick it to the top of the bauble, where the ribbon loop joins the bauble. Press down firmly to secure it in place and leave to dry completely.
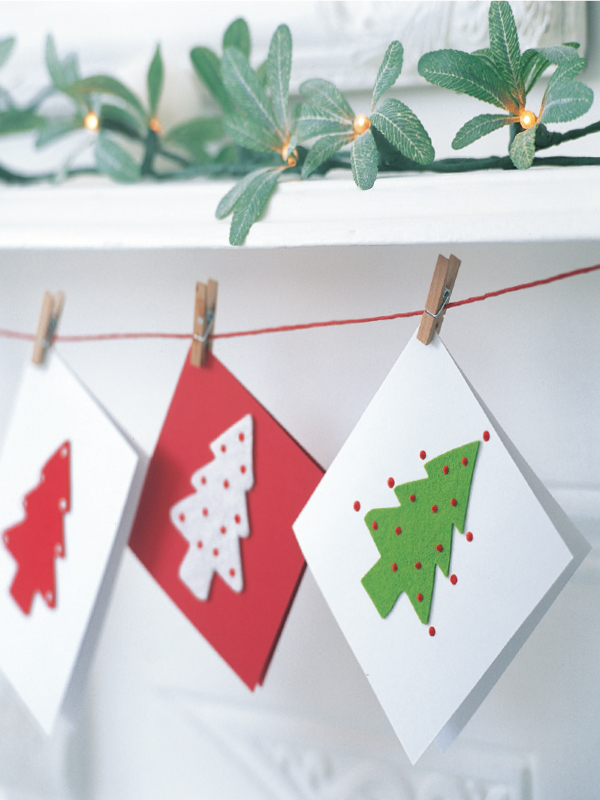
christmas trees
Christmas tree cookie cutters were used to cut out these shapes from plain red, white and lime green felt. They were glued to cards, then decorated with tiny dots made using 3-D fabric pens.
glitter stars
Stars in plain and patterned felt adorn these square Christmas cards. We added a scattering of silver glitter glue dots to make the stars truly twinkle.
little tips
Some craft shops sell adhesive-backed felt, which is easier for younger children to use. Draw your chosen design on the backing paper, then cut it out with scissors. Peel off the backing paper, stick the felt onto the greetings card, and decorate to finish.
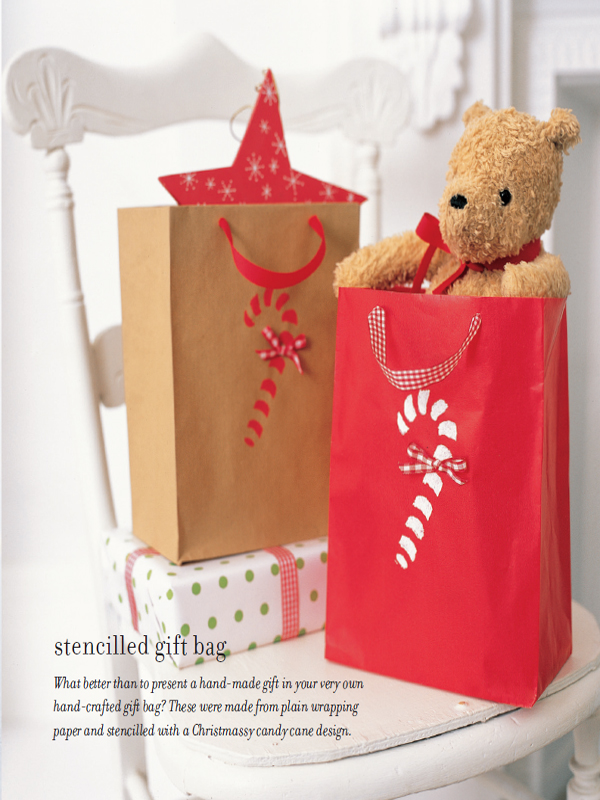
red wrapping paper • stencil for motif • white paint • stencil brush • paper towels • double-sided sticky tape • cardboard • hole punch • 40cm/16in gingham ribbon (1cm/½in wide)
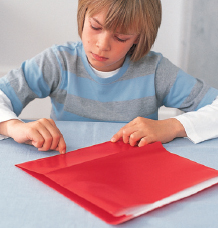
fold paper Cut a rectangular piece of red paper measuring 56cm/22in by 33cm/13in. Fold in 4cm/1½in along one long edge, and 7cm/3in along the other long edge. Fold in the shorter ends by 1.5cm/¾in. Now fold the paper in half so the shorter edges meet, and press flat. Open out again, and on the wrong side of the paper, draw three lines, one 12cm/5in in from one shorter edge, then another at 30cm/12in and a final one at 39cm/15in from the edge. Fold the paper along each line. These folds form the box shape of the bag.
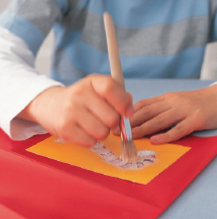
stencil motif Dip the brush in the paint and blot on paper towels to remove any excess paint. If there is too much paint on the brush, the outline will bleed. Hold the stencil over one of the larger panels of the bag (this will be the front) and dab on the paint. Let the paint dry slightly before removing the stencil.
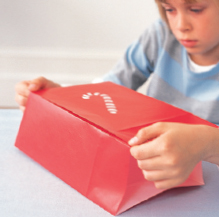
fold side edge Open out the bottom fold of the bag, but keep the top 4cm/1½ in fold in place. Place some double-sided sticky tape along one edge of the bag and press the other edge onto it to form a square bag shape. Press firmly down.
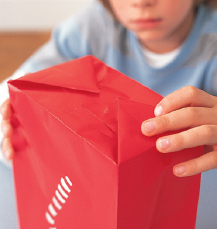
fold corners for base Open out the bag, turn it upside down and fold in the long sides to the middle. Fold the corners into triangles, and use double-sided sticky tape to secure them. Cut a piece of card to fit the base and place it inside the bag to strengthen it. Punch two holes on the front and back of the bag just below the top edge and thread two 20cm/8in lengths of ribbon through them. Knot the ends to hold them in place.