27
RULE
You should limit texture on a layout if you want it to be flat
Using dimensional embellishments has become a trend in scrapbooking. You have probably welcomed this trend because of the texture it adds to your scrapbook pages. But then there’s the dilemma of the lump and weight that comes with texture, right? Not so. Texture is not only defined by its feel, but also by its appearance. So shiny (and flat) metallic paper can be used for texture just as well as corduroy brads. There are lots of other ways to add flat texture as well. They require moving out of your comfort zone and looking at surfaces in new ways. But adding two-dimensional texture is great way to turn flat into fabulous.

Artwork by Anilu Magloire
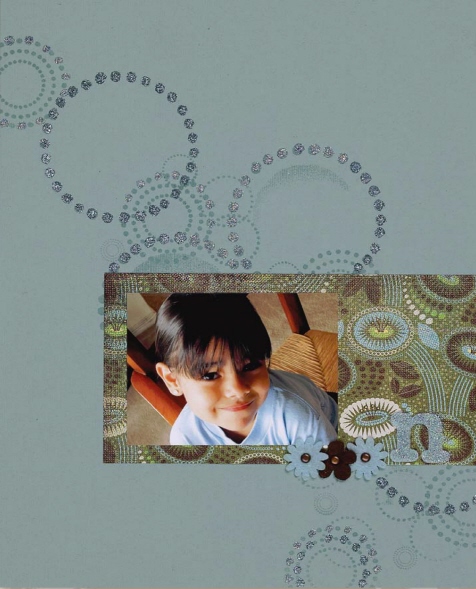
On this layout, Anilu used typical (and flat) scrapbook supplies to add different textures. She chose a textured background cardstock and patterned paper that mimics fabric. She then stamped circles, some of which she heat embossed and some of which she highlighted with glitter, creating sparkly and glossy surfaces. She finished the page with a few spots of felt for soft texture.
Supplies: Cardstock; patterned paper (BasicGrey); felt flowers and letter (American Crafts); stamps (Fontwerks); Misc: adhesive, brads, embossing powder, glitter, ink
YOUR CHALLENGE
Add two textures to a layout using flat scrapbook products.
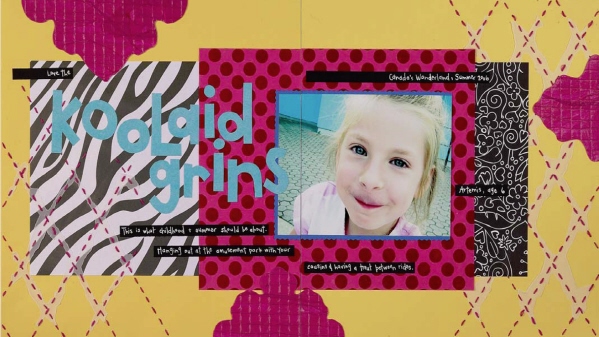
This page is jammed with visual texture, yet has nothing that will get squished in an album. And the contrast between the different kinds of texture—flocked letters and metallic finishes, torn vellum and hand stitches, and mesh layered with tissue paper—all lend excitement to this fun summertime page. When creating texture, try mixing lots of different types to create an unexpected look that begs to be touched.
Supplies: Cardstock; patterned paper (CherryArte, KI Memories, Paper Company); flock (Stampendous); mesh (Magenta); Misc: adhesive, decorative scissors, floss, pen, vellum
YOUR CHALLENGE
Use four to five different types of flat texture on a page.
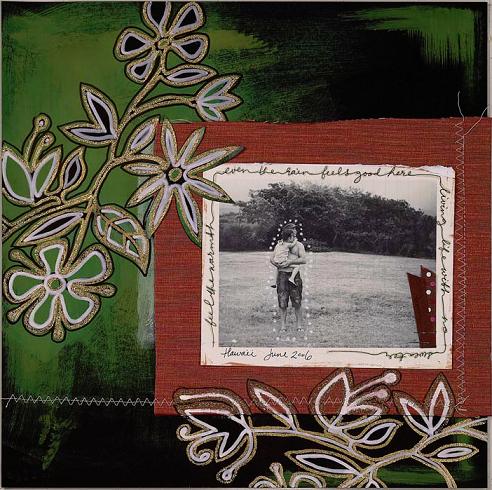
Artwork by Erin Derkatz
Erin has added lots of texture to her layout without using anything that gives the page bulk. Glitter, unevenly applied paint, fabric and stitches all give her page texture. To finish off this page, Erin printed her photo, slightly crumpled and distressed it and then tore it along the top edge. The result is a cohesive look, using textures that are rough and worn.
Supplies: Cardstock; mask (Heidi Swapp); ribbon (American Crafts); Misc: adhesive, embossing powder, fabric, notebook paper, paint, pen, staples, thread
YOUR CHALLENGE
Design a layout using worn and rough elements to create flat texture.
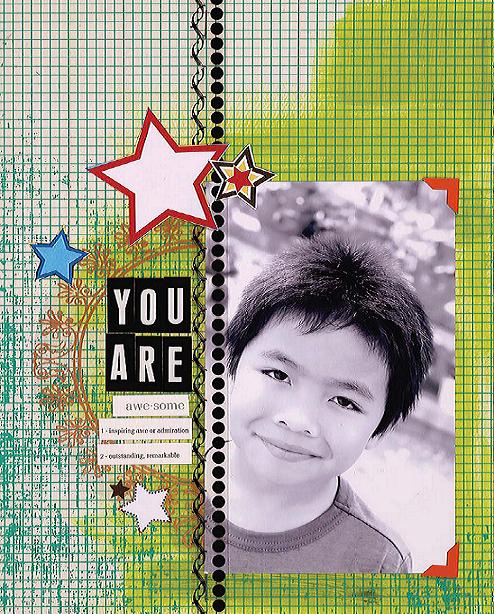
Artwork by Michelle Guray
Here, Michelle created texture with a smooth, glossy transparency placed over a medium-tooth watercolor paper. The transparency has a messy printed design, and Michelle rubbed paint unevenly over the watercolor paper. Layering a transparency over another paper gives the page the appearance of texture and depth without adding bulk.
Supplies: Patterned paper (CherryArte); transparency (Hambly); letter stickers (Heidi Swapp); word stickers (Making Memories); photo corners (American Crafts); Misc: adhesive, paint, watercolor paper
YOUR CHALLENGE
Use a printed transparency over another paper to create texture on your page.
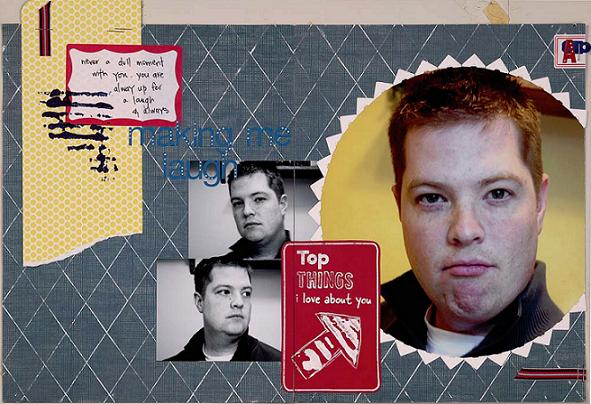
This page features a lot of different textures, but the one with the most impact is the distressed treatment given to the background paper. This simple bone folder embossing technique gives paper texture across the entire page and makes a wonderful backdrop for the other textures. You can create your embossed background from lines like I did here, or you can create a more intricate design.
Supplies: Cardstock; patterned paper (Scenic Route, Upsy Daisy); letter stickers (Making Memories); ribbon (Strano); stamp (Gel-a-tins); Misc: adhesive, cardboard, embossing powder, ink, paint, pen, staples, tag
YOUR CHALLENGE
Design a textural background for your page using bone folder embossing.

Create Embossed Texture
You will need: Colored paper with white core, straightedge, pencil, bone folder or scoring blade, sanding sponge
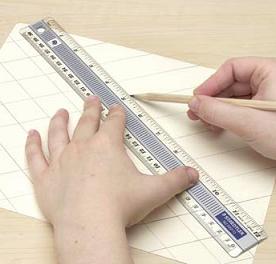
1 Draw a design on the back side of your paper with pencil. (Tip: If the finished scrapbook page is a two-page spread, make sure the lines cross the page gutter.)
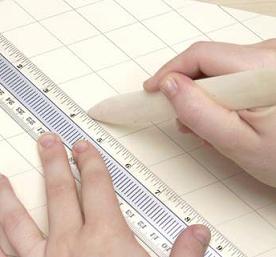
2 With a bone folder, emboss the marked lines. (A scoring blade made for a paper trimmer also works well.)
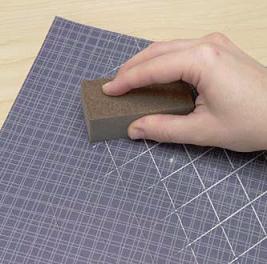
3 Draw a design on the backLightly sand the right side of the paper to make the embossed lines more prominent.