POWER AND LIGHTING
Repairs to your home’s wiring and electrical systems should always be left to qualified professionals. However, there are still many steps you can take to restore power in the event of a outage, to increase energy efficiency, and to improve the safety and reliability of your home appliances.
HOME APPLIANCES
Over the last 20 years, home appliances have become much more sophisticated, incorporating systems such as low-voltage lighting, underfloor heating, outdoor lighting, and powering sensitive electronics. It is not a good idea to attempt a repair yourself—find a reliable electrician to address any faults and install new fixtures. Meanwhile, get to know your system so that you can spot emerging problems before they become crises, and so that you know what to do in case of an interrupted power supply.

JARGON BUSTER
Panel box The electrical panel is a box wired between your electricity meter and the electrical outlets in your home. Its job is to distribute power to subsidiary circuits, and protect these circuits from dangerous overloads. Older boxes contain fuses for this purpose, while modern ones have miniature circuit breakers (MCBs) that switch off the power if it exceeds a set value. The panel box may also contain a ground fault circuit interrupter (GFCI). This detects the leakage of electrical current that may occur if your wiring is faulty, or if someone receives an electric shock, and cuts the power immediately. A main on/off switch in the box cuts power to all circuits in the home.
The power’s gone off
Check your breaker panel or fuse box
Keep a small flashlight next to your electric panel for use in emergencies—it’ll save you from hunting for a light in the darkness.
- • When the power goes off unexpectedly, check if the whole house is affected, or just one circuit (one group of power outlets or lights). If the whole house is dark, call your neighbors to check if their supply is working—the power outage may be affecting the neighborhood, in which case you should report the problem to your electricity supplier.
- • If the power went off when you turned on an appliance (a kettle or toaster, for example) or a light, turn off its switch.
- • Go to the panel box. Make sure your hands are dry and that there’s no water leaking on or near the box. If there is, don’t touch any appliances; shut off the water supply (see here) and call an electrician immediately.
- • It is likely that one or more of the MCB or GFCI switches is in the “Off” position; simply move them to the “On” position and check if power is restored. If the power continues to trip off, unplug any appliances connected to the circuit and try again. Identify the appliance that is causing the power to trip by a process of elimination. Have it repaired if it is broken, or take it for recycling.
- • Some high-wattage appliances, such as microwave ovens and hair dryers can cause an MCB to trip after they have been on for a while. Ideally, the circuit should be upgraded by an electrician, but in the meantime, limit the number of appliances used on that circuit or turn the appliance down to a lower power setting.
- • Call an electrician if the problem isn’t resolved—your wiring could be in a dangerous state.
- • Fuse boxes in older homes may contain wire fuses rather than modern circuit breakers. Here, you’ll need to check each fuse to see if the wire within has melted, or if the glass window of the fuse has darkened. Remove the blown fuse and replace it with a new fuse of exactly the same size and rating: if you’re unsure, take the broken fuse to a hardware store or electrical supplier.
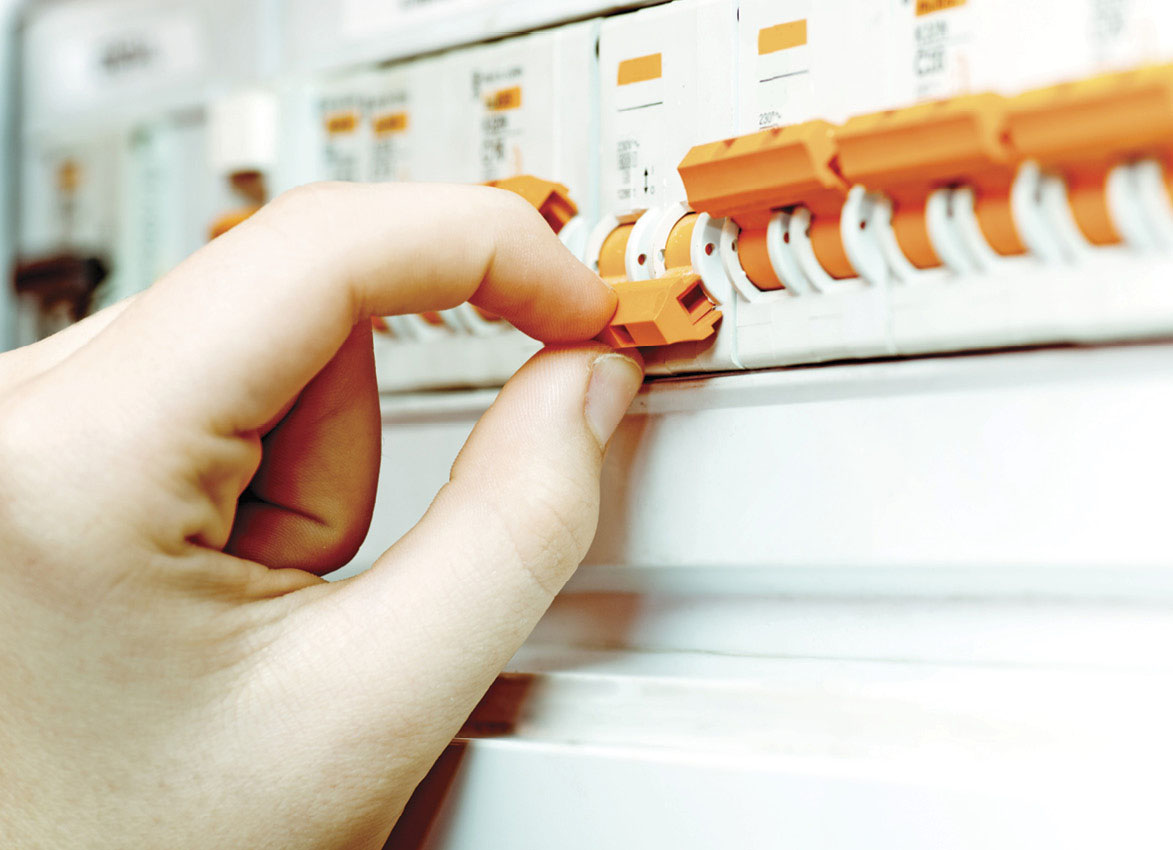
To restore power to a circuit within your home, reset the miniature circuit breaker in your breaker panel.
The plug feels hot
Sand the contacts
A hot plug on an appliance is unsafe, so don’t ignore the problem. If the appliance is plugged in via a power strip (a block that turns one wall outlet into several sockets), try plugging directly into the wall socket. If the problem persists, try lightly rubbing the prongs on the plug with fine sandpaper to remove any oxidation on their metal surfaces. Next, try replacing the plug or (if possible) the entire cable that connects to the appliance. A continued problem indicates a fault within the appliance or in the wall socket—don’t use either until they have been checked out by an electrician.
The socket is dead
Reset the trip switch or call an electrician
Check if the other nearby sockets are working. If not, you may have tripped a MCB or GFCI in the electrical panel (see opposite), so try switching this back on. Modern sockets may be fitted with their own, individual GFCIs on their faceplates—try pressing the “Reset” button.
If your problem persists, call in a professional.

WARNING
Even though some electrical repairs may appear simple, they may not be easy to carry out safely. Attempting to do it yourself may lead to death, injury, or fire, and leave you in breach of building laws and regulations. You should always contact a qualified electrician if in doubt.
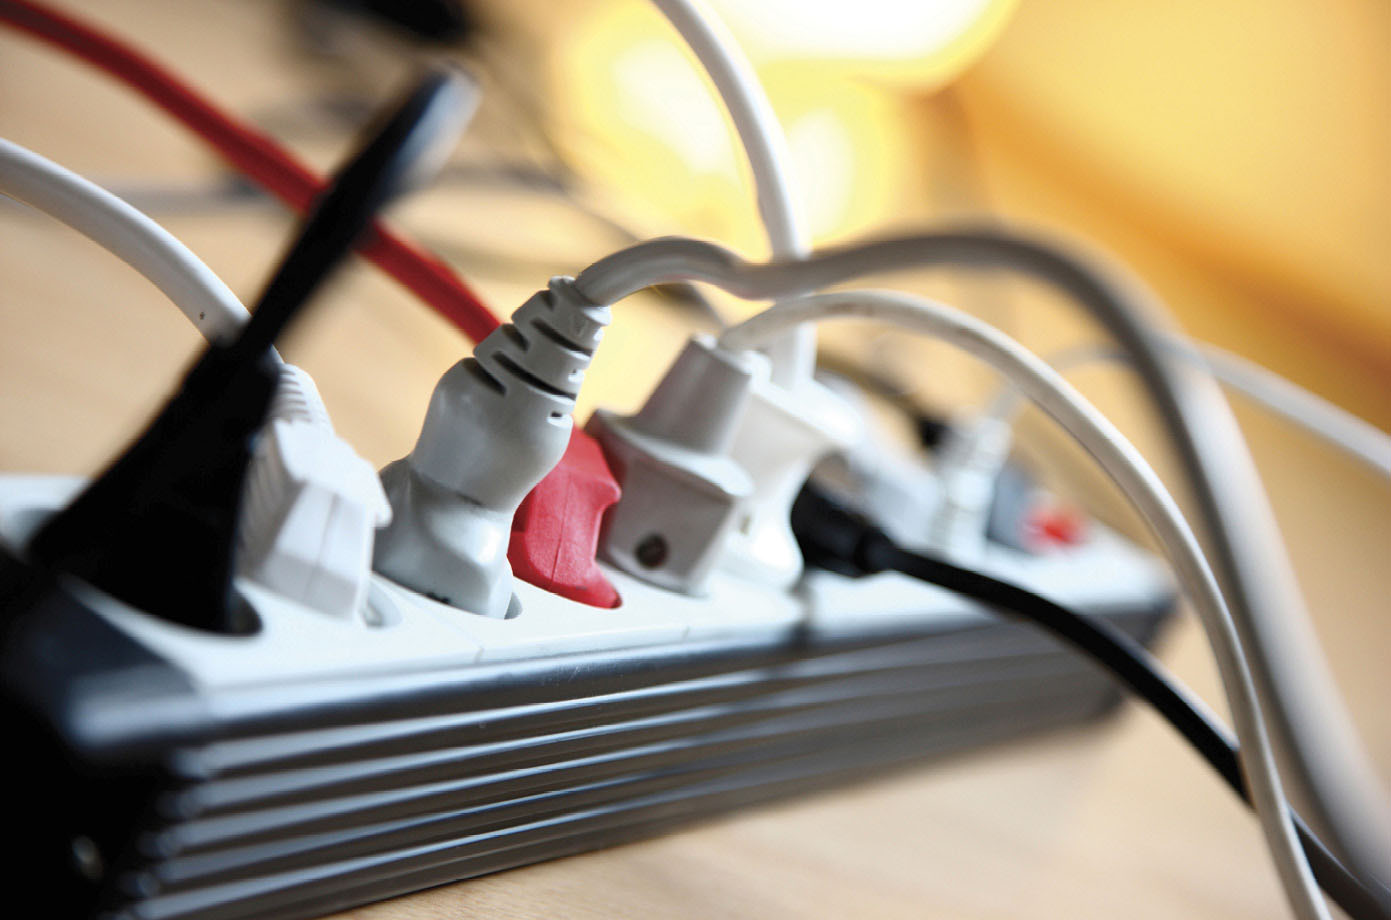
DON’T OVERLOAD A SOCKET BY PLUGGING IN TOO MANY APPLIANCES—AVOID USING POWER STRIPS IF AT ALL POSSIBLE
LIGHTING
Lighting technology has changed dramatically in the last decade with the widespread introduction of low-energy bulbs, but some common problems still have simple fixes. For example, dusting your light bulbs and fixtures with a lint-free cloth when they are turned off can boost light output by one fifth, saving your eyes and conserving energy, too.
The bulb keeps blowing
Fit a quality replacement
The lifetime of a light bulb will be shortened by poor connections, overheating, and rough handling. CFL and LED lights are replacing traditional incandescent and halogen bulbs (see box, below) because they have longer lives and use less power, so it’s worth switching to these designs if you haven’t done so already.
- • The main reason that bulbs blow is poor manufacture—paying more for bulbs of reputable brand will save you money in the long run.
- • Check that the bulbs you are using don’t exceed the maximum wattage rating of the fixture. If this isn’t stamped on to the fixture, use bulbs rated at 60 watt or less.
- • Make sure the bulb sits tight in its fitting—a loose bulb may cause electricity to arc across the contact, causing a blowout.
- • Clean the electrical contacts in the fixture. First, make absolutely sure that the power is off: turn off both the wall switch and the MCB that controls the lighting circuit within your breaker panel. Remove the bulb and rub the metal contacts on the light fixture with some sandpaper. The fixture may have a flexible metal contact at its base. Bend this up by 1/4 inch using your fingers or a flat-head screwdriver, so that it makes better contact with the bulb when it is inserted.
- • If the bulb won’t sit tight in the fitting, the spring loading in the fitting may have failed: call an electrician to install a new one.
- • Use a clean tissue to handle halogen bulbs—grease deposits from your fingers on the glass can cause these bulbs to blow.
- • Avoid switching CFL bulbs on and off too frequently—this shortens their life. For the same reason, don’t use CFL bulbs in light fixtures controlled by a motion sensor.
- • If you have a dimmer switch, check the packaging of the new bulb to ensure it is compatible—some CFL and LED bulbs are not.
- • A fixture in which bulbs blow repeatedly could indicate a more serious wiring problem—call an electrician to investigate.
JARGON BUSTER
Incandescent bulbs These “classic” bulbs produce light when a wire filament is heated by an electric current.
Halogen bulbs These are a type of incandescent bulb that contains a small quantity of a halogen gas within the glass. They are longer-lasting and produce a brighter light than a classic bulb of the same size.
CFL bulbs Compact fluorescent light bulbs are basically fluorescent tubes that have been made in the shape of a classic bulb. They last about five times as long as classic bulbs and use around one quarter of their power.
LED bulbs These use an array of light-emitting diodes to produce light. They have very long life spans (up to 100,000 hours) and use around 80 percent less energy than classic bulbs, but are expensive to buy.
My fluorescent tube won’t light
Replace and dispose of it safely
If a light doesn’t come on when you throw the switch, the tube’s contacts may need cleaning, or the tube may need to be replaced. Safely set up a stepladder so that you can reach the tube without overstretching (see here). Switch off the electrical circuit supplying the light at your panel box. Then climb the ladder and remove the cover over the fixture and pass it down carefully to a waiting helper.
- • Remove the tube. Most have two prongs at each end and need a quarter-turn to line up the prongs with the slots in the sockets. Lower the tube and lightly rub the prongs at both ends with some fine sandpaper; straighten them with a pair of pliers if they appear bent. Dust the tube with a lint-free cloth and replace it in the fitting.
- • If the tube still fails to light, you may need to replace it, or the problem may be with the starter—a small cylindrical component usually found beneath the tube or on the side of the fixture. It’s simple to remove—just turn its body counterclockwise. Take both tube and starter to your electrical store and buy and fit exact replacements. If this doesn’t restore the light, call an electrician to replace the fixture.
WARNING
Don’t take any chances when working on a light fixture. Switch off the light at the wall and tape over the switch, and turn off the lighting circuit at the breaker panel.
• Dispose of fluorescent tubes responsibly at your local recycling center—they contain harmful chemicals and should never be thrown away with domestic waste.
My lights flicker
Install a new switch or transformer
Try checking and cleaning the bulb’s connections or replacing the bulb. If this doesn’t work, there may be a problem with the switch, especially if you can hear a buzzing or fizzing noise when the switch is on. You’ll need to call an electrician to install a new switch mechanism.
- • If you use low-voltage bulbs in your ceiling fixtures, and you have replaced halogen bulbs with energy-efficient LEDs, you may observe flickering, or the new bulbs may not work at all. If so, call an electrician to replace your old transformer with an LED driver.
My chandelier is dusty
Clean it with cotton gloves
As dust settles on a chandelier, it dulls its light output and robs it of sparkle. Using a cloth to clean your chandelier can be an arduous job, so make life easier by buying a pair of white cotton gloves (available from home improvement stores). Switch off the light and remove the bulbs. Put on both gloves and moisten one with some window cleaning liquid; wipe each crystal with this glove first, then dry with your other gloved hand.