We are using Swagger in our API documentation. We will not dive into the details of Swagger here (for more information, refer to https://docs.microsoft.com/en-us/aspnet/core/tutorials/web-api-help-pages-using-swagger).
Swagger is an open source and famous library that provides documentation for Web APIs. Refer to the official link, https://swagger.io/, for more information.
It is very easy to add documentation using Swagger. Follow these steps:
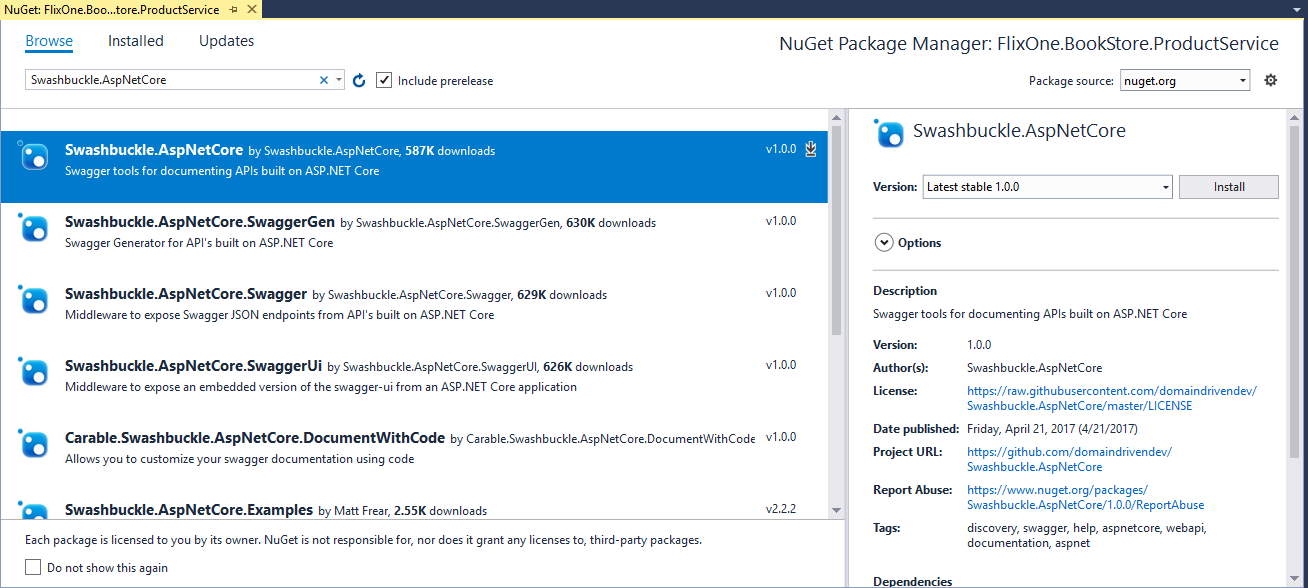
- Open NuGet Package Manager.
- Search for the Swashbuckle.AspNetCore package.
- Select the package and then install the package:

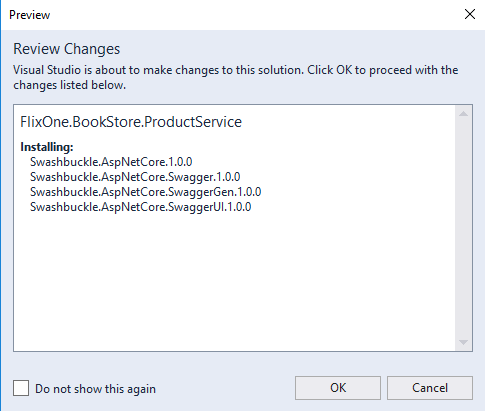
- It will install the following:
- Swashbuckle.AspNetCore
- Swashbuckle.AspNetCore.Swagger
- Swashbuckle.AspNetCore.SwaggerGen
- Swashbuckle.AspNetCore.SwaggerUI
This is shown in the following screenshot:

- Open the Startup.cs file, move to the ConfigureServices method, and add the following lines to register the Swagger generator:
services.AddSwaggerGen(swagger =>
{
  swagger.SwaggerDoc("v1", new Info
  { Title = "Product APIs", Version = "v1" });
});
- Next, in the Configure method, add the following code:
app.UseSwagger();
app.UseSwaggerUI(c =>
{
  c.SwaggerEndpoint("/swagger/v1/swagger.json",
  "My API V1");
});
- Press F5 and run the application; you'll get a default page.
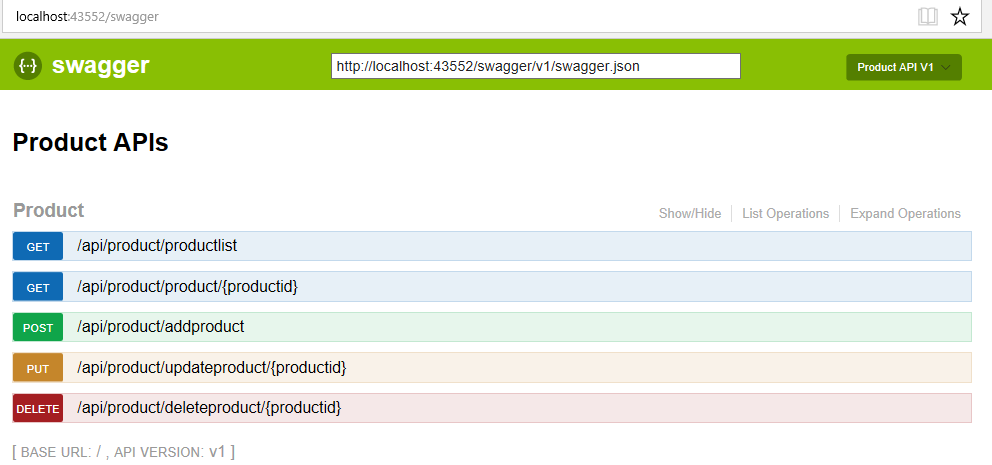
- Open the Swagger documentation by adding swagger in the URL. So, the URL would be http://localhost:43552/swagger/:

The preceding image shows the Product API resources, and you can try these APIs from within the Swagger documentation page.
Finally, we have completed the transition of our monolith .NET application to microservices and discussed the step-by-step transition of ProductService. There are more steps to come for this application:
- How microservices communicate: This will be discussed in Chapter 3, Integration Techniques and Microservices
- How to test a microservice: This will be discussed in Chapter 4, Testing Microservices
- Deploying microservices: This will be discussed in Chapter 5, Deploying Microservices
- How can we make sure our microservices are secure, and monitoring our microservices: This will be discussed in Chapter 6, Securing Microservices, and Chapter 7, Monitoring Microservices
- How microservices are scaled: This will be discussed in Chapter 8, Scaling Microservices