DEMONSTRATION mounting paper to a board
When you work on surfaces that allow liquids, an underpainting with a wet medium is a great way to start. We'll look at several underpainting methods in the next few pages, including underpainting with watercolor, gouache, oil stains, pastel and Turpenoid™, and pastel and water. But before you try one of these, make sure your surface can handle it.
If you have doubts about whether your surface will be damaged or warped by a wet medium, test it first. Turpenoid™ washes do not usually penetrate a surface such as Wallis sanded paper enough to warp or buckle it. But if you’re going to use a water-based medium or an oil stain, it’s a good idea to mount the paper to a board.
You can take your painting surface to a framer and have it dry-mounted to a backing board such as museum board, illustration board or acid-free mat board. But artist Greg Biolchini mounts Wallis Sanded Pastel Paper to a board himself, using an acrylic matte medium as a glue. Mounting the paper not only keeps it from buckling as you apply wet washes, it keeps it from becoming wavy under glass after it is framed.
This demonstration shows how to mount Wallis Sanded Pastel Paper to a four-ply museum board using Liquitex Matte Medium as glue. Acrylic matte medium dries fast and produces a more permanent bond than commercial dry-mounting.
materials list
Wallis Sanded Pastel Paper
Four-ply museum board, cut to the size you’d like
Brown kraft paper (cut slightly larger than the museum board)
Foamboard (also cut slightly larger than the museum board)
Liquitex Matte Medium
4-inch (10cm) house-painting brush
Container for the acrylic medium
Heavy books (to weigh down the paper as it dries)

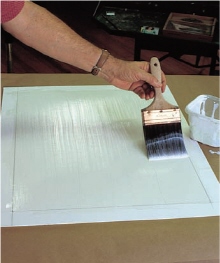
1 Apply the Matte Medium to the Board
Squirt a generous amount of matte medium onto the board straight from the bottle. Don’t skimp on the medium or it may not hold. Then, using a 4-inch (10cm) house-painting brush, brush it out into an even coat across the surface.
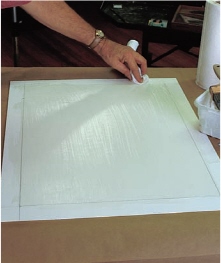
2 Remove Excess Medium
After covering the entire area where the paper is to be affixed with the matte medium, wipe off the excess medium from the brush onto the side of a plastic container. Then go back over the surface, crisscrossing each pass with the brush to lift off excess. If any medium has gotten onto the border area (the board that will show around the painting surface) wipe it off with a paper towel. Continue to brush over the matte medium until it begins to feel a little tacky as you drag the brush over it.
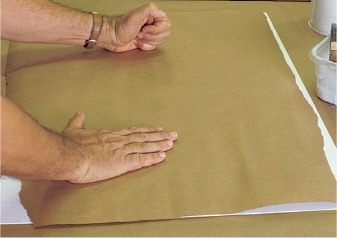
3 Press the Paper onto the Board
Cover the Wallis paper with the brown kraft paper, making sure the brown paper entirely covers the Wallis paper. Begin smoothing it out and pressing it down with your hands. The brown paper will protect your hands from the gritty surface of the Wallis paper. Continue pushing the paper down and rub or hold it until the glue dries, which should only take a couple of minutes. You may want to lift the brown wrapping paper occasionally during this process and check to see where it needs to be pressed down more.
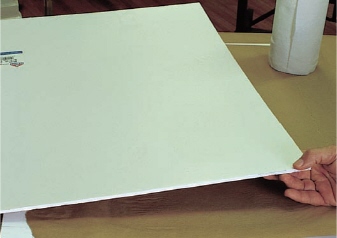
4 Apply Some Weight
When you are satisfied that the Wallis paper is glued securely, leave the brown kraft paper in place and lay a sheet of foam board over it. Place heavy books or weights on top of it, distributing the weight evenly. Leave the weight on the mounted paper for at least an hour to ensure the bond.
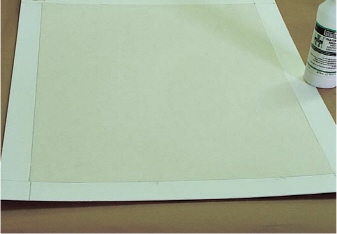
5 Coat the Back of the Board
The next step is to coat the entire reverse side of the museum board with a generous amount of the matte medium. This is a necessary step: It prevents the board from warping. Let this counter-priming dry with the museum board lying flat overnight.