Travis CI is a Cloud Integration web service integrated with GitHub. It is free for public repositories (https://travis-ci.org/) and paid for private repositories https://travis-ci.org/. It was developed in Ruby and its components are distributed under the MIT license:
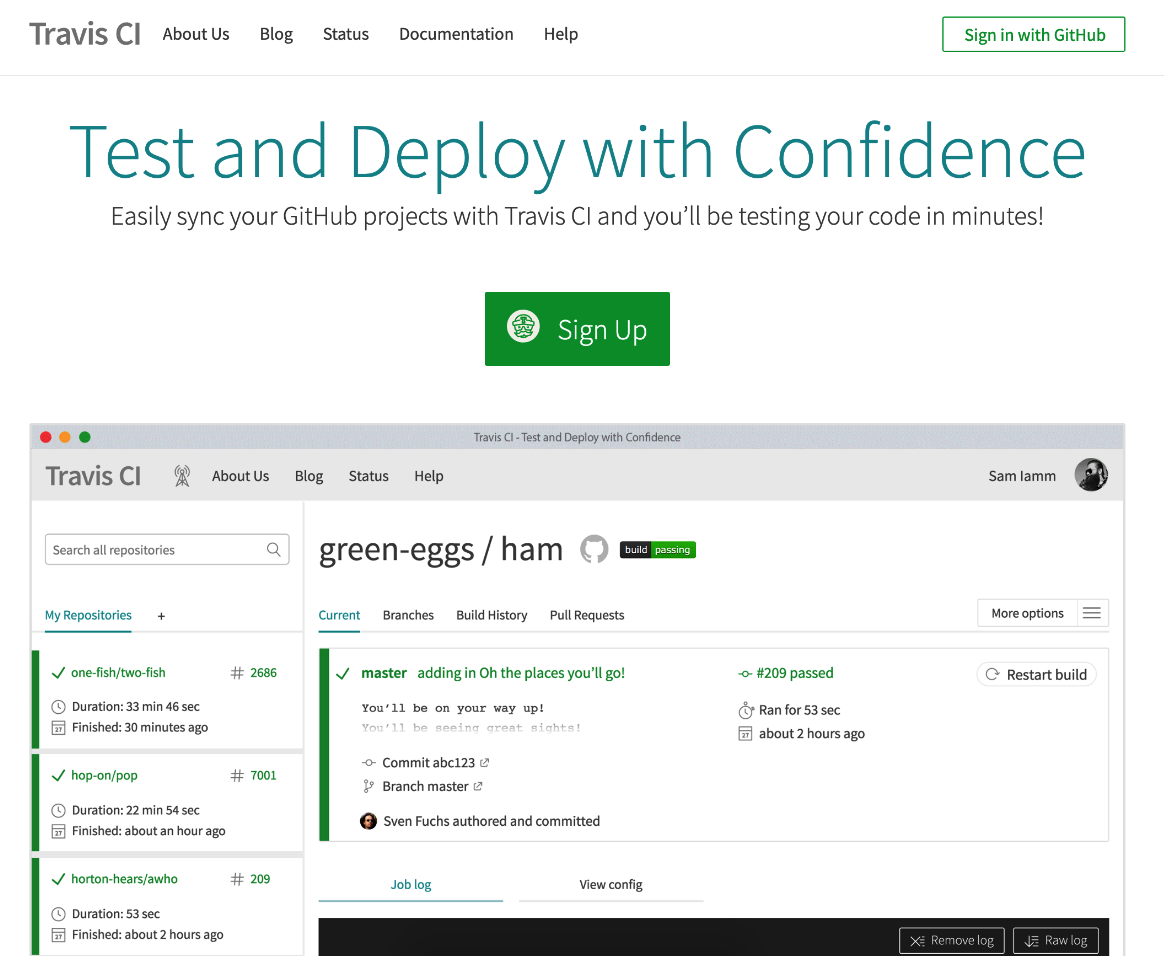
If you do not have a Travis CI account yet, go to https://travis-ci.org/and create one for your public project. It is easy—you just have to sign in to your GitHub account and it is done.
Right after you create the account, log in and look at the dashboard. You will notice that there is no project associated with Travis CI yet. In order to add order-api to the list of Travis CI repositories, go to https://travis-ci.org/account/repositories, type order-api under Legacy Services Integration, and flag the repository as selected on the left-hand side:

From now on, Travis CI will be able to listen to changes on this repository and, once we have our Travis CI files properly configured, we will be able to see Travis CI running order-api jobs there.
Go back to your project and create a file called .travis.yml in the root folder, with the following content:
language: node_js
node_js:
  - '10'
sudo: required
services:
  - docker
script:
  - npm install
Commit this file and push the changes to GitHub:
$ git add .travis.yml
$ git commit -m "adding travis file"
$ git push
Go to the Travis CI dashboard and click on the order-api project to see the running pipeline:

When the pipeline finishes, the color changes to green if it passes and red if it fails:
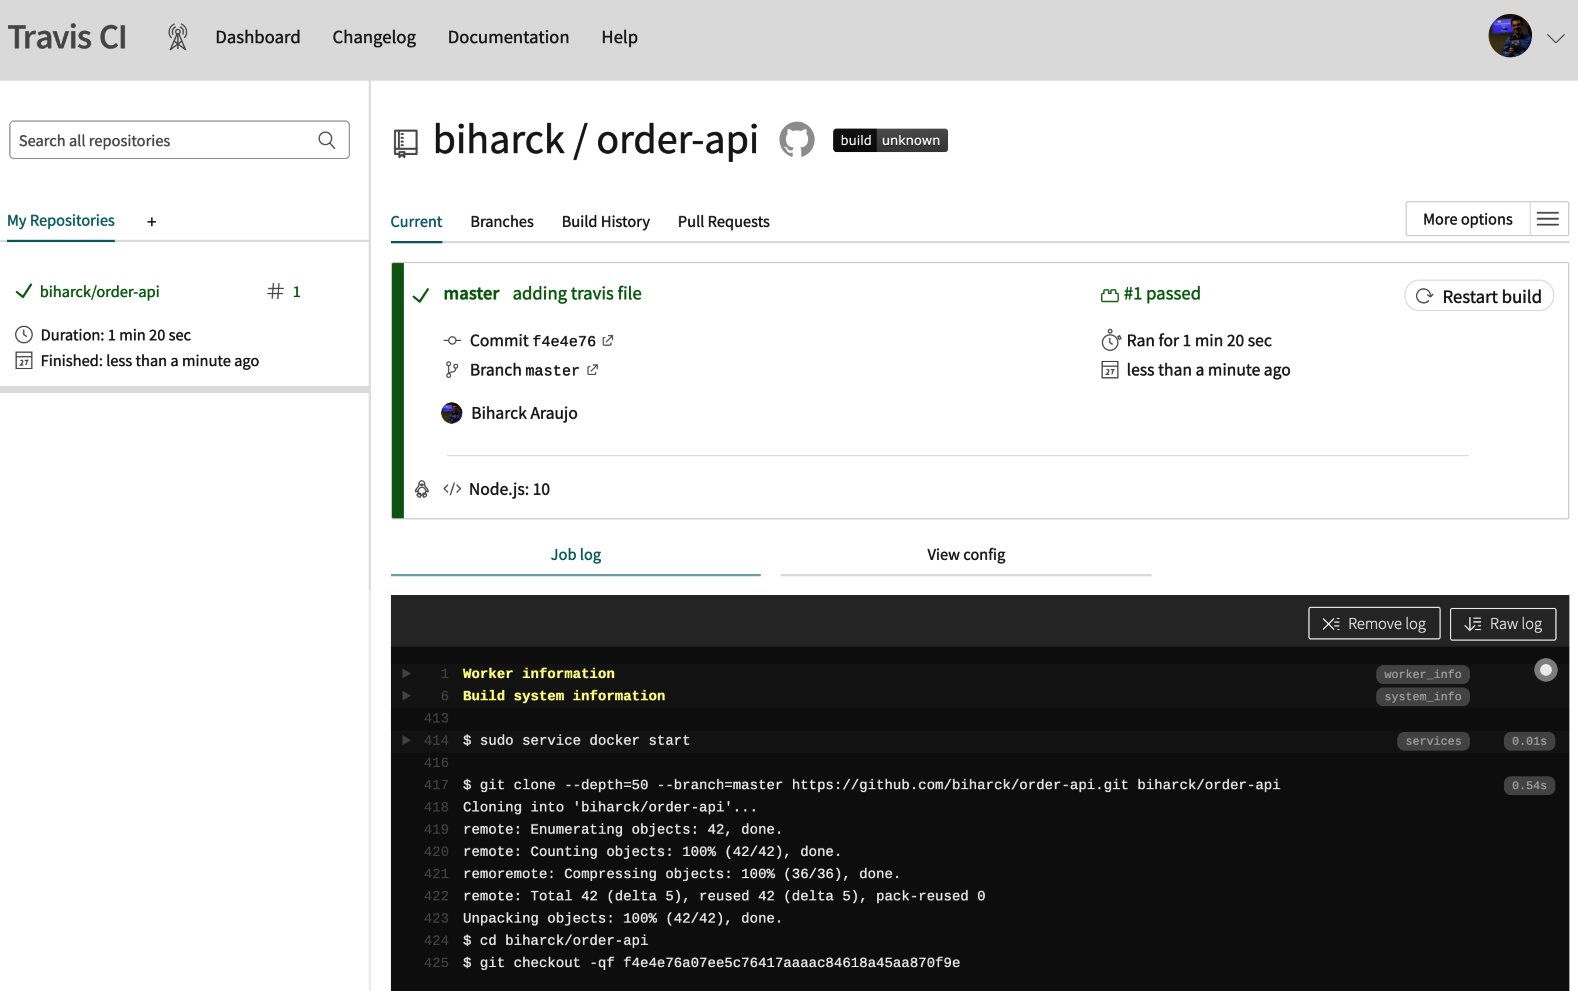
Basically, due to our .travis.yml file, we asked Travis to run the npm install command and it ran successfully. Now, every time you push changes to GitHub, Travis will trigger a new pipeline.