|  |
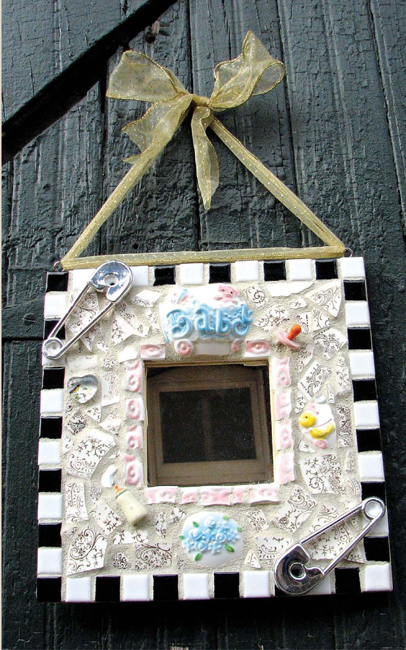
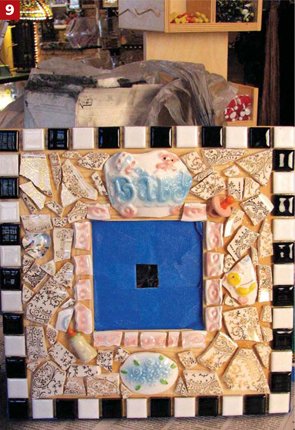
Oh, Baby!
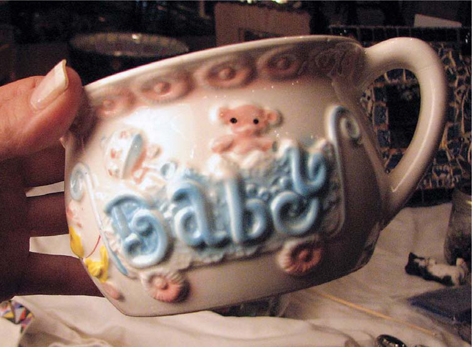
Catalyst for this project: vintage floral baby vase
|
The “Oh, Baby!” frame is the final project in our basic picture frame series. This project will help you get more comfortable with removing specific areas from cups and oddly shaped found objects. Many of the same cutting principles you’ve already learned apply in this technique.
In this project, I could have cut the baby, duck, and flower pieces in half to make them lie flat. As you can see from the finished piece, I decided not to.
If, like me, you want to take the 3D route (for lack of a better term), instead of the “cut it until it lays flat” option, pay special attention to making sure the pieces sink into the glue or mastic.
In the final grouting process, to secure extruded pieces, build up the grout around those pieces and make sure that all the gaps are filled completely with grout.
Materials
- 8-by-8-by-¾–inch basic wooden picture frame. Precut craft frames and assorted wooden shapes are available at some craft stores, but mostly online.
- Paint color of your choice, if you plan on painting the raw wood
- Vintage baby flowerpot
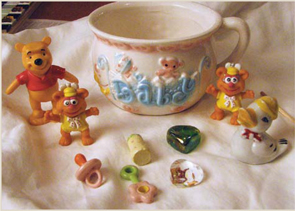
- Vintage baby bottle and pacifier
- Fifty ¾-inch ceramic tiles (black and white)
- Gold and cream-colored china pieces
- Clear glass heart with decoupage image
- Sanded grout (charcoal)
- Mirror or glass insert (if it didn’t come with the frame)
Tools
- Wheeled glass nipper
- Tile cutter
- Safety glasses
- Paintbrush or foam brush
- Sandpaper
- PVA (Weldbond) adhesive was used for this project, but mastic can also be used
- Roll of painter’s tape
- Disposable latex-free gloves
- Large Ziploc bag
- Paper towels
- Q-tips, skewers, toothpicks, or small tools for prodding and cleaning
- Vinegar and water
Directions
- Cover your workspace with newspaper.
- If you want to paint the raw wood, do it now and let it dry completely. Keep a little extra paint for any touch-ups that may be needed after grouting.
- When dry, lightly sand the frame in all of the places where pieces will be glued.
- With the wheeled glass nipper, cut the baby vase in half. Because I wanted to preserve the “Baby” extrusion from the center of the vase, I started shaping it down to remove it, doing the same with the duck, flowers, and handle on the vase. Reserve the handle, as you can use it someday for a different project.

- Cut the pink border away from the vase. Cut into similar (smaller) pieces for the inside border.
- Glue the black and white ceramic tiles around the outer border of the frame, leaving equal space in between each tile for a grout line. Starting with the outer border on this project helps give you a guide to follow while filling in the rest of the frame, with little or no cutting.
- Attach the baby piece to top center and flower piece to center bottom.
- Glue the pink border around the mirror opening.
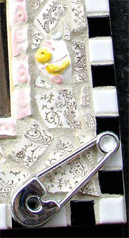
- Next glue the duck, pacifier, and bottle into place. Fill in gaps by adding the gold hand-cut china pieces.
- That’s it! Let it dry for a minimum of 24 hours.
- Protect painted areas and delicate objects with painter’s tape. Grout the frame. Clean and polish it, then insert a mirror or picture.