|  |
Wooden Objects
“To live a creative life, we must lose our fear of being wrong.” —Joseph Chilton Pierce
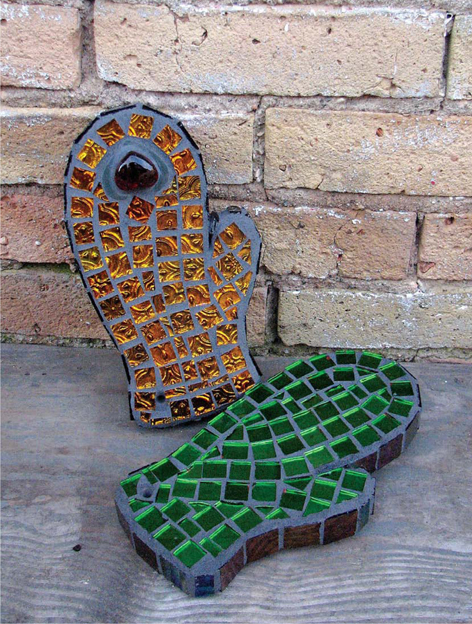
Pre-cut wooden shapes and discarded wooden surfaces make great bases for mosaics. Whether the wood pieces are finished or unfinished, the versatility allows you to be extremely creative in the design process. The finished projects are simple but very artistic!
|
Living in the Midwest has taught me an important lesson about gluing bits and pieces onto wooden bases: you never know if they can survive the elements. When in doubt, don’t use wood. But if you must, bring mosaic tile projects that have been created on wood inside during the colder months. Brush on a coat of grout sealer before putting the project back outside in the warmer months.
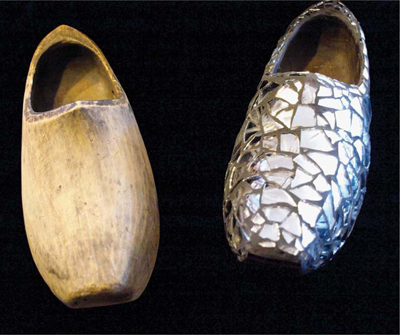
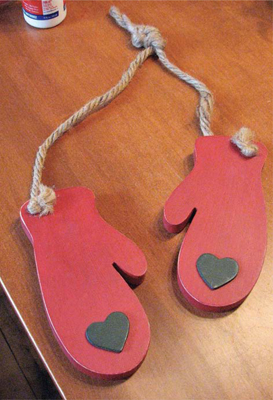
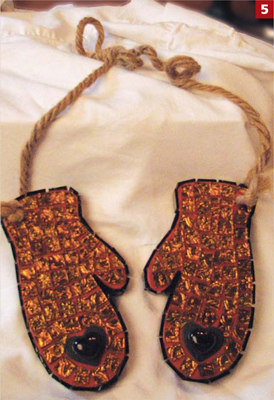
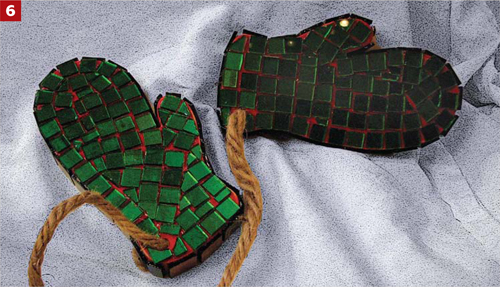
The simple wood mittens and shoes that I used in this chapter were picked up at a flea market. Just adding a few materials to unique wooden shapes will give you all of the inspiration you’ll need to create another, and another, and another.

Materials
- Wood shapes
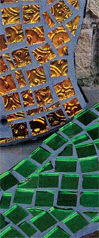
- Mirrored tiles, broken ornament pieces, and stained glass
- Assorted glass hearts
- Paint color of your choice, if you plan on painting the wood. I did not paint the surfaces for this project, although I did sand the wood before gluing.
- Sanded grout (charcoal)
Tools
- Wheeled glass nipper
- Safety glasses
- Paint or foam brush
- Sandpaper
- PVA (Weldbond) adhesive was used for this project, but mastic can also be used
- Disposable latex-free gloves
- Large Ziploc bag
- Paper towels
- Q-tips, skewers, toothpicks, or small tools for prodding and cleaning
- Vinegar and water
Directions
- Cover your workspace with newspaper.
- Lightly sand the wood to roughen the surface.
- Cut the mirrors and tiles into workable pieces with wheeled glass nipper. Set them aside.
- Brush a coat of Weldbond or another PVA adhesive onto to the surface. Let dry.
- Start gluing the pieces on. You can do this randomly, or in a preplanned pattern. Glue the pieces fairly close together for a grout line that will enhance, not take over. Clean off the excess glue as you go.
- Let each side dry before flipping the piece over.
- Wait a minimum of 24 hours before grouting.
- Grout and clean.