
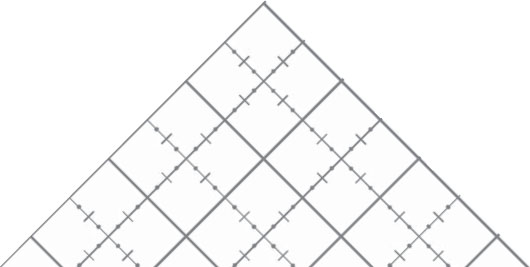
You need a large work surface. No part of your tissue should hang off the surface while altering. The surface must be pinnable. Cardboard is the easiest surface on which to work. Buy a gridded folding cardboard cutting board or a gridded cardboard cutting table. The grid makes altering easier. Place it on your kitchen counter for a comfortable work height.
To protect the surface when marking tissue patterns with marking pens, place plain paper under the pattern so ink won’t bleed onto the table. In our classes we have students use a lead pencil only. They can later mark final alterations with a colored pen.
As long as you are tissue-fitting, alter with tissue! Heavy paper or nonwoven fabrics overpower the lightweight pattern tissue.
You can find brightly colored tissue in a gift-wrap department or in an art supply store, or try Perfect Pattern Paper from McCall’s, which we developed at the suggestion of our students. It’s the same weight tissue used in patterns so it is not overpowering. Since it’s white, you can distinguish it from the pattern tissue. It is printed with a handy grid, from 1/8″ to 1″ that makes alterations easy and accurate.




Cut tissue into 1″, 2″ and 3″ strips and roll them onto an empty paper towel tube or foam noodle so you have them ready to use. Use strips just barely wider than the opening so you do not have lots of excess tissue under the pattern.

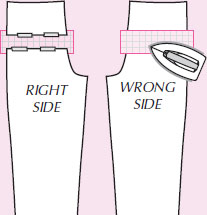
Start a new habit. Alter with pattern pieces RIGHT SIDE up. Put alteration tissue UNDER the pattern. Tape pattern to alteration tissue from the RIGHT SIDE of the pattern.
Always tape on the right side of the tissue only. Then always press the WRONG side of the tissue only, so the iron won’t directly touch the tape. Make this a habit! Neatness and consistency will prove to be your friends.
Do not use clear cellophane tape! Use ½”-wide Scotch Magic Tape, the translucent one. It won’t scrunch the tissue or melt under the iron as easily as clear tape does. DO NOT USE 3/4″ tape! It makes your pattern stiff.
If you need to remove tape, slit tape at the lapping point and gently tear it.

Since the ink from some pens can penetrate the tissue and make a mess of your cutting board, we recommend using a pencil, or protect your cutting board with a paper under the tissue.
Invest in 1 3/8″ (3.5mm) extra fine glass-head (won’t melt) pins. Choose pins made from steel so you can use your magnetic pin cushion to pick them up. Don’t use large quilting pins. They can be painful in tissue-fitting. They also make a big hole in the tissue and fall out easily.
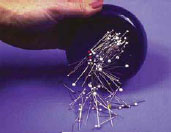

Use 1 3/8″ (3.5mm) extra fine, glass head pins. Don’t use large quilting pins.
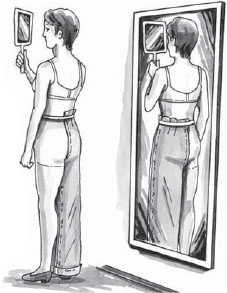
For accurate tissue-fitting, you shouldn’t twist or bend to see your alterations. If you have a three-way mirror, great, but it’s not necessary. All you need is a full-length mirror and a handheld mirror for the rear view.
1. Sharp bent-handled shears or a rotary cutter and mat
2. Pressing equipment—steam iron, pounding block, seam roll, and ham
3. Tracing paper and marking pens
4. Hard chalk and chalk wheel
5. Seam ripper
6. Stay Tape and basting tape
7. See-through ruler and hem gauge