Make More Houseplants for Free
[Adapted from The Complete Houseplant Survival Manual by Barbara Pleasant]
It’s quite easy to take cuttings from your favorite houseplants to make more plants. Most plants can be propagated by rooting 3- to 4-inch-long cuttings taken from the tips of the stems. The places that will develop new roots and leaves are the nodes — the places where the leaves attach to the stems.
It’s a good idea to root more cuttings than you need, just in case some don’t take. Most plants with soft, fleshy stems root best when the cutting is set to root immediately after being taken from the parent plant, but succulents and semi-succulent plants sometimes root better if the cut surface is allowed to callus for a day — or up to to several days — before it is set to root.
- 1. Cleanliness counts when handling cuttings. Wash your hands before filling small, clean containers with your growing medium of choice (see the box at right). Dampen the medium well and use a chopstick or skewer to make holes for the cuttings.

- 2. Sterilize a sharp knife or pair of scissors by dipping it in boiling water for several seconds. Allow your cutting instrument to cool before using it to sever a healthy stem just below a node.

- 3. Remove all but the topmost leaves from the cutting. If you are using rooting powder, pour out the amount you’ll need onto a piece of paper or into a small dish to avoid contaminating the powder in its original container. Dip the cut end in water, then dip it in rooting powder, tap off the excess, and poke it into its prepared hole. Dispose of any leftover rooting powder in the dish when you’re done.

- 4. Use your fingers to gently pack the medium around the stem.

- 5. For the first 2 weeks after setting any type of cuttings to root, enclose them in plastic, container and all, and place them where they will receive no direct sunlight. This plastic humidity chamber is needed because, until they develop roots, the cuttings have no way to replenish moisture lost through their leaves. A translucent plastic bag, held aloft with sticks, works great for individual containers, or you can place several containers together in a small box and cover the top with a piece of plastic.

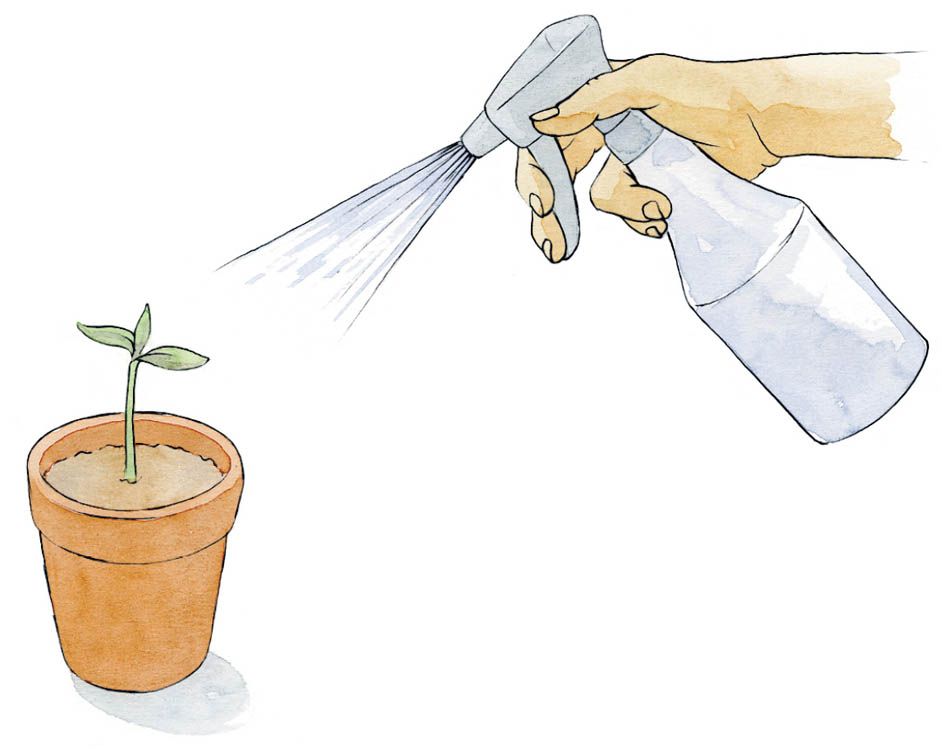
- 6. Each morning, remove the plastic and lightly mist the cuttings. In warm weather, check them again in the afternoon. Add water to the containers only if the medium appears to be drying out. Try to keep it lightly moist but not extremely wet.
- 7. In the third week, take off the plastic cover, but continue to mist the cuttings daily and keep them out of bright light. Remove and dispose of any cuttings that have obviously died (the stems will be black or shriveled). By the third week, you may see signs of new growth in some of the cuttings. If so, move them to a place where they will get a little more light, and begin mixing a small amount of fertilizer into the water used to replenish the moisture in the containers.
Most stem cuttings will begin to root in 3 to 4 weeks, but some plants may need 2 months or more before they are ready to be potted into regular potting soil. Use the appearance of new growth as your guide. You can also test for the presence of roots by gently pulling on a cutting. A bit of resistance means that roots have anchored the cutting in the rooting medium.