Make No-Knead Sourdough Bread
[Adapted from The Backyard Homestead Book of Kitchen Know-How by Andrea Chesman]
Makes 1 loaf
Sourdough can be intimidating, but it needn’t be. This no-knead recipe is simple — just throw the dough together and wait, then cook in a Dutch oven to steam the bread as it bakes. You’ll end up with a loaf that is just as delicious as its kneaded counterparts, one that is worthy of sopping up the juices from your best beef stew or chicken roast. Toasted, with some homemade jam, it is heavenly. Use sourdough starter from a friend or make your own (see box below).

It’s handy to have a flexible plastic tool known as a bowl scraper to coax the wet dough out of the bowl in which it rose, though a silicone spatula will do in a pinch.
Ingredients
- 2 cups sourdough starter (see below)
- 2 cups white bread flour
- 2 teaspoons salt
- About 1⁄3 cup water
- 1. Mix the dough. Pour the sourdough starter into a large bowl. Add the flour and salt. Stir until all the flour is moistened and incorporated into the dough, adding up to 1⁄3 cup water, as needed. The amount of water you use won’t be the same each time because the sourdough starter will be thinner or thicker depending on ambient temperatures, whether or not you stir in the hooch (the liquid on top; I always do), the moisture content of the flour, and other variables. The mixing should take only a minute or so. The dough is finished when all the flour has been incorporated and the dough is a loose, shaggy ball. Cover with plastic wrap; the long rise will result in a dry skin on the dough if you use a towel instead of plastic wrap.
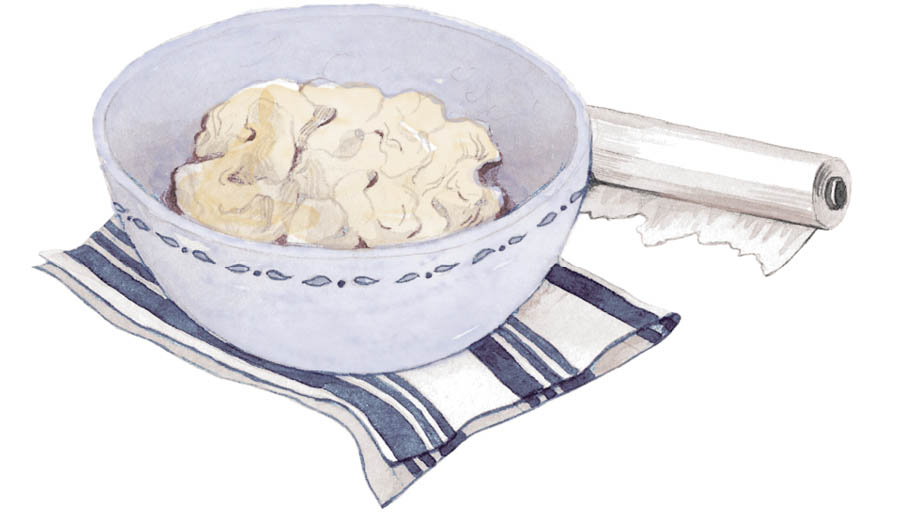
The dough looks shaggy and wet.
- 2. Let rise. Set aside to rise for 12 to 18 hours. The dough should increase in size and may develop bubbles on its surface. You can leave it at this stage to let it develop more flavor, or you can bake it.
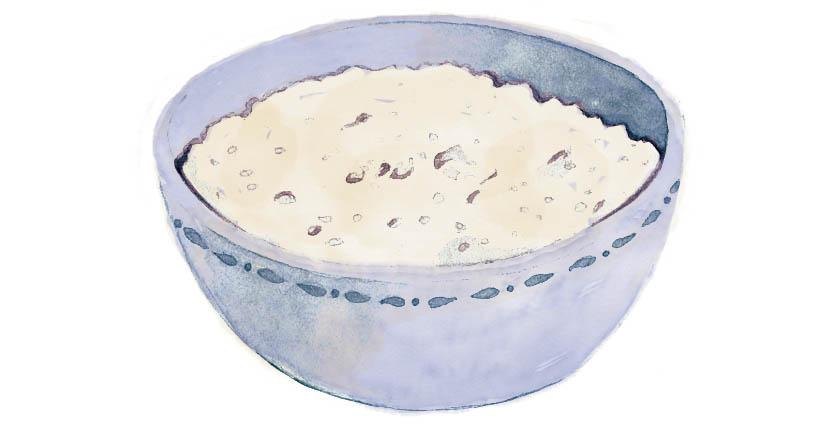
Overnight, the dough relaxes and expands in volume.
- 3. Shape the loaf. Place a bowl and a sheet of parchment paper on the counter. Spread a few tablespoons of flour on a work surface. Remove the plastic wrap from the dough and set aside. Using a bowl scraper, turn the dough out onto the floured surface. Make a very rough ball by folding the top of the dough, then the bottom, then one side, then the other side. This should take only a minute; don’t handle the dough more than that. If the dough sticks to the work surface, use the bowl scraper to lift it up.

Fold in the top, then the bottom.

Fold in the sides.
- 4. Proof the dough. The dough will benefit from another short rise. Place the dough on the parchment paper, seam side down. Lift up the paper and ease it into a bowl. Cover with the plastic wrap and let rise for about 30 minutes.
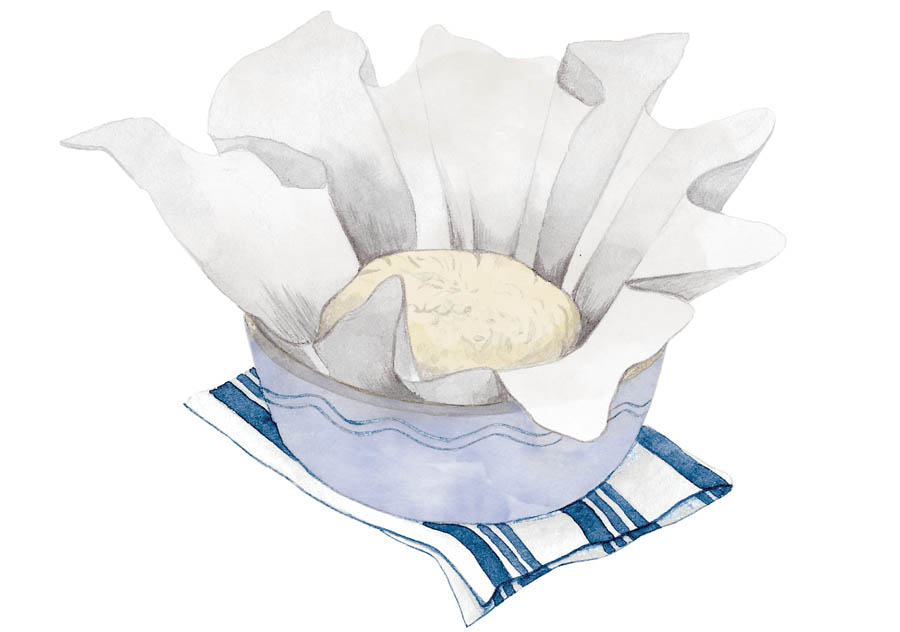
Proof in a bowl lined with parchment paper.
- 5. Preheat the oven and pan. When you are ready to bake, put a cast-iron Dutch oven in the oven and preheat to 500°F/260°C.
- 6. Transfer the dough to the pan. When the oven is preheated, remove the Dutch oven. Remove the plastic wrap from the dough. Lift up the parchment paper that holds the dough and gently ease it into the preheated Dutch oven. With a very sharp knife, score a deep X in the top of the loaf. If you like, spray the dough with water to make the crust crisper. Cover the Dutch oven with the lid.
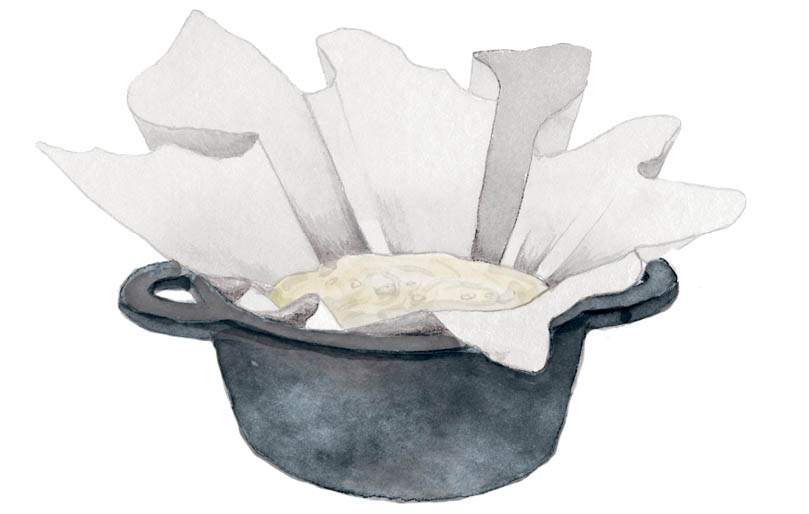
The loaf is moved on the parchment paper into the preheated Dutch oven.
- 7. Bake. Bake for 30 minutes. Then reduce the oven temperature to 400°F/200°C and remove the lid from the Dutch oven. Continue baking for another 20 minutes, until the bread is browned; it should register 190°F/88°C on an instant-read thermometer.
- 8. Cool. Turn the bread out of the Dutch oven and let cool completely on a wire rack before slicing. (If you slice the bread while it is still warm, it will develop a gummy texture.)
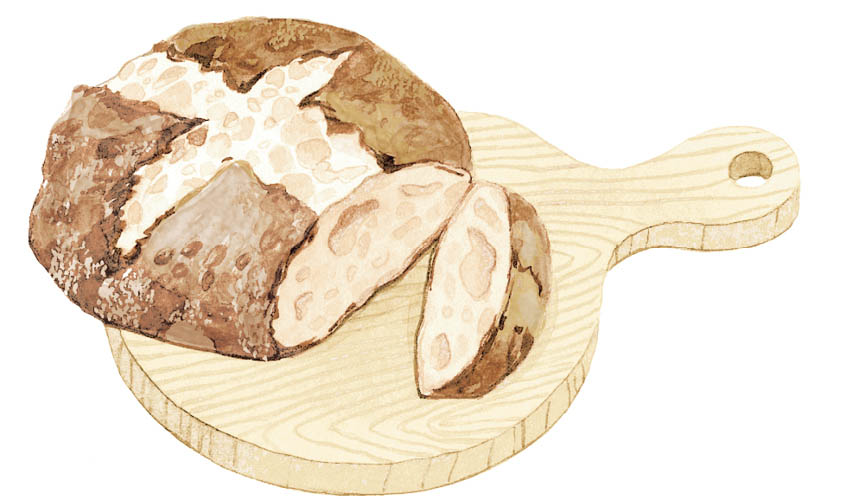
A good crumb means lots of large air holes.