Insert a Picture
You can illustrate your Office files with images that you store on your computer. For example, if you have a photo or graphic file that relates to your Excel data, you can insert it onto the worksheet. If you have a photo or graphic file that relates to the subject matter in your document, you can insert it into the document to help the reader understand your subject. After you insert a picture, you can resize, move, or modify the graphic in a variety of ways, as described in the section “Understanding Graphics Modification Techniques,” later in this chapter.
Insert a Picture
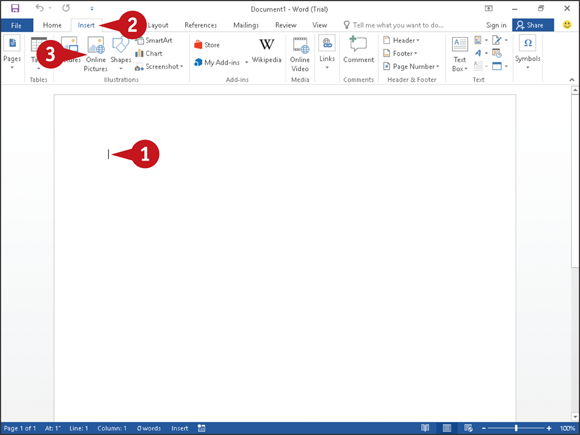
 Click in your document where you want to add a picture.
Note: You can move the image to a different location after inserting it onto the page. See the section “Resize and Move Objects.”
 Click the Insert tab.
 Click Pictures.
The Insert Picture dialog box appears.
 The folder you are viewing appears here.
Note: Image files come in a variety of formats, including GIF, JPEG, and PNG.
 To browse for a particular file type, you can click
  and choose a file format.
 You can click in the folder list to navigate to commonly used locations where pictures may be stored.
 Navigate to the folder containing the picture you want to add to your document.
 Click the picture you want to add.
 Click Insert.
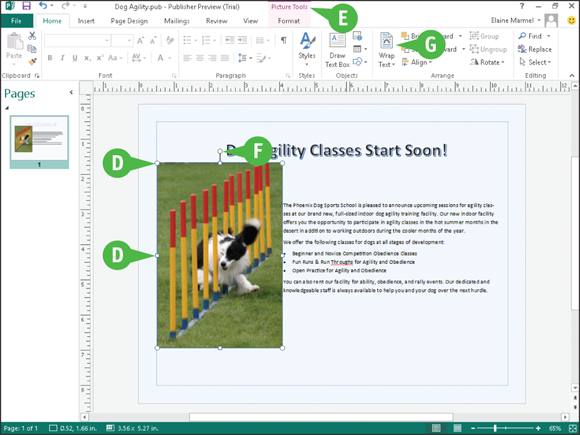
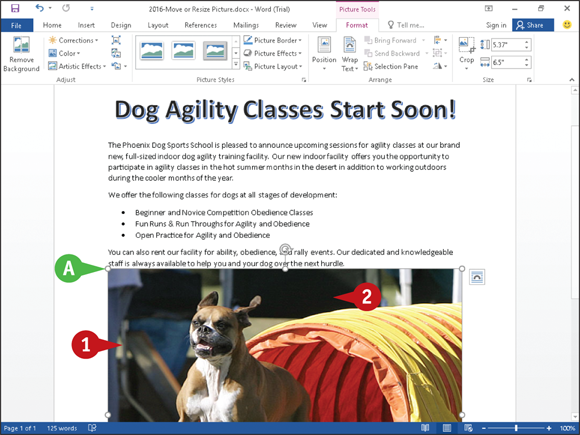
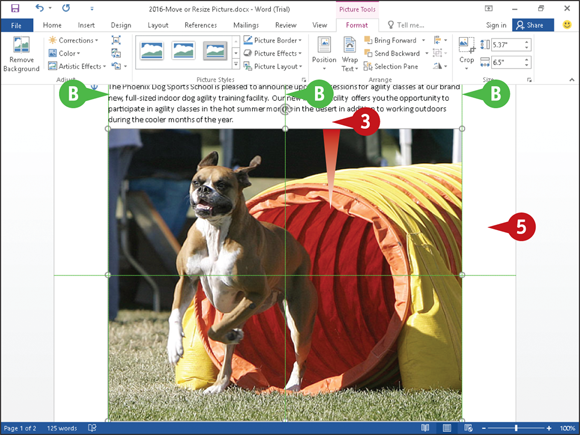
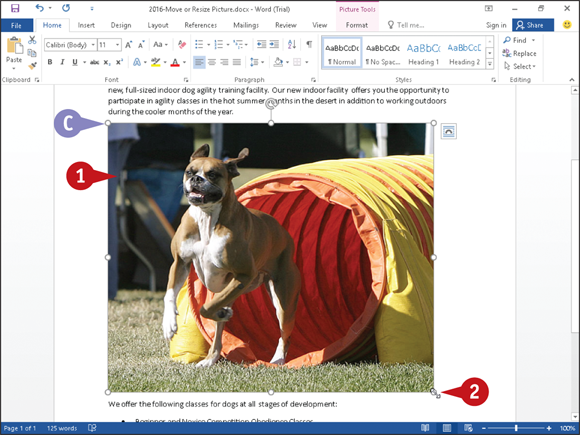
 The picture appears in your document, selected and surrounded by handles (
 and
and  ).
).
 Picture Tools appear on the Ribbon; you can use these tools to format pictures.
 You can drag to rotate the picture ( changes to
  ).
).
 You can click Wrap Text to control text flow around the picture.
To remove a picture that you no longer want, you can click the picture and press  .
.
Insert an Online Picture
In addition to pictures stored on your computer’s hard drive, you can add interest to your Office files by inserting a picture or clip art image from an online source into a Word, Excel, PowerPoint, Publisher, Outlook, or OneNote document. Be careful when choosing online pictures and make sure that they fall into the public domain or that you have written permission to use the picture.
Office 2016 programs use Bing.com to search for images, and a Bing search displays images licensed by Creative Commons, a nonprofit organization that helps individuals license their works.
Insert an Online Picture
Note: If you are working in Word or Excel, switch to Print Layout view.
Click in your document where you want to add a picture.
Note: You can move the graphic to a different location after you insert it. See the section “Resize and Move Objects,” later in this chapter.
Click the Insert tab.
Click Online Pictures.
Note: In some Office programs, Online Pictures does not appear directly on the Insert tab. In this case, click Illustrations.
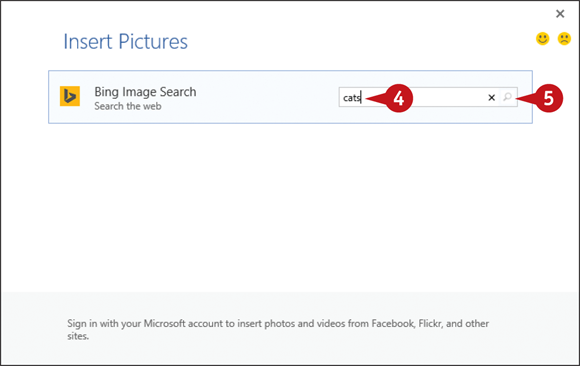
The Insert Pictures window appears.
Note: If you sign in using a Microsoft account, you also can search Facebook, Flickr, and your OneDrive space.
Click in the search box and type a description of the kind of image you want.
Click the Search button ( ).
).
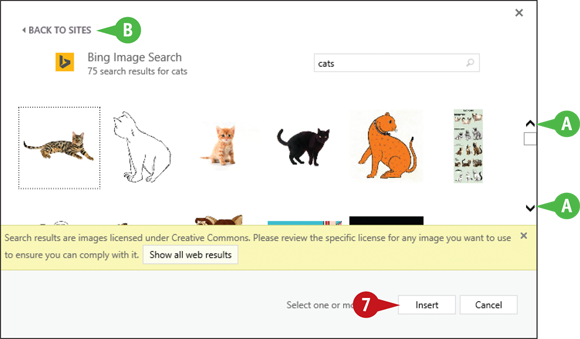
The results of your search appear.
You can click the arrows ( and
and  ) to navigate through the search results.
You can click Back to Sites to return to the Insert Picture window and search for a different image.
Click the picture you want to add to your document.
 Click Insert.
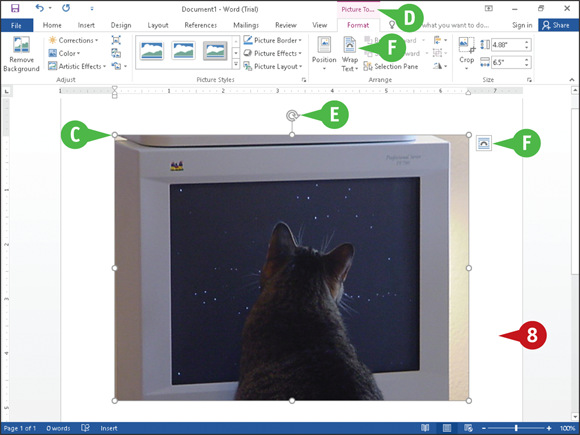
The picture appears in your document, selected and surrounded by handles ( ).
).
Picture Tools appear on the Ribbon; you can use these tools to format the picture.
You can drag  to rotate the picture.
You can click Wrap Text or the Layout options button ( ) to control text flow around the picture.
 When you finish working with your online picture, click anywhere else in the work area.
Understanding Graphics Modification Techniques
In addition to inserting, moving, and resizing pictures as described in this chapter, you can insert and modify other types of graphic objects — shapes, screenshots, SmartArt, WordArt, and charts — in all Office programs except Access. The available graphic objects vary from program to program; the specific types of available graphic objects appear on the Insert tab of the program. You insert these objects using basically the same techniques you use to insert pictures.
You can modify an object’s appearance using a variety of Ribbon buttons that appear on a Tools tab specific to the type of graphic object you select.
Crop a Picture
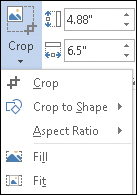
You can use the Crop tool to create a better fit, to omit a portion of the image, or to focus the viewer on an important area of the image. You can crop a picture, screenshot, or clip art image. When you crop an object, you remove vertical and/or horizontal edges from the object. The Crop tool is located on the Format tab on the Ribbon, which appears when you click the object you want to crop.
Rotate or Flip a Graphic
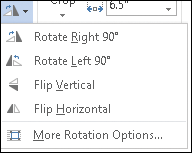
After you insert an object such as a piece of clip art or a photo from your hard drive into a Word document, you may find that the object appears upside down or inverted. Fortunately, Word makes it easy to flip or rotate an object. For example, you might flip a clip art image to face another direction, or rotate an arrow object to point elsewhere on the page. Or, for dramatic effect, you can rotate or flip pictures, clip art images, and some shapes. Keep in mind that you cannot rotate text boxes.
Correct Images
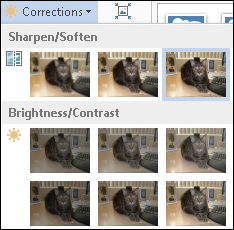
You can change the brightness and contrast of a picture, clip art, or a screenshot to improve its appearance, and you can sharpen or soften an image. Suppose, for example, the image object you have inserted in your Word, Excel, or PowerPoint file is slightly blurry, or lacks contrast. You find the image-correction tools on the Picture Tools Format tab on the Ribbon, which appears when you click to select the object to which you want to apply the effect.
Make Color Adjustments
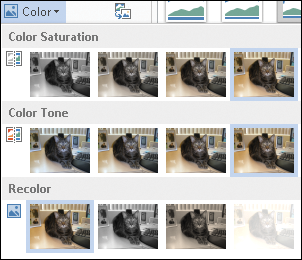
You can adjust the color of a picture, screenshot, or clip art image by increasing or decreasing color saturation or color tone. You can also recolor a picture, screenshot, or clip art image to create an interesting effect.
Color saturation controls the amount of red and green in a photo, whereas color tone controls the amount of blue and yellow.
Remove the Background of an Image
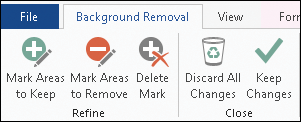
You can remove the background of a picture, screenshot, or clip art image. For example, suppose that you inserted a screenshot of an Excel chart in a Word document; the screenshot would, by default, include the Excel Ribbon. You can use the Remove Background tool in the Adjust group on the Picture Tools Format tab to remove the Excel Ribbon and focus the reader’s attention on the chart.
Add an Effect
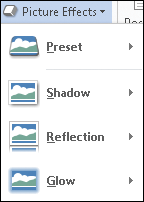
You can use tools to assign unique and interesting special effects to objects. For example, you can apply a shadow effect, create a mirrored reflection, apply a glow effect, soften the object’s edges, make a bevel effect, or generate a 3-D rotation effect. You can find these tools on the Format tab of the Ribbon, which appears when you click to select the object to which you want to apply the effect. (Note that the Picture Effects tool is not available in Publisher.)
Apply a Style to a Graphic
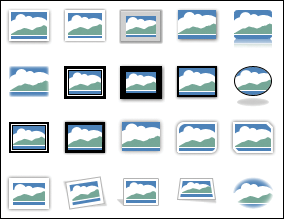
You can apply a predefined style to a shape, text box, WordArt graphic, picture, or clip art image. Styles contain predefined colors and effects and help you quickly add interest to a graphic. Applying a style removes other effects you may have applied, such as shadow or bevel effects. Sample styles appear on the Picture Tools Format or Drawing Tools Format tab when you click the More button ( ) in the Picture Styles or Shape Styles group.
Add a Picture Border or Drawing Outline
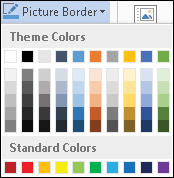
You can add a border to a picture, shape, text box, WordArt graphic, clip art image, or screenshot. Using the Picture Border or Shape Outline tool, which appears on the Picture Tools Format or Drawing Tools Format tab, you can control the thickness of the border, set a style for the border — a solid or dashed line — and change the color of the border.
Apply Artistic Effects
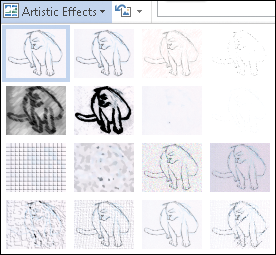
You can apply artistic effects to pictures, screenshots, and clip art to liven them up. For example, you can make an image appear as though it was rendered in marker, pencil, chalk, or paint. Other artistic effects might remind you of mosaics, film grain, or glass. You find the Artistic Effects button on the Picture Tools Format tab, which appears when you click to select the object to which you want to apply the effect.
 or
or  changes to
  ).
).
 ,
,  ,
,  , or
, or  ).
).
 ).
).