Before using the patterns that come with this book, you will have to cut them out. Cut the paper on the solid lines — remember not to use your sewing scissors here!
Once you’ve picked a project to make, print out all of the pattern pieces. If you want to make your own patterns, try using cardboard, cardstock, or a brown paper bag that is too thick to tear. When the patterns are too big to print out on a single sheet of computer paper, cut and attach pieces along the dotted lines to form the full pattern. Read how many times you will have to cut out the fabric, and keep this in mind when choosing which fabric you want to use.
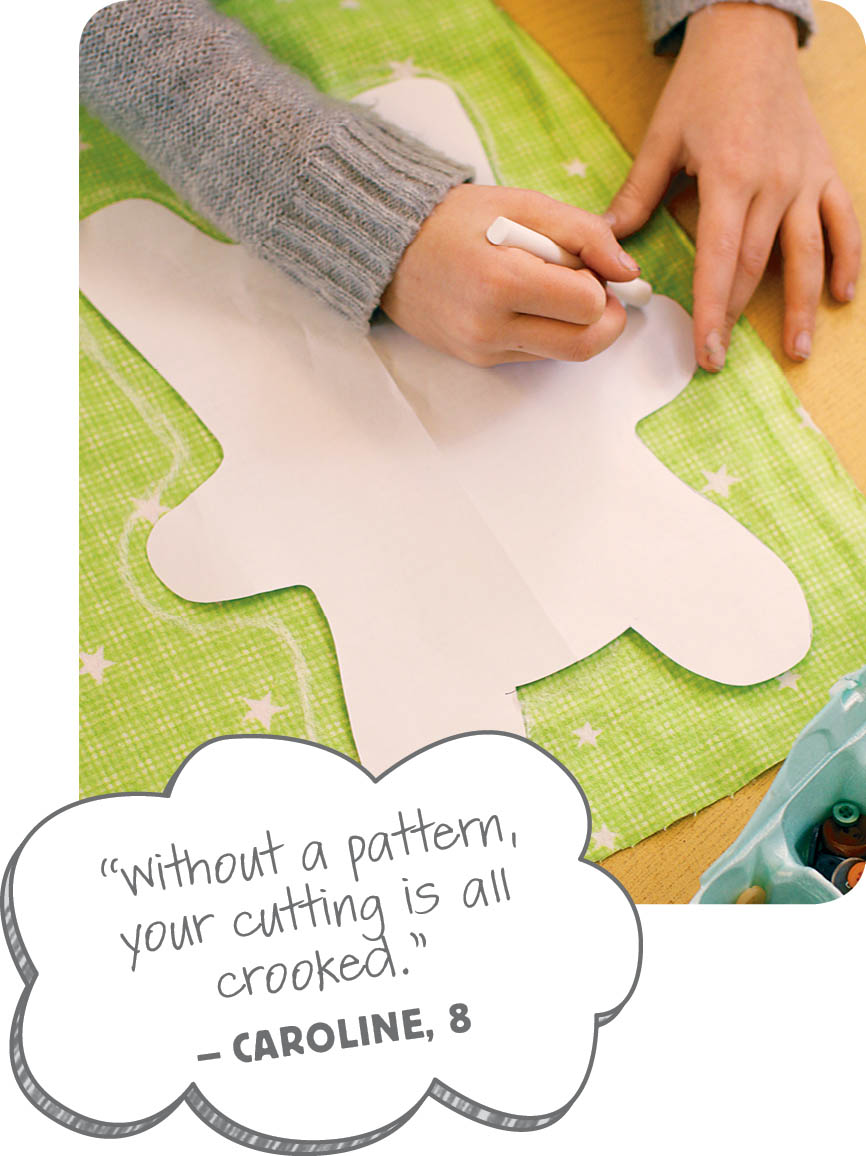
Smooth out your fabric on a flat surface (the kitchen table or a wood floor works great). Place the pattern on top of the fabric near one edge. Use your chalk or a pencil to trace around the pattern. It helps to pin the pattern to the fabric first. Or you can ask a friend to help hold down the pattern. If you don’t have a helper, use a heavy can to hold your pattern and fabric near one edge. in place.
The patterns in this book were designed with a seam allowance of 1⁄4 inch. This is the space between your stitches and the edge of your fabric.