LESSON EIGHT

Button Up

Image

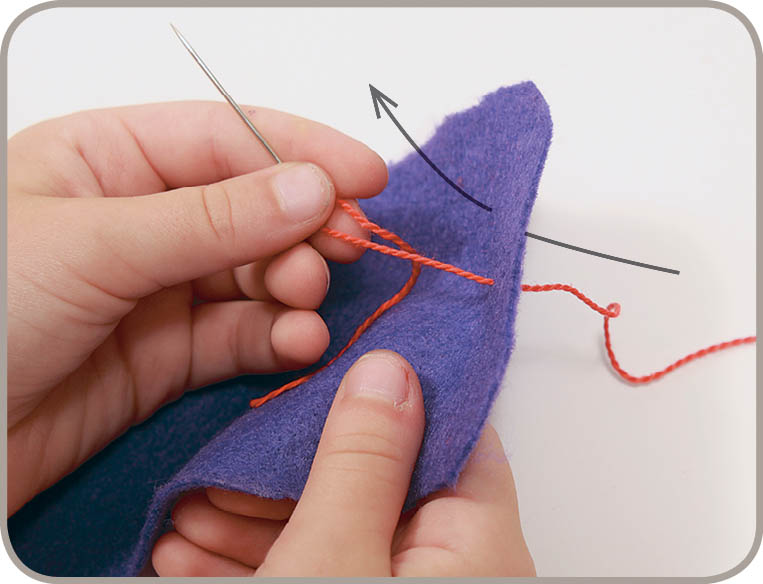
Buttons are very important. They are fasteners that can hold our clothes together or help keep a bag or a pocket closed. Buttons can also serve as an eye or a nose for a stuffed animal. Here’s how to sew on two different kinds of buttons.

How to Sew a Flat Button

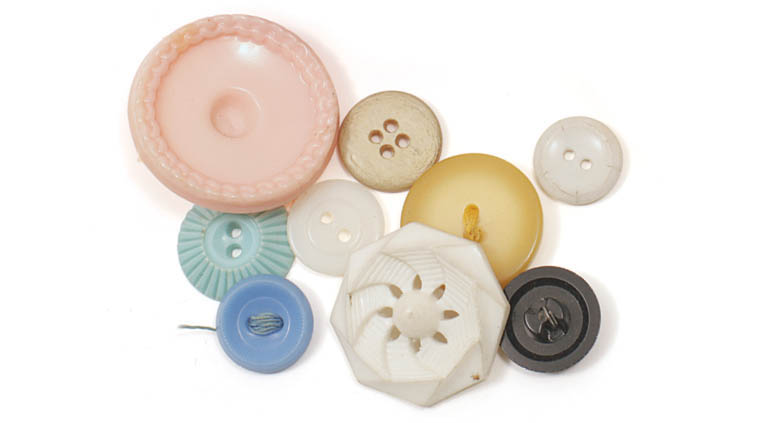
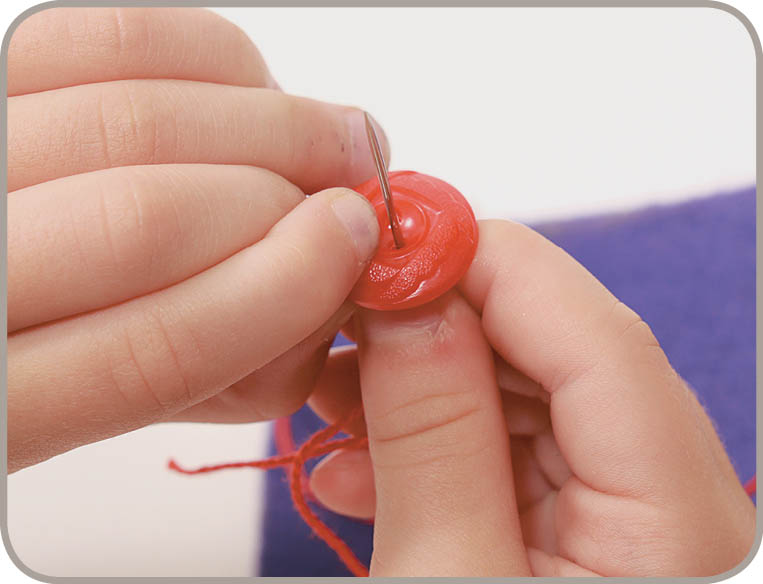
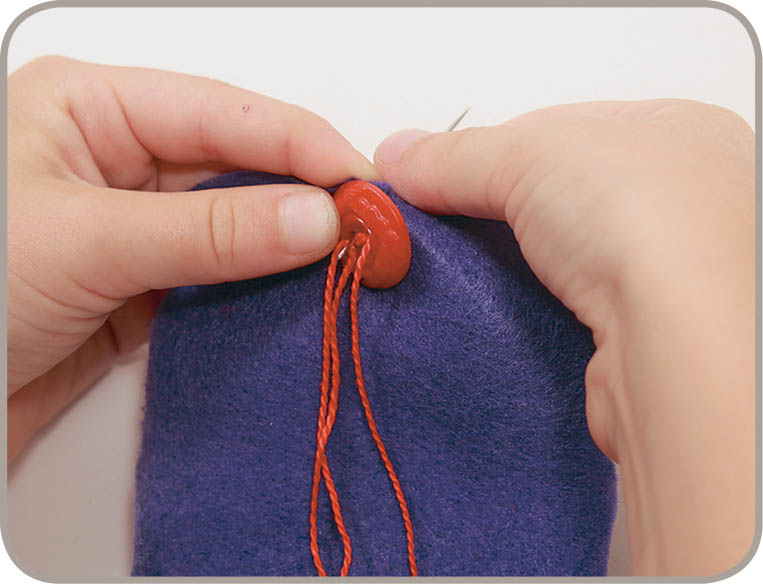
Flat buttons have two, four, or five holes for you to stitch through.

Instructions

  1. 1. Bring the needle up through the back of the fabric.
    Image
  2. 2. Slip the needle through one of the buttonholes. Slide the button down the thread to the fabric.
    Image
  3. 3. Sew down through another buttonhole.
    Image
  4. 4. Sew through all the buttonholes at least two times. This way, your button will not fall off.
    Image
  5. 5. Push the needle to the back of the fabric and make a knot. Cut the thread.
    Image

How to Sew a Shank Button

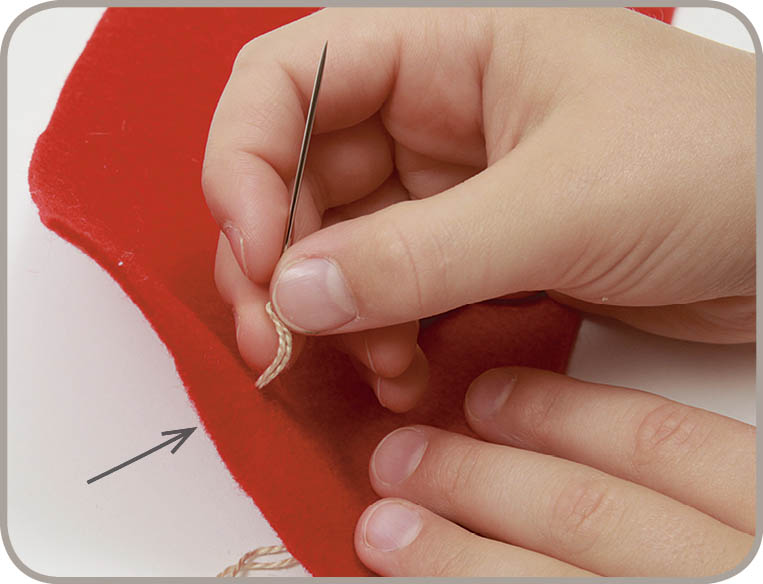
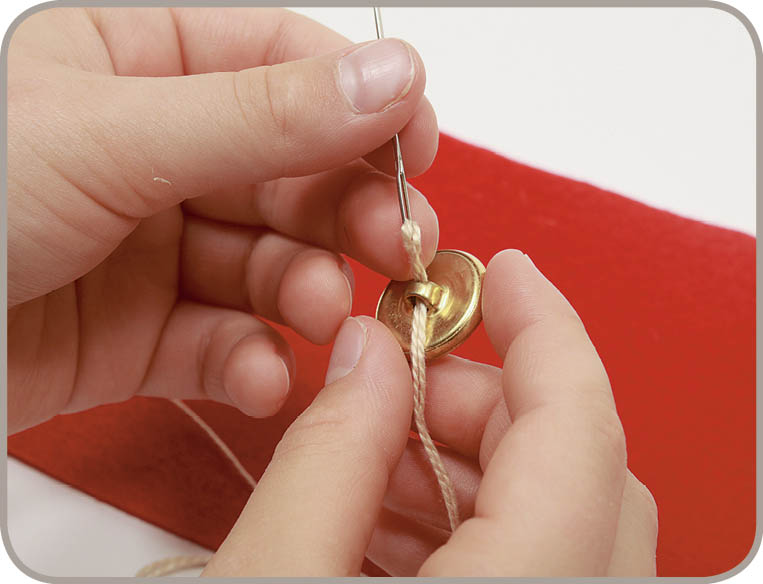
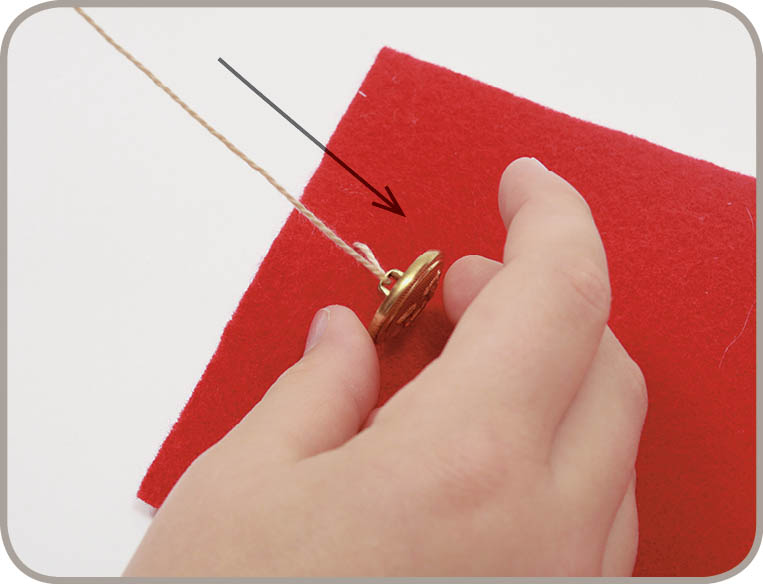
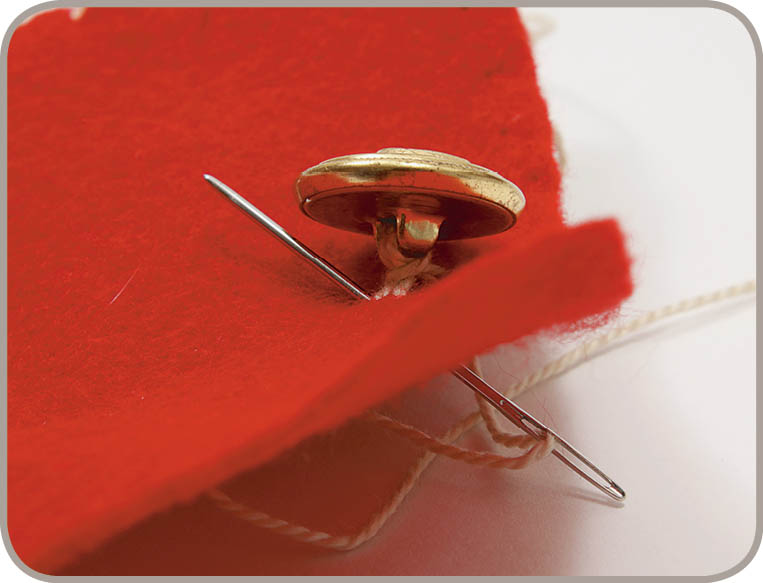
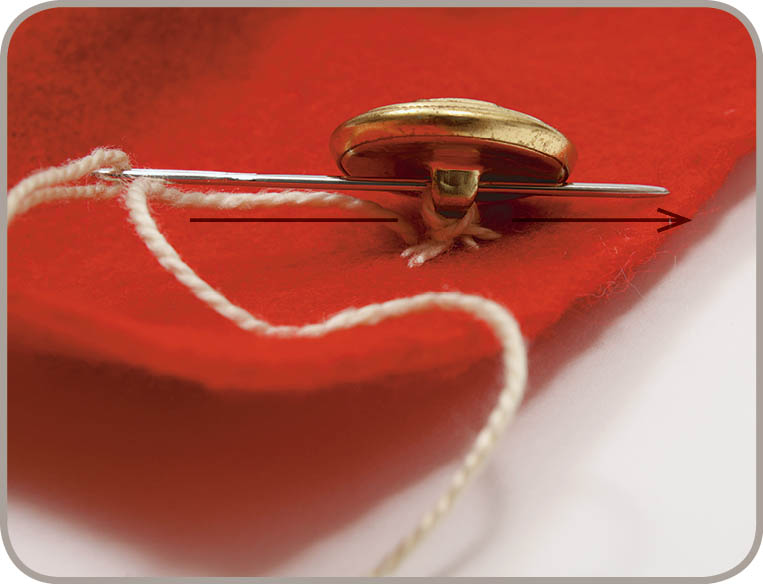
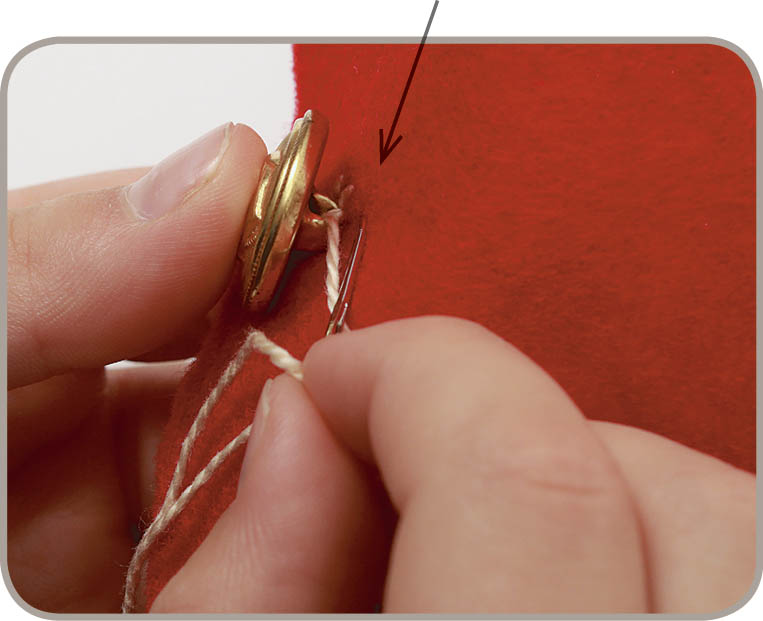
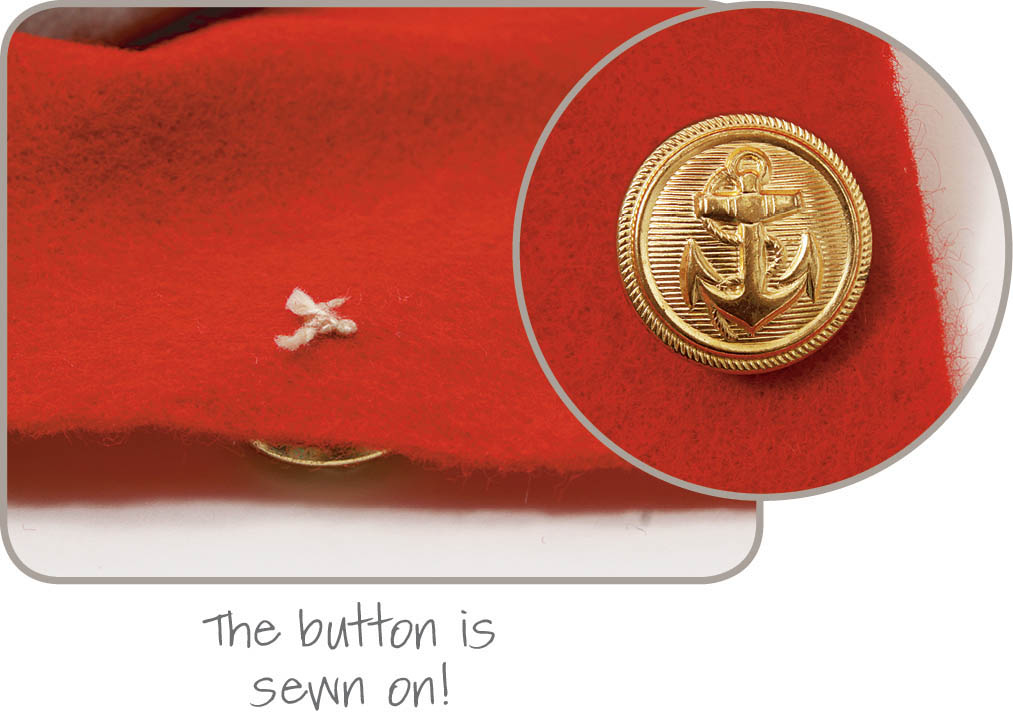
Shank buttons have a metal or plastic loop on the back.

Instructions

  1. 1. Bring the needle up through the back of the fabric.
    Image
  2. 2. Slip the needle through the loop on the back of the button.
    Image
  3. 3. Slide the button down the thread to the fabric. Then put the needle back down into the fabric close to where you came up.
    Image
  4. 4. Now go back through the button two more times so your button will stay put. Bring the needle back up close to the button.
    Image
  5. 5. Slide the needle through the button loop.
    Image
  6. 6. Sew down through the fabric next to the button.
    Image
  7. 7. Make a knot in the back of the fabric. Cut the thread.
    Image
Image