Image

Stuffies

Image

What You Need

Let’s Review

Before you begin, you’ll need to know how to:

A NOTE FOR GROWN-UPS

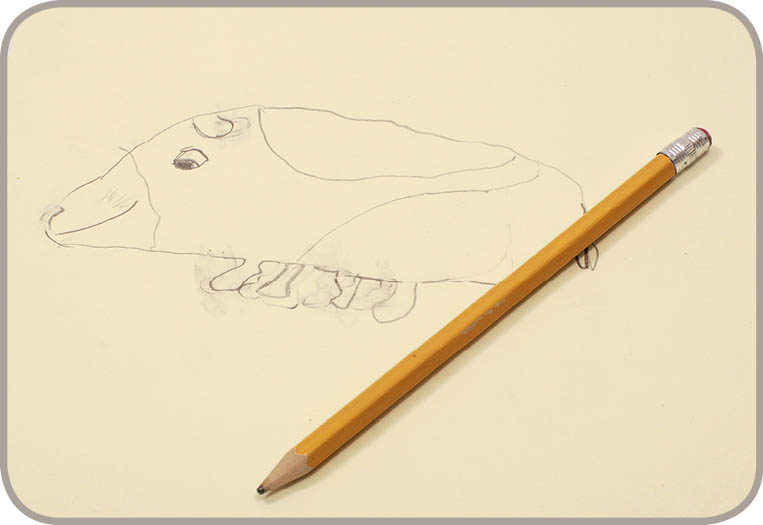
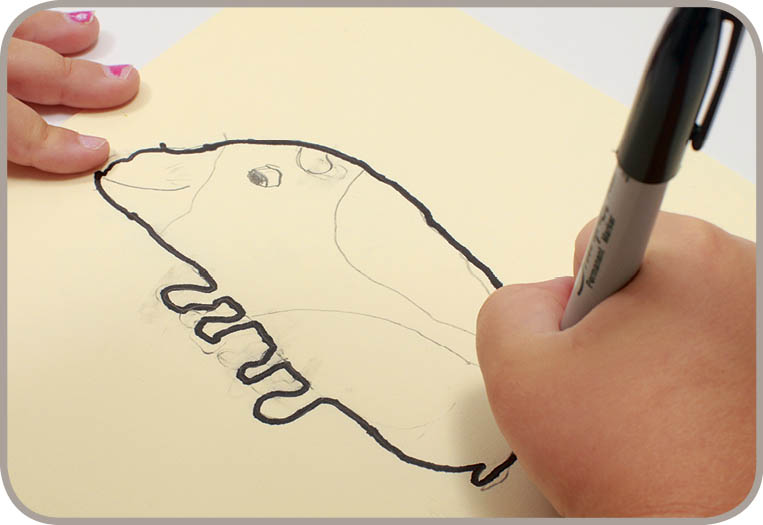
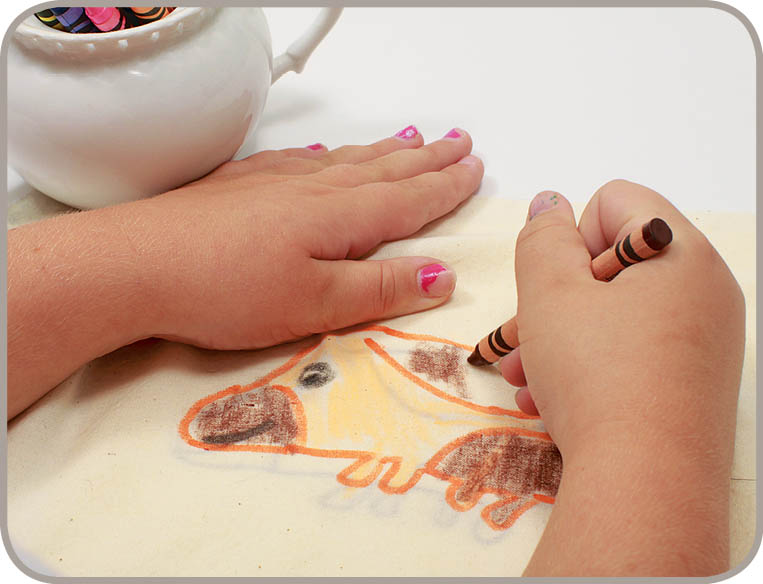
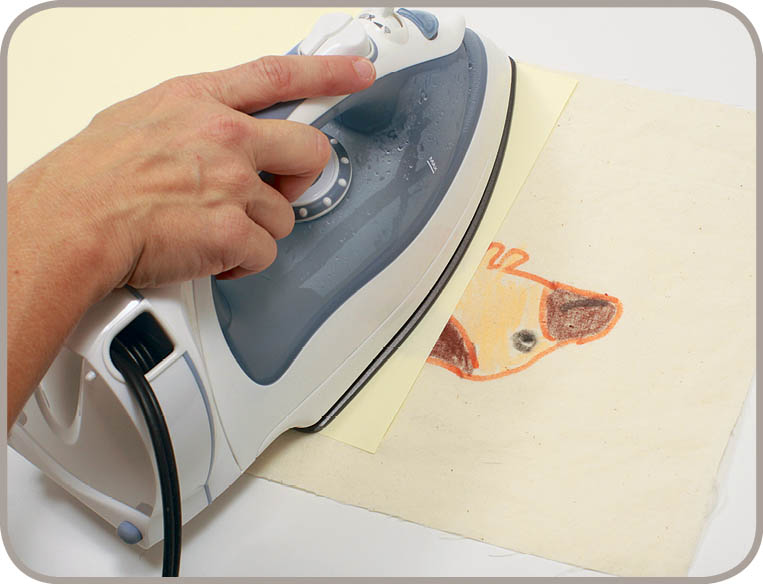
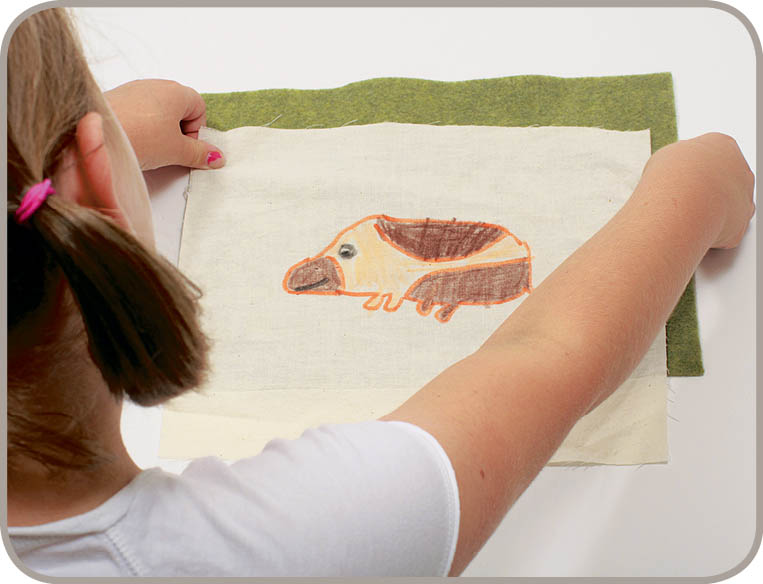
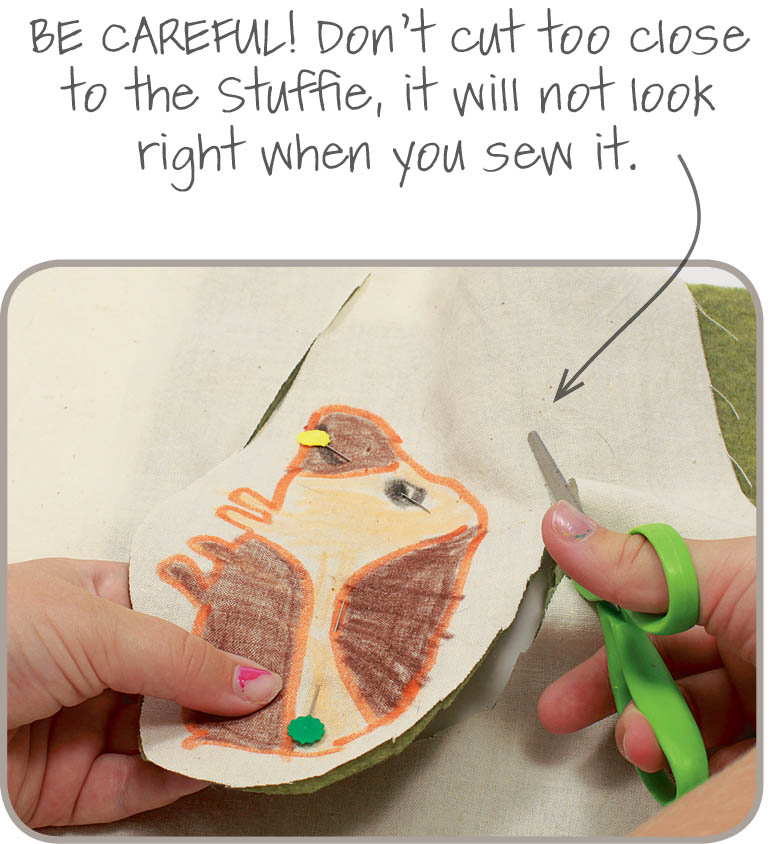
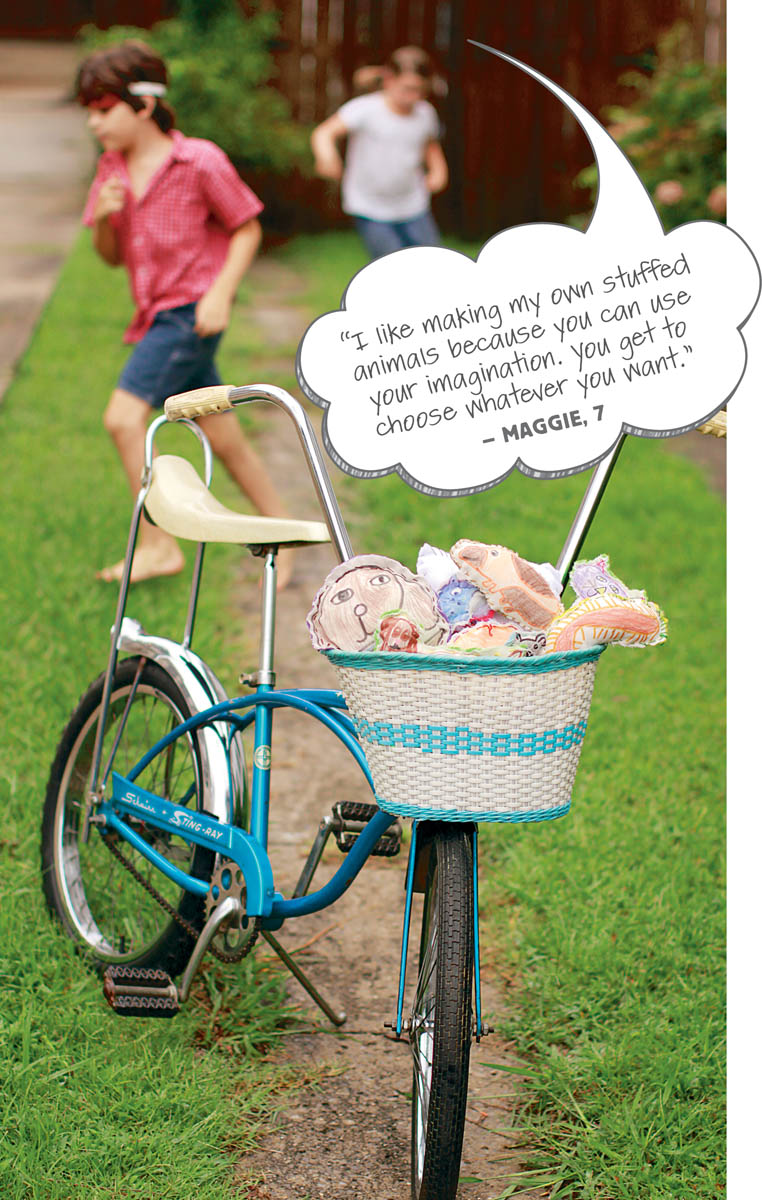
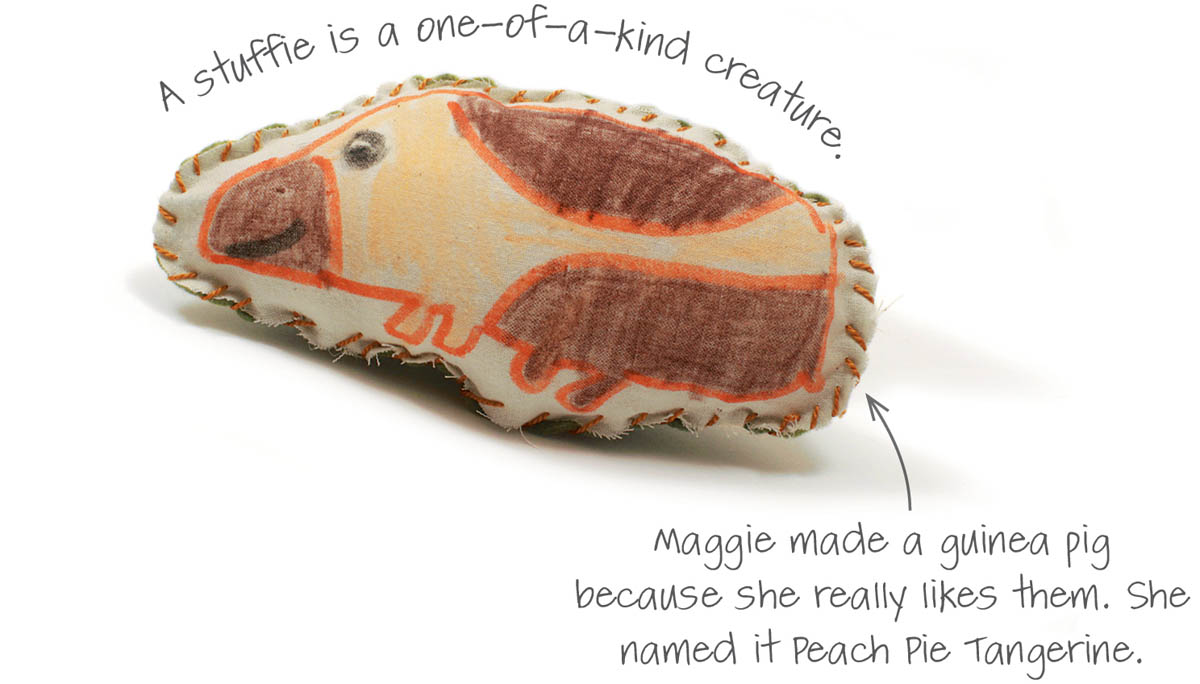
This project allows sewers to use their own original drawings to create unique stuffed animals. Kids can draw the Stuffie directly onto the muslin, but drawing it on paper and then tracing it onto the fabric will ensure fewer mistakes. Sewers might need help cutting out their Stuffie. Be sure they leave a fabric border around the drawing. There’s some ironing involved, too, so you’ll want to discuss ironing safety.

Instructions

  1. 1. Use a pencil to draw a Stuffie on paper. The drawing shown here is Maggie’s guinea pig.
    Image
  2. 2. Trace the pencil lines with a black marker.
    Image
  3. 3. Place the muslin fabric on top of the Stuffie drawing. You will see the black marker lines through the muslin. Trace the lines of the Stuffie with fabric markers.
    Image
  4. 4. Color the Stuffie with crayons. Now you can see what the guinea pig really looks like. Be sure to color in the whole area.
    Image
  5. 5. Ask an adult to help you iron the fabric. Place a piece of paper over the crayon to absorb the wax. If you don’t, the iron will get messy.
    Image
  6. 6. Pick a piece of felt or fleece to use for the backing.
    Image
  7. 7. Pin the fabric Stuffie and the backing felt or fleece together. Cut around the Stuffie, leaving a border of muslin for a seam allowance.
    Image
  8. 1. Time to sew! Sew around the edge with a whipstitch or a running stitch. Leave a hole for stuffing the Stuffie.
    Image
  9. 8. Stuff your Stuffie! Remove the pins and take the needle off the thread first.
    Image
  10. 9. Rethread the needle, and sew up the hole. Make a knot and cut the thread.
    Image

MAKE IT YOURS

Image
Image
Image