Image
Image

Hold-My-Stuff Bag

Image

What You Need

Let’s Review

Before you begin, you’ll need to know how to:

A NOTE FOR GROWN-UPS

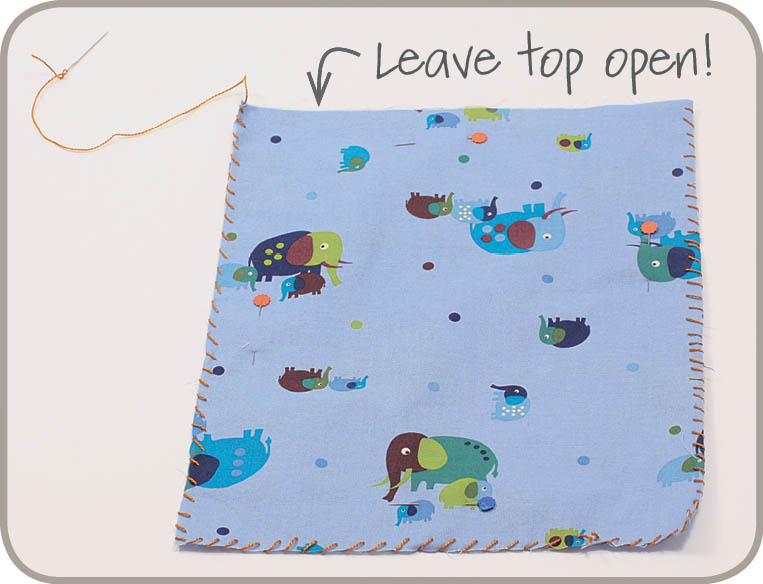
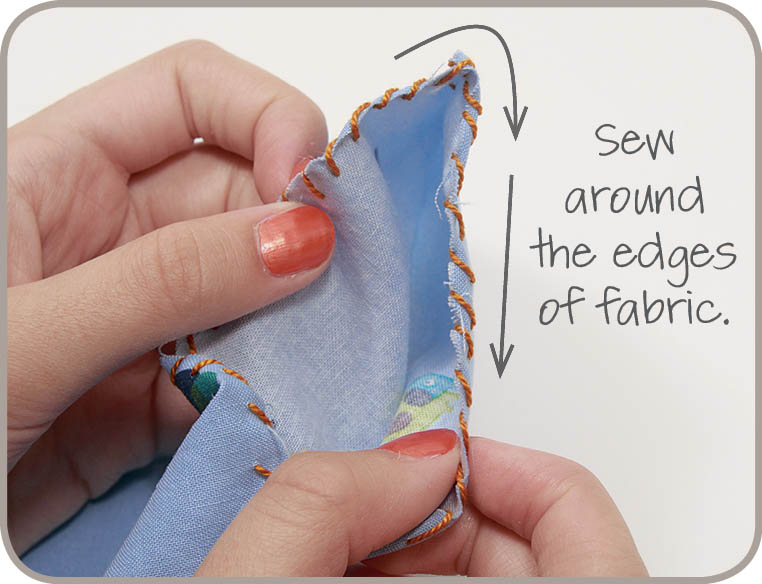
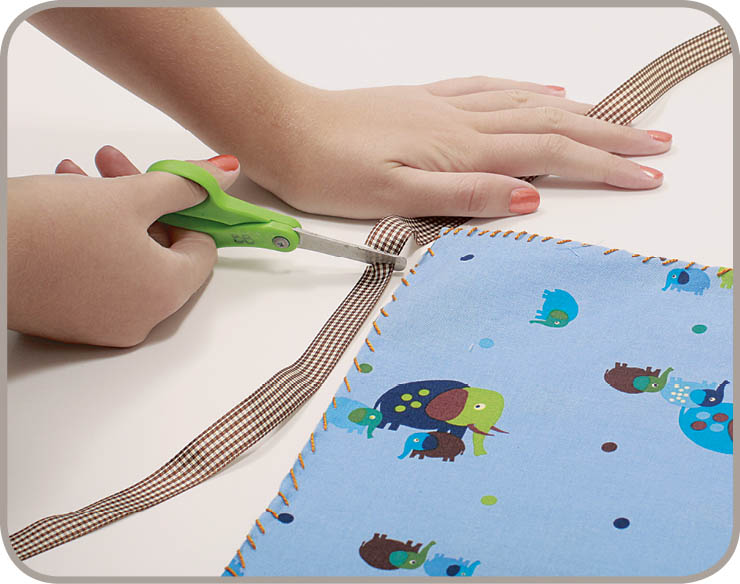
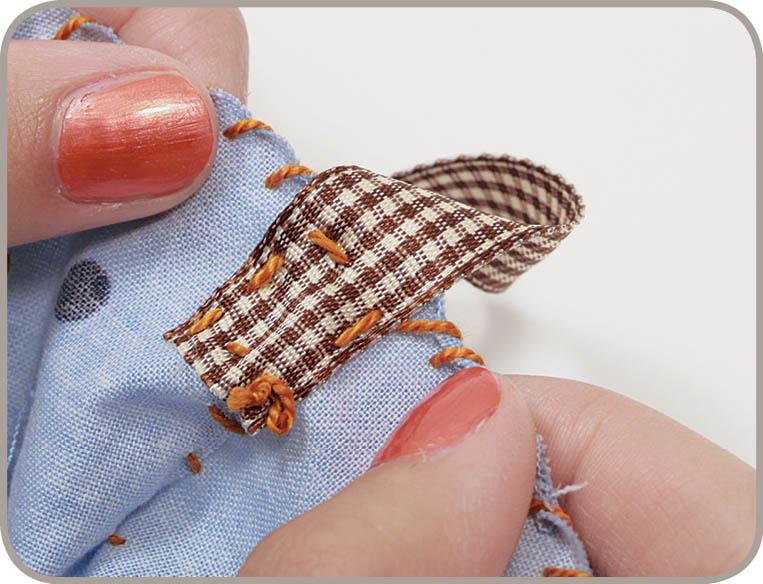
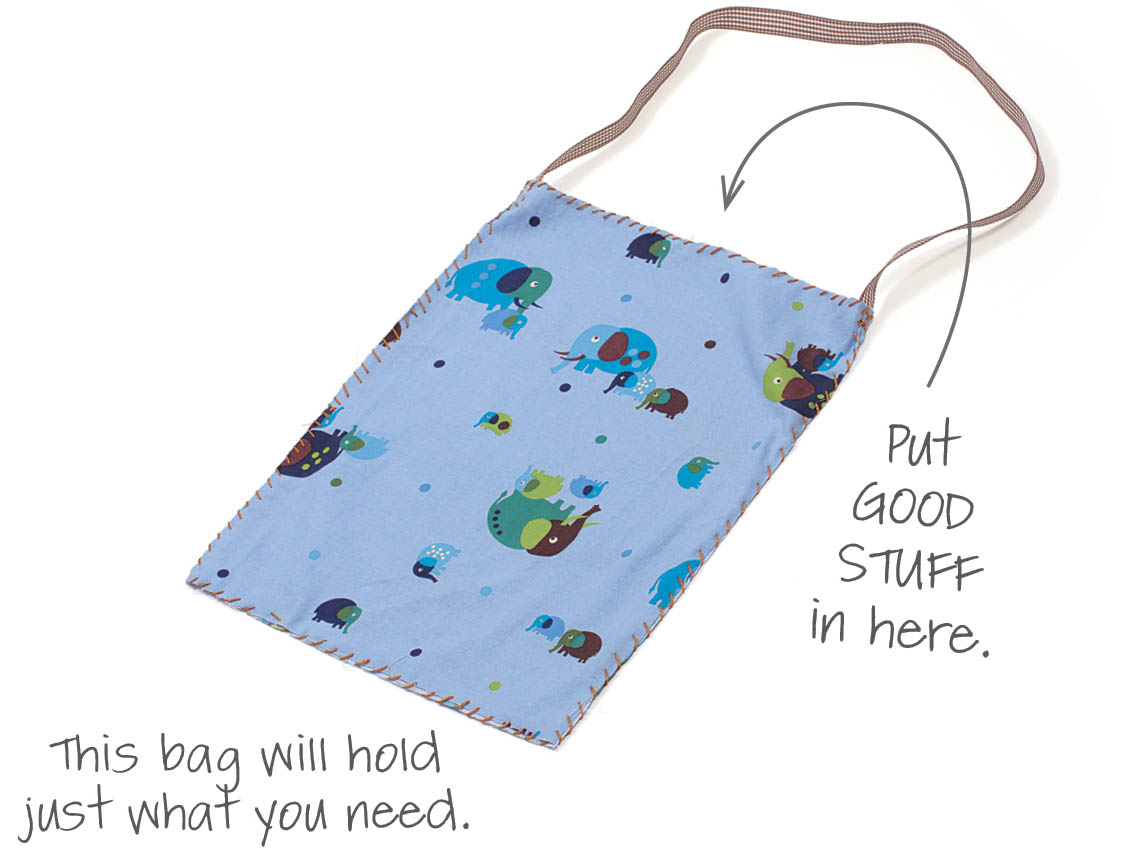
This practical project is ideal for both beginner and advanced sewers. Whipstitching around the top edges is optional; some young sewers may have trouble with this step. Placing the handles at the seam can be tricky too.

Instructions

  1. 1. Cut a 10" x 13" rectangle out of a piece of paper. (Tape pieces together if you need to.) Use chalk to trace it onto the fabric two times.
    Image
  2. 2. Cut out the two fabric pieces.
    Image
  3. 3. Put the fabric together with the good sides out.
    Image
  4. 4. Sew the fabric together along the sides and bottom. Use a whipstitch. Leave the top of the bag open. Remove the pins.
    Image
  5. 5. Now whipstitch around the top of the bag to keep the fabric from fraying. Do not sew the two fabric layers together, only sew around the edge of the fabric.
    Image
  6. 6. Time to make the handle. Cut the ribbon to whatever length you want the handle to be.
    Image
  7. 7. Sew each end of the ribbon to the inside of the bag near a side seam.
    Image
    Image

MAKE IT YOURS

Image