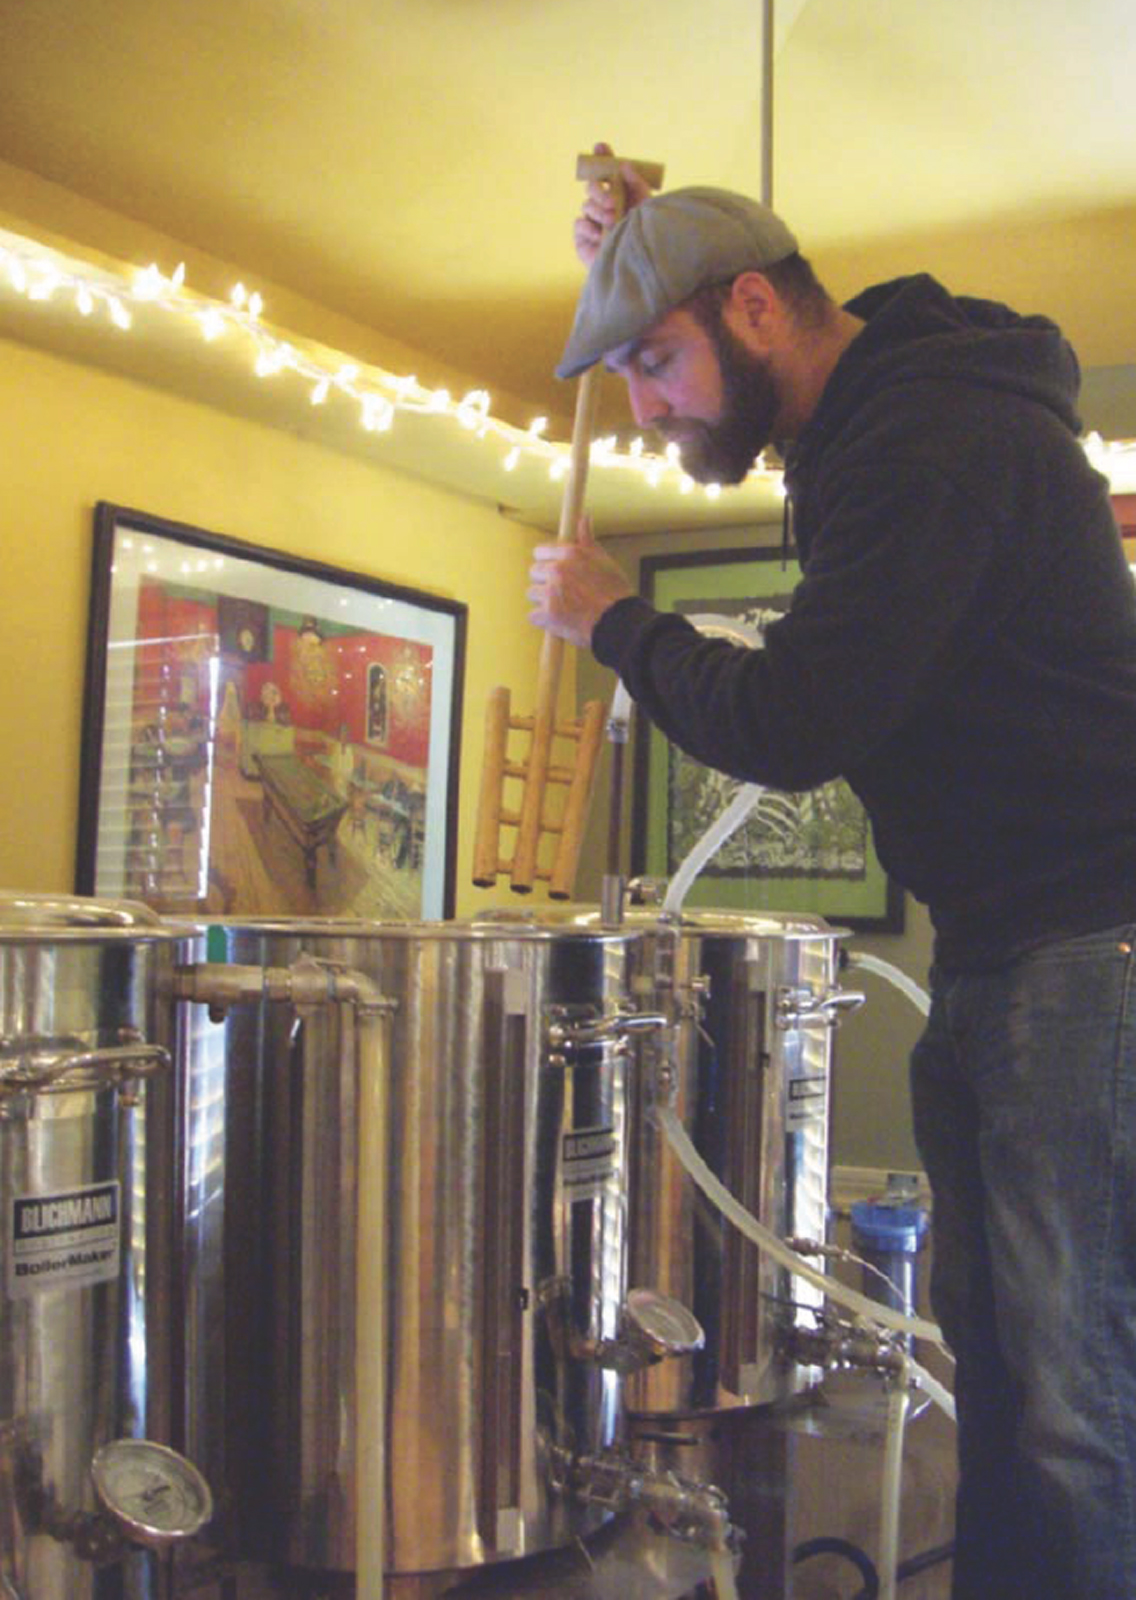

The mash is mixed with a wooden or stainless steel paddle to ensure the even distribution of grain.
FOR THE PROFESSIONAL craft brewer, quality and consistency are vital. Whether the final product is being served on draft or in bottles, consumers expect their favorite brand of beer to taste exactly the same each time they drink it, with only some variation dependent on the container in which it is served – a can, bottle, growler, or glass. While most home brewers also strive to craft consistent, quality beer, unlike commercial brewing, making craft beer at home for friends, family, and one’s own enjoyment affords the brewer more freedom to experiment. Unless you’re a stickler for the rules – and many home brewers are just that – there’s room for creativity even when following a predetermined recipe.
Professional brewers are in essence microbiologists, chemists, engineers, chefs, and as many say only half-jokingly, janitors. Most hobbyists will naturally take a keen interest in what is occurring in the various brewing vessels around them, but it’s quite possible (and easy) to make very good beer with only a cursory knowledge of the chemical reactions that are essential to the transformation of malted barley to sweet wort to beer.
Expect to devote two to three hours to your first extract brew, plus a similar block of time for the racking and bottling process a week or so later. If you choose to brew “from scratch” using grain, add at least another two to three hours to the initial brew session.
Have all the equipment and ingredients you’ll need handy and ready to go. You’ll also need your notebook or brew sheet and pen close by. Start by recording the date, time, name, or style of the beer and the ingredients and their weights, including any specialty grains and hop varieties.
Your brewing strategy will depend on whether you have elected to begin your career as a home brewer at the beginner (recommended, at least for a batch or two), intermediate (not much more difficult), or advanced (best to wait until you have more experience!) level. Novice brewers often opt to brew their first batches of beer entirely with malt extract, available in either a syrupy liquid or powdered form. The extract takes the place of the malted barley, and therefore replaces the steps needed to create the sweet, maltose-laden wort. Basically, starting with malt extract eliminates two steps, mashing and lautering. A wide variety of extracts are available, including light, amber, dark and wheat varieties, allowing even beginners to choose a suitable match for their stout, Hefeweiss, or India Pale Ale. Some liquid malt extracts even contain hops appropriate to the particular beer style, to further simplify the process.
There are several advantages to extract brewing: less equipment is required, it takes less time, and a 5-gallon brew can easily be made on your stovetop. Also, if stored properly, malt extract is less perishable than grain (and hops and yeast) so you can purchase at least that ingredient well in advance of your brew. One disadvantage is that malt extracts tend to be more expensive than grain. Also, although one can achieve excellent results using the extract method, the beer will have less depth than one brewed with all-grain or using a partial-mash technique. Regardless, some brewers just prefer extracts, are happy with the results, and have no interest in switching to grain.
To brew an extract beer, fill your brewpot with 2–3 gallons of water and heat. When the temperature reaches at least 160ºF, slowly begin to add your liquid or dry extract, or a combination of both, stirring constantly to prevent the sugary concoction from sticking to the bottom of the pot and burning. (This is why a sturdy, thick-bottomed pot is recommended.) Once the liquid is close to the boiling point, proceed to follow the instructions under “The Boil”.
A simple way to add more depth to extract beers and ease the transition to all-grain brewing is to use the partial-mash method. You’ll be surprised by how much this easy extra step will enhance the color, flavor, and body of your extract beer. There are two ways to use this technique, which involves steeping a cheesecloth bag filled with crushed grain in your brew water prior to adding the extract. If you’re just looking for a little extra “oomph”, steep approximately 1–2 pounds of crushed grain at 160ºF in your brew water prior to adding the extract. After fifteen minutes, remove the bag and hold it over the pot, allowing the liquid from the grain to drip back into the kettle. You may rinse it a bit with warm water, but resist the urge to squeeze it as the tannins in the grain husks can impart an unwanted astringency. An alternative method is to increase the amount of grain used by several pounds, thus decreasing the amount of malt extract used. In this case, you’ll need to soak the grains for at least thirty minutes to fully convert the starches to sugars. Avoid letting the grain sit for too long and once again be mindful of the tannins. Once the grain is removed, gradually bring the wort to a boil.
If you’ve chosen to start with extract, you’ll be able to make drinkable beer in a variety of styles, although your beers will be somewhat similar in taste and body. If you just want to make beer a few times a year, or less frequently, this is the way to go. Someone who has fallen in love with the brewing process, however, will most likely tire of this method quickly and want to move on, and learn and understand the mechanics of all-grain brewing and the reactions that take place during the mashing process.
An advanced home brewer will use only malted barley or a combination of malted barley and wheat. This is known as all-grain brewing. This process will take much longer than extract brewing, and an all-grain brewer must be willing to spend the necessary time. Sugar is extracted from the grain during the mashing process; no additional malt is added, and that becomes the base of the beer. No additional water, other than sparge water, is added either, therefore the brewpot must be of a sufficient size to hold the resulting liquid.

Grain is milled using an electric mill.
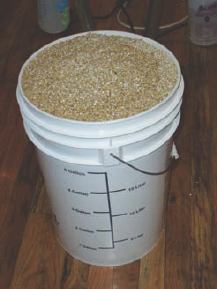
Milled grain – those white buckets certainly come in handy.
When brewing with larger, multiple vessels, staging the various containers at different heights and allowing gravity to work for you will eliminate the need for a pump. This is a method I prefer when making beer at home. You can either construct a simple three-tiered structure, or use some ingenuity to fashion one. Either way, make sure it is stable, sturdy, and can accommodate the weight of the vessels when full. The container holding hot water and a heat source (burner) will be on the top tier, the mash vessel or “tun” (also called a “lauter tun”) on the middle tier, and the kettle and second burner on the lowest tier. The lowest level should still be high enough off the ground so that the wort can flow freely into the fermenter after the boil.
Many brewers look at “mashing in” – the process of mixing the crushed brewing grains with hot water – as a vital step in the process, as the mash quite literally lays the foundation for the entire brew. The temperature of the mash, the volume of water used, and the consistency of the crushed grain are all factors which will contribute to the end result. These variables will be discussed in some detail later in this chapter, but first an explanation of what takes place in the mash tun.
First, crushed grain is slowly and carefully combined with hot water in the mash tun to form a thick, porridge-like mixture. (You’ll need about 1½ quarts per pound of grain, and roughly the same account for the sparge, the gentle rinsing of the mash bed to remove all of the sweet liquid.) The hot water catalyzes or activates enzymes in the grain, which in turn break down the starches (diastatic enzymes) and complex proteins (proteolytic enzymes) created during malting. The degradation of proteins provides nutrients for the yeast, while starches are converted to simple, fermentable sugars. This reaction, known as saccharification, takes about sixty minutes, often less.
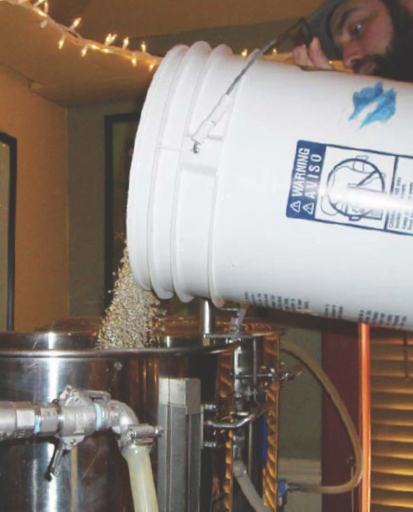
Milled grain is slowly poured into the mash tun where it is mixed with hot water during mash in. This is also sometimes referred to as “doughing in.”
Although grain can be purchased “precrushed,” many all-grain brewers prefer to mill their own grain, using either a small hand-turned or electric mill. In order for the conversion to take place, the barley kernels must be cracked sufficiently to expose the starchy interior. Grist that is too fine or floury can cause a “stuck” mash. A stuck mash traps the liquid in the grain bed and prevents the speedy, efficient separation of the grain from the wort. This is a major annoyance for home brewers and commercial brewers alike. Aside from the inconvenience due to lost time, it can also negatively impact the finished beer, as it affects the extraction of sugars.
When the wort has been safely transferred to a sanitized fermenter, the last stage of the brewing process can take place: the yeast, added or “pitched” in, will gobble up the sugars and use them to produce ethyl alcohol and CO2.
The process described below relates to the most commonly used brewing technique, a single-infusion mash: the mixing of warm water and grain, which is then allowed to “rest” at a consistent temperature for approximately an hour.
During the mash, milled grain is introduced into hot water. The hot water activates enzymes in the grain, creating dextrins (dextrinization), and converting the starches to sugars essential to fermentation. The two enzymes responsible for this phenomenon are alpha-amylase and beta-amylase. Alpha-amylase creates carbohydrates and dextrins which give the beer body and aid in head retention; beta-amylase creates the simple sugars (saccharification). Although each enzyme has its own ideal temperature range, the pair will work in harmony at temperatures between 145–158ºF. I personally rely on a mash temperature of between 150–152ºF.
All-grain brewing requires a separate vessel which is used to heat enough water to supply both the mash and the sparge, the slightly warmer water that will be used to rinse the sugars from the grain bed during the mashing process. After mashing in with a predetermined amount of hot water, about 1½ quarts per pound, in order to achieve the desired mash temperature of about 150–152ºF, additional water will be heated to around 168–170ºF for the sparge.
To prepare the mash tun, a layer of hot water is added to the bottom of the vessel, just enough to completely cover the false bottom. Next, as the grain is gradually introduced, it is gently mixed, creating a rather thick consistency. Clumps and lumps should be worked out without overly disturbing the grain bed. If the grain bill includes specialty malts, you should always start and finish with the pale or base malt, as pale malt should be used to establish the grain bed. Also, if the specialty or colored malts end up on top of the grain bed, the color and flavor they are meant to impart will be lessened. Once all the grain has been added, the mash temperature should be taken and recorded. For a single infusion mash, shoot for a reading of between 148–158ºF, with around 150–152ºF being optimal.
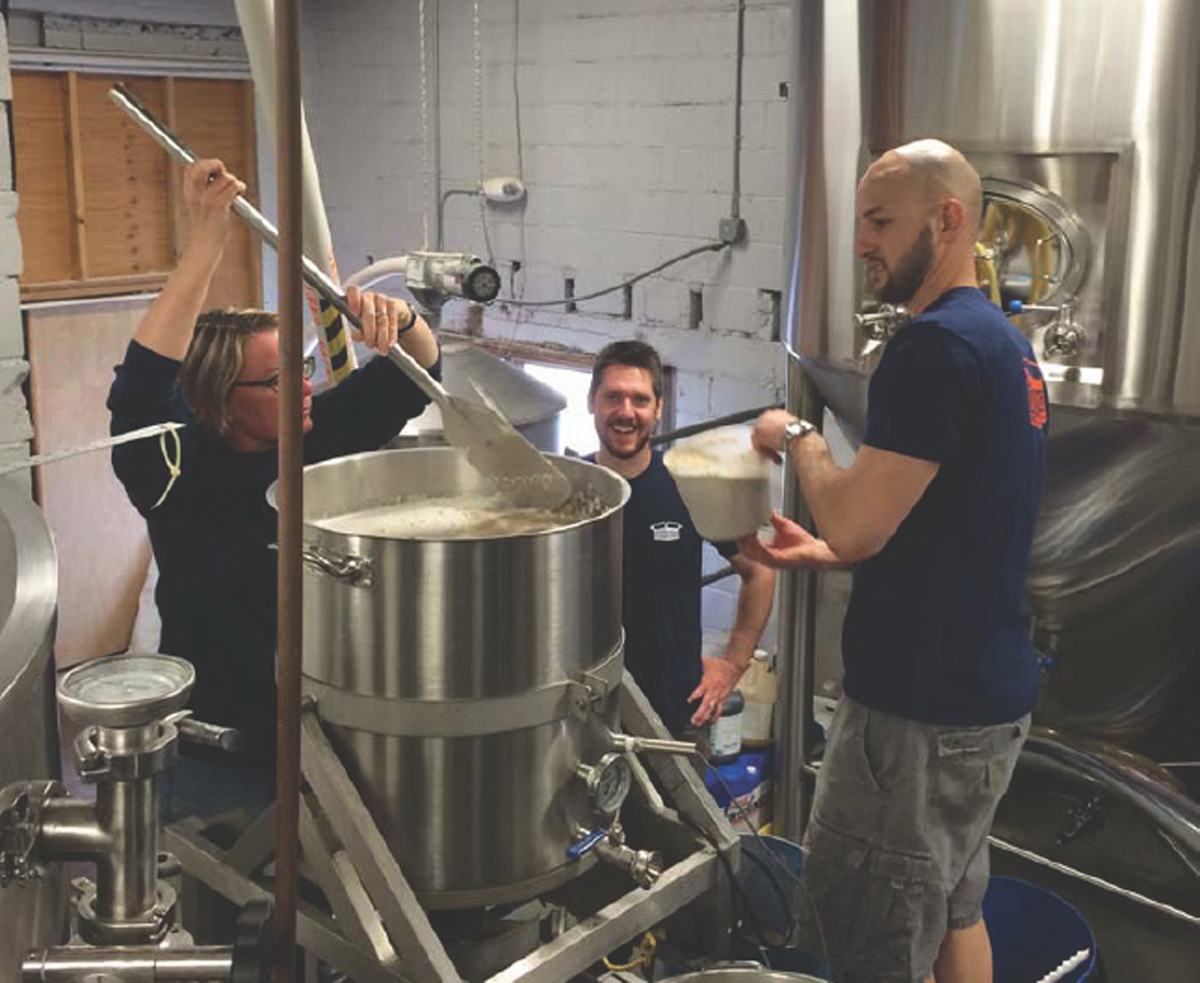
In larger batches, having a second person to pour the grain into the mash is always helpful. Once the brewer is satisfied with the mash, it is allowed to “rest” for an hour.
Custom dictates various styles of beer require different mash temperatures. You may have to experiment a bit with your mash technique over the course of a few batches before you get your temperatures just right.
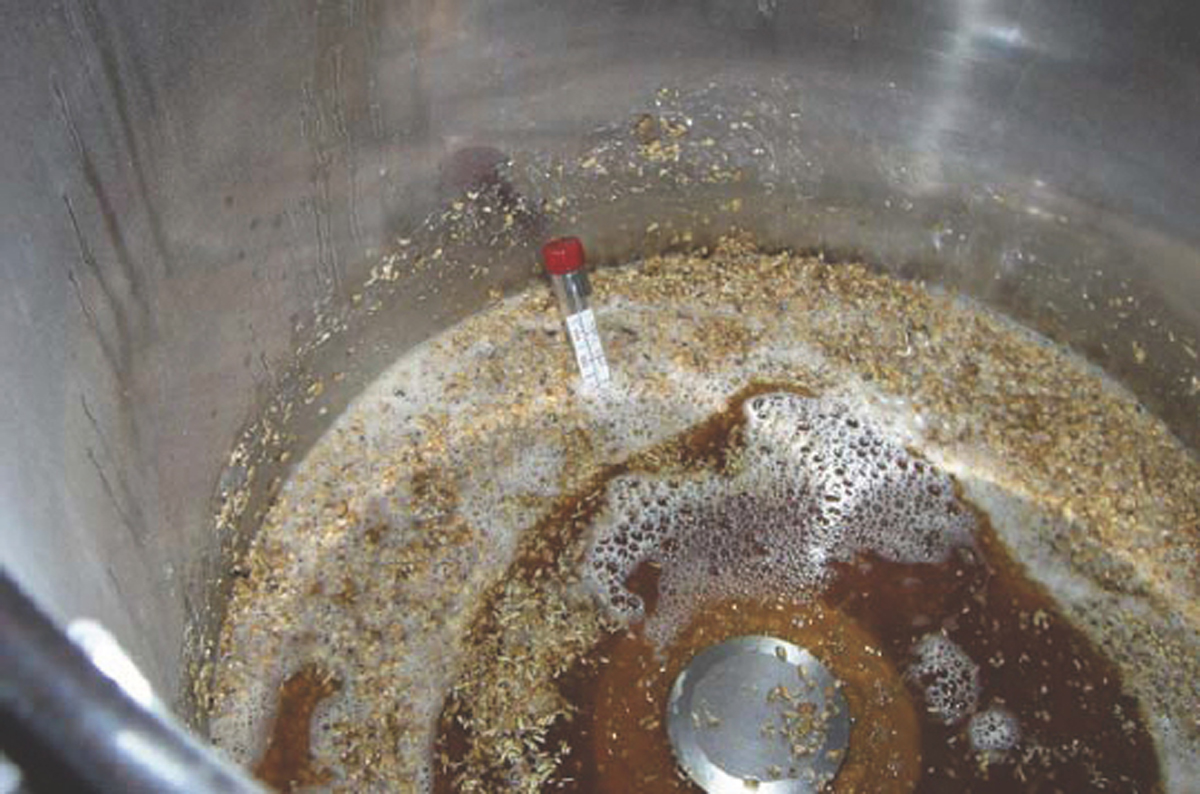
The mash temperature should always be taken and recorded.
Once mash in is complete, the mash temperature should be recorded along with the time. A heat-resistant floating thermometer is a good investment. The mash should then be covered to hold the temperature at a constant level, and left at rest. It is at this point that the saccharification or conversion will take place. Traditionally, brewers might walk away from their early morning mash for hours, even going home to breakfast or back to bed. In the interest of time and practicality, an hour’s mash rest is recommended, although with the use of today’s well-modified malts, this conversion can occur in a much shorter period of time. Personally, I enjoy the hour rest, as it’s a chance to relax a bit and prepare for the next step. For example, this is a good time to sanitize your fermenter, weigh out your hops and any other additions, and heat up the sparge water. Upon the completion of the mash rest and a successful conversion, an intense sweetness will be present, reminiscent of the filling in a malted milk ball. (If you tasted the mash prior to conversion, you would think it tasted like cereal with very little sweetness.) To be sure conversion has occurred, remove a teaspoon or so of the mash, including grain and liquid, place it on a small plate, and add a drop of iodine. Iodine will turn blue-black in the presence of starch, so if conversion has taken place there will be no change in color. Discard the iodine-tested mash. Iodine test strips are also available for this purpose.
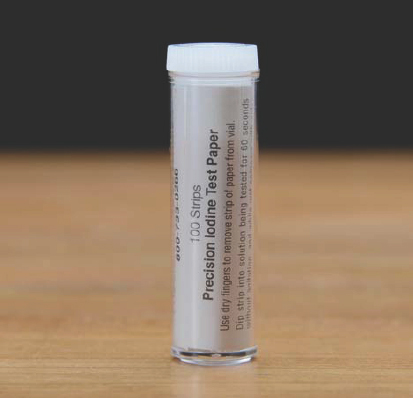
Iodine test paper is an easy way to check for conversion in your mash, and is less messy than using liquid iodine.
This rather simple process is known as a single-step or single-infusion mash. More advanced mash techniques include step mashing, in which an additional infusion (or infusions) of hot water is added to boost the temperature. A more sophisticated technique, one usually associated with malty German lagers, is a decoction mash, where a portion of the mash is removed and boiled, then reintroduced to the original mash. Home brewers, however, can achieve excellent results using a single-infusion mash for all their recipes.
In addition to the conversion, another remarkable event happened in the mash tun. Air became trapped in the carefully prepared grain bed, allowing the grain to become buoyant, and float over the false bottom. During the next step, the lauter, the grain bed will act as a filter, trapping larger particles of grain and preventing them from traveling into the brew kettle.
In German, lauter refers to purification, and in this case, filtration. Brewers know lautering as the process in which the clear liquid wort is separated from the grain. The first step is the recirculation of the wort, or vorlauf, another German word, which actually means to forerun, or run ahead. This step is necessary in order to establish the grain bed further prior to runoff. Using the small valve at the bottom of the mash tun, gently pull off some of the liquid into a quart-sized saucepan. Make sure the mash tun is sitting high enough so that this can be accomplished easily using only gravity; you don’t want to tilt the vessel. Once full, slowly pour it on top of the grain bed, redistributing it over the entire mash. This aids in clarifying the wort and filtering out the larger particles. Repeat this step for about five minutes, or after pulling and redistributing a few quarts, when the wort runs clear. Now it’s time for the actual lauter, or runoff.
Be patient – collecting the sweet wort created from the mash process in the brew kettle can be a painstaking task and should not be rushed. At my first brewing job, I was once told by a German brewmaster that, much like my own destiny, I was in control of my lauter. (Germans take their beer and brewing very seriously.) It was up to me to determine the right flow rate and not just rush it through in order to save myself some time. Nor was I to waste time with an unnecessarily slow lauter.
To begin runoff, attach a piece of plastic tubing or a dedicated device to the valve on the mash tun. Using a gravity feed, open the valve slowly and begin a gentle, controlled flow – no splashing – into the kettle, running either down the side or directly into the bottom. There won’t be enough liquid in the mash to fill up the kettle, so when you’ve collected enough of the “first runnings” of wort to cover the kettle’s bottom, or just before the top of the grain bed is dry, it’s time to start your sparge. The sparging process will rinse the remaining sugars from the grain bed and force the liquid out in enough volume to fill the kettle. You’ll do this by drawing the hot water from the very top vessel down and over the grain bed by means of a sparge ring or similar device. You may have to play with the amount of water the first couple of times, but generally you will need about a half gallon of sparge water per pound of grain.
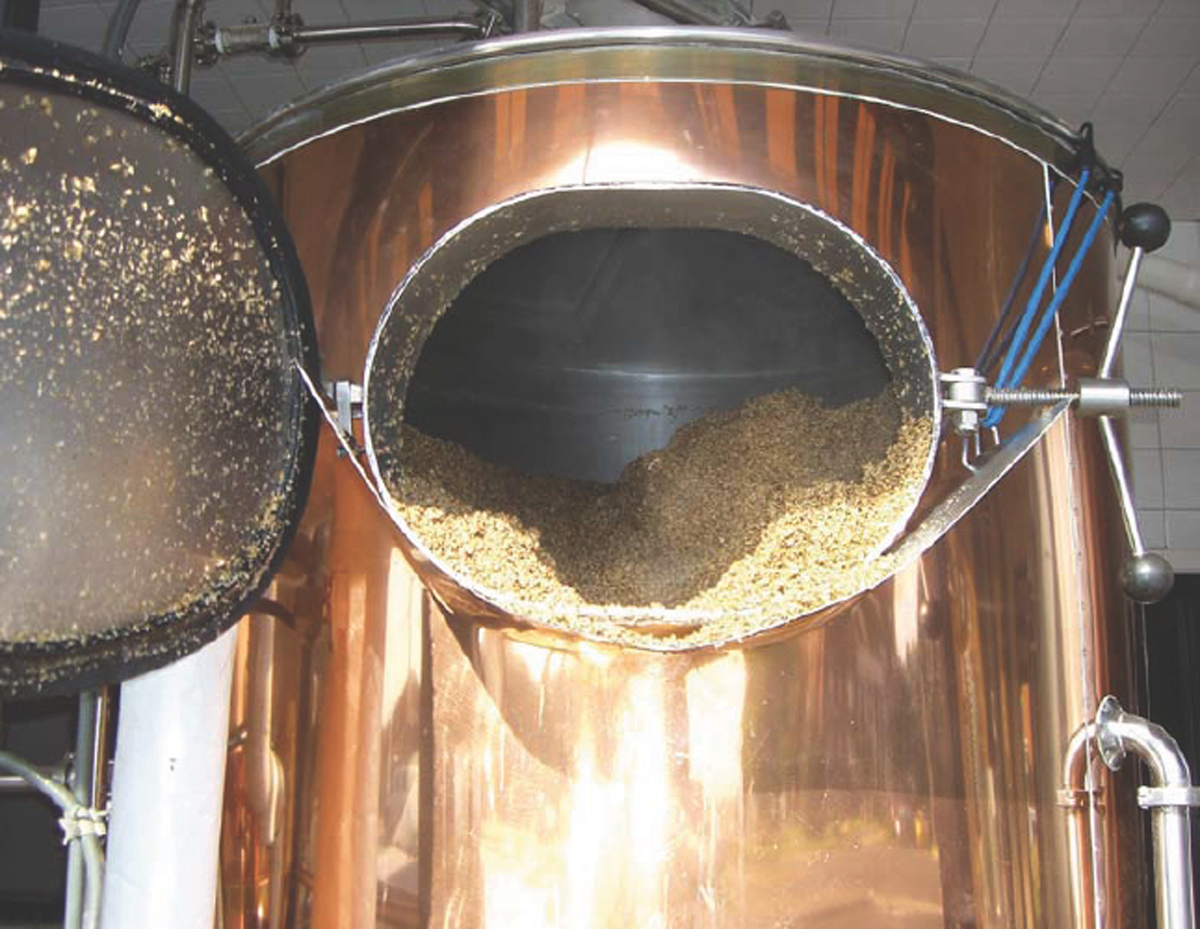
Once the lautering process is complete and the kettle is full, the spent grain is removed from the mash tun.
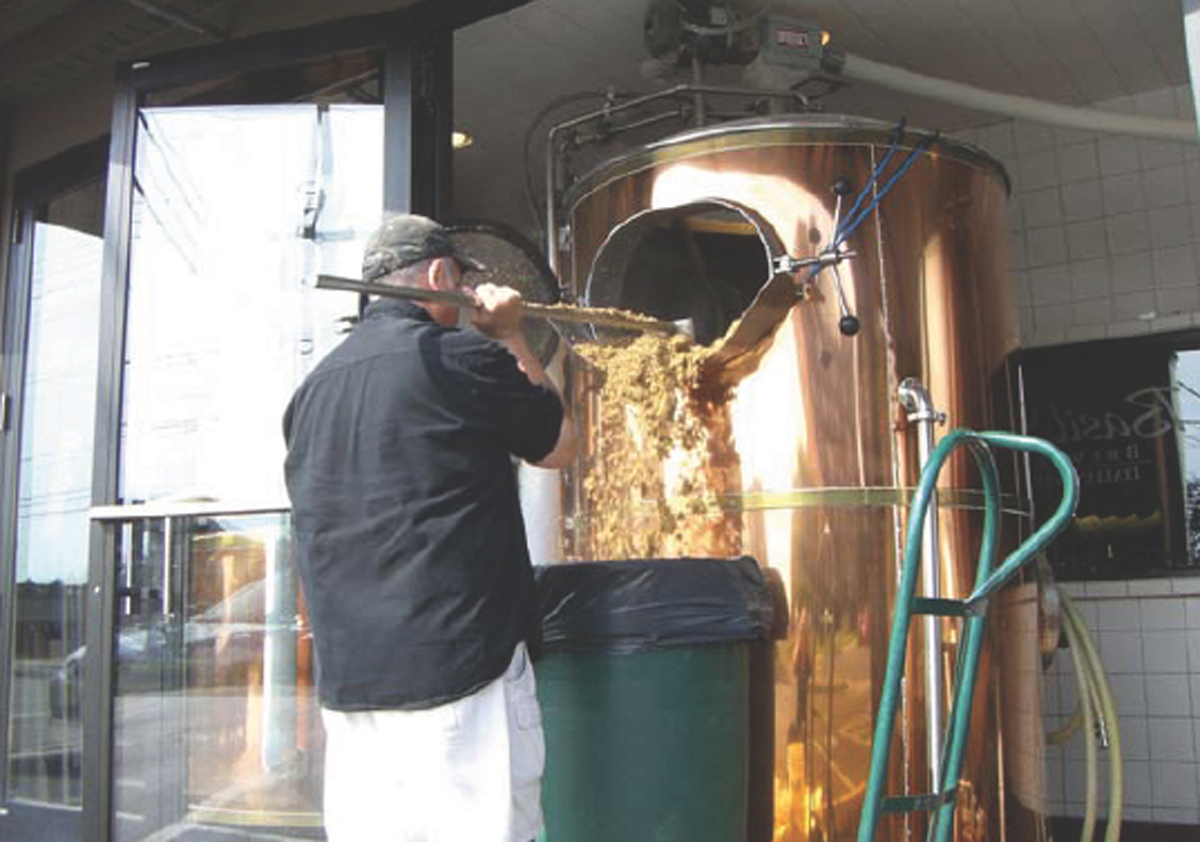
While the home brewer can “mash out” in minutes, it takes much longer on a commercial system.
Sparging is a controlled process; try to maintain about an inch or two of water on top of the grain bed at all times. Once your kettle is about three-quarters full, stop the sparge and let the remaining liquid from the mash tun fill the kettle, allowing enough head space for a vigorous boil. Stop once the liquid ceases to be clear and contains large, visible pieces of grain. If you allow it to run dry, you’ll end up with a grainy, astringent character from the tannins in the husks. Once the kettle is full, the grain can now be completely drained and removed from the mash tun. At this point, the spent grains should have very little flavor remaining and taste something like cardboard. Spent grains can be incorporated into fresh breads, used as animal feed, or composted.
Whether you’re a beginner, intermediate, or advanced brewer, and have created your wort using an extract, a partial mash, or an all-grain, everyone is on an equal footing once the wort is in the kettle and on its way to a boil. Extract brewers take note: your kettle will need some stirring to avoid the extract sticking to the bottom of the pot.
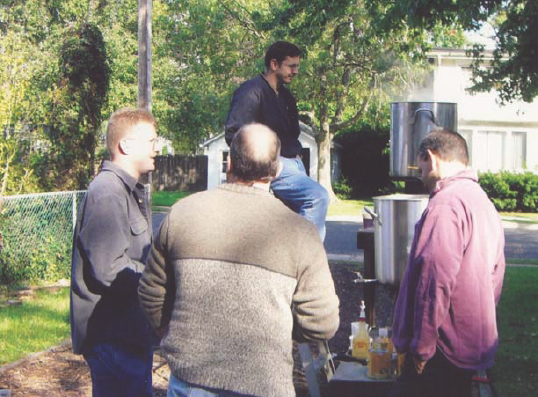
Waiting for wort to boil can be a tedious part of the process.
Gradually bring the wort to a boil, being ever vigilant. Wort will boil over very quickly if left unattended, leaving a sticky mess, and reducing your finished volume of beer. If you boil over once you’ve added your hops, you’ll lose at least some of their beneficial qualities, as well as bitterness and aroma. Once the wort has reached a boil, immediately add your first hop addition, as this will calm the boil. Don’t forget to record the time of the boil. It’s a good idea to keep a spray bottle of water handy to spritz the wort if it appears to be ready to boil over. If brewing outdoors, keep the garden hose handy, but use it judiciously. Once the wort is at a boil, reduce the heat slightly to maintain a good, steady, rolling boil, not merely a simmer. Don’t underestimate the importance of the boil, and don’t be tempted to cut it short to save time. This step is vital to the finished beer as the boil sterilizes the wort, denatures the enzymes created in the mash tun, stabilizes the proteins, condenses the wort, deepens its color, and allows for the utilization of the hops. If your recipe calls for a hop addition midway through the boil, have that ready to go and note what time it is to be added. Your final, or aroma, hop addition should also be on deck; label the additions or keep them separated so you don’t mix them up. A clarification aid such as Irish moss may be added a few minutes before the end of the boil. Generally, the wort is boiled from sixty to seventy minutes, sometimes longer, but remember, the longer the boil, the more concentrated the wort will become, resulting in less volume, and darker, stronger beer.
The final addition of hops is added just before or at the end of the boil. This dose of hops will not impart much bitterness because of the timing, but rather contribute to the nose, the beer’s aroma. Once the heat is turned off but before the wort has a chance to cool, it’s time to whirlpool. With a long-handled stainless steel spoon, begin stirring the wort along the inside perimeter of the pot, creating a whirlpool effect. Stir rapidly and quietly, avoiding any splashing, for several minutes. Cover the pot and let it sit for ten minutes or so to settle. This technique will pull down and gather the precipitated proteins, grain bits, and hop residue into a tight, neat pile at the bottom of your brewpot, much like the residue found at the bottom of a teacup after stirring. Called trub, or hot break, this undesirable matter will be left behind when the wort is siphoned or racked into the fermenter. A clarification aid such as Irish moss, added just before the end of the boil, will aid in pulling the unwanted particles out of suspension.
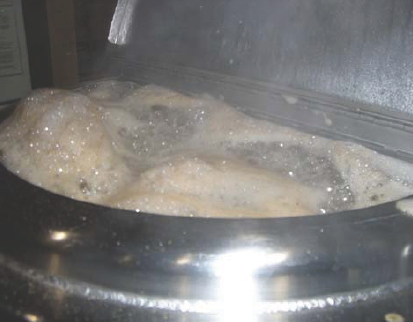
If left unattended, wort has a tendency to boil over, leaving a sticky mess.
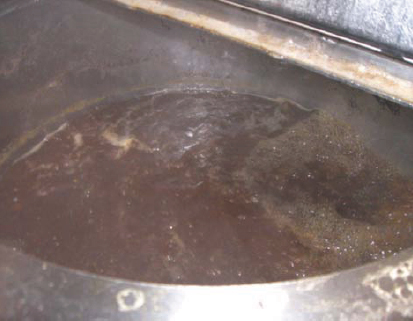
Just after the end of the boil, stir the wort for several minutes to create a whirlpool effect.
The knockout, or transfer, of the wort to a sanitized fermentation vessel is next. Whereas a professional or advanced brewer will use a pump, a home brewer will most likely use gravity and a length of plastic tubing. (Depending on the batch size, an extract or partial-mash brewer may just pour the wort into a plastic bucket, or into a carboy using a funnel, leaving any trub behind.)
Because it is necessary to transfer the near boiling wort and reduce its temperature to around 70ºF prior to the addition of yeast, some method of cooling must be used. Advanced home brewers will employ one of two types of heat exchangers, either immersion-style or counterflow. As the name implies, an immersion chiller is a stainless steel coil placed directly in the wort. Cold water is then circulated through the coils. A counterflow chiller is used externally; in this coil-within-a-coil design, cold water circulates in an outer tube, while the hot wort is transferred using an inner coil. An intermediate or novice home brewer can cool their wort by placing the covered brewpot in a sink filled with ice water during the rest period post-whirlpool, then add cool water to the cooled, concentrated wort, bringing it up to the desired volume. In either case, monitor the temperature of the wort and write it on your brewsheet.
Be mindful of seasonal changes in water temperature: you don’t want the wort going into the fermenter too cold because it will be difficult to warm it up again. Temperature control at this stage is very important: the yeast will be killed off by wort that is too hot but may become dormant if the wort is too cold. Before adding the yeast, collect a sample of the wort in a sanitized tall, narrow sampling jar or other sanitized container. Note the emphasis on sanitized! Anything that comes in contact with the cooled wort at this point must be sanitized, as it is now at its most vulnerable. Drop your hydrometer into the liquid and set aside. You can record the wort’s specific gravity after you have pitched the yeast. If your hydrometer has a temperature correction feature, your reading should be accurate. If you are using a refractometer, you can eliminate this step, as all you will need is a drop or two of wort. Don’t forget to write down your beginning or original gravity (OG).