ONCE THE WORT has been cooled to about 70ºF, it’s time to add, or “pitch” the yeast. Again, take all necessary precautions to avoid contamination of the yeast and the wort at this point – everything that comes in contact with the yeast must be sanitized. Packaged yeast, whether in liquid or dry form, is premeasured, so you are guaranteed you are using the correct amount. As the wort cools it becomes vulnerable to contamination. Once the yeast is added and the fermentation process begins, this is less of an issue, as the alcohol which is being produced serves to discourage – not prevent – bacterial contaminations. After you’ve attached your airlock, the carboy or bucket should be shaken vigorously (but carefully!) to aerate the yeast, but not too vigorously to dislodge the airlock or cause a spill. This will fortify the wort with dissolved oxygen, which is necessary for yeast health and growth.
Once the wort is safely in a clean, sanitized fermenter with an airlock in place, the magic can begin. The airlock should be sanitized in a very dilute no-rinse sanitizer – not bleach – and filled with water. If you are using a food-grade plastic bucket, the airlock should fit snugly in a hole outfitted with a rubber grommet. If you are using a carboy, insert the airlock into an appropriately sized rubber stopper with a drilled hole. The purpose of the airlock, an inexpensive, plastic device, is to allow the fermenting wort to release pressure and “breathe,” while keeping it free from contaminants. Now is a critical time for the future beer: in order to prevent off-flavors and keep bacteria at bay, everything that comes in contact with your beer, including hands, equipment, and clothing must be sanitized. Temperature control, too, is important.
Place the fermenter in a location where it will not be disturbed. Avoid sunlit rooms at all costs, as well as basements, outside closets, and other places that may be too cold. Temperature control is vital not just for the health of the yeast, but for creating the flavor profile and avoiding off-flavors. And now, it’s time for the cleanup!
Within twenty-four hours, hopefully sooner, you will begin to see a slight bubbling in the airlock. You may have to watch carefully for this phenomenon; it may be so subtle at first that you barely notice it. The appearance of bubbles in the airlock is a sure sign that fermentation has begun. Over the next few days to a week, as the yeast becomes more active, the bubbling will become pronounced and lively. Rest assured the yeast is doing its job, expelling gases, and converting sugars to alcohol. The longer the wort sits without alcohol, the more chance there is of contamination. If the fermentation doesn’t begin within that time period, don’t panic. You may need to add some more yeast. It’s a good idea to keep an extra packet of dry yeast on hand for just such an occurrence.
Unless you are using an undersized fermenter for your batch size, the fermenting beer is not in danger of escaping through the top. However, if the fermentation is particularly vigorous and the fermenter a little small for the volume of liquid, you may want to consider attaching a blow-off tube in place of an airlock, at least for the first few days. Simply insert an appropriately sized hollow piece of stainless steel or rigid plastic in place of the airlock and attach plastic hose long enough to reach into a small container of water. The same bubbling action will occur, and you won’t have to remove your airlock and clean it in the middle of the process. After the active fermentation has died down (three days or so) remove the tubing and reinsert your airlock.
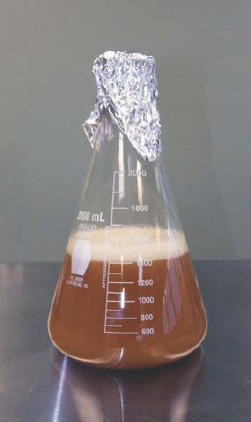
While a plastic bucket will work as well as a glass carboy, it’s wonderful to be able to see exactly what is happening in your fermenter. Soon, the beer will develop a light-colored, frothy head, the result of CO2, wort proteins, hop residue, and yeast rising to the surface. This head, as well as the stage of fermentation, is referred to as the “krausen” (pronounced “kroy-zen”). Krausen is another German word, meaning a frilly or curly collar, and isn’t that just what it appears to be on top of your fermenting beer? As fermentation nears an end, the whitish froth will collapse and turn brownish in color as the old, dead yeast cells and other matter eventually fall to the bottom of the fermenter, forming a layer of sediment.

An active, small-scale fermentation.
The show put on by the yeast is one reason many home brewers prefer the carboy. Others, however, dream of owning a miniature version of a stainless steel temperature-controlled, cone-bottomed commercial fermenter. If you have the budget for it, this type of fermenter is incredibly versatile and adds a whole new dimension to home brewing.
The temperature of the fermenting wort is very important, and to a large extent, dependent on the strain of yeast you are using. Yeasts are designed to work within certain temperature ranges. Many ales, for example, have a fruity, estery characteristic, the result of a warm fermentation, as part of their flavor profile. This trait, however, would be inappropriate in lagers. Like the colonial brewers before us, the majority of home brewers make ales because they have no reliable means of controlling temperature. As discussed earlier, ale yeasts ferment at between 60–75ºF, while the target range for lager yeasts is 45–55ºF. Even a few degrees can make a difference. Nudging the temperature of an ale down a few degrees, from 70ºF to, say, 64ºF, will result in a crisper beer with less fruity notes. But regardless of style, if the fermentation temperature is too high, you may develop off-flavors; if it’s too low, the yeast may be shocked into dormancy and the fermentation process may never start.
What we have been discussing above involves the stage called primary fermentation, which can last from eight to ten days, sometimes even longer. Some advanced home brewers also employ what is known as a “secondary” fermentation. In this process, the fermenting beer is transferred to a secondary container after the initial period of very active fermentation, which lasts three to four days or so. The transfer leaves behind dead yeast cells, while carrying over enough viable yeast to continue the fermentation process. This is done primarily for beers which will take longer to mature, and ensures that off-flavors from the dead yeast will not be imparted to the finished beer. Beer left sitting on the yeast cake for too long may develop an unpleasant, meaty character. It’s also a way to further clarify the beer. Using a secondary fermentation is more work and is another opportunity for something to go wrong. Honestly, most home brewers need not worry about a secondary fermentation.
How do you know when the fermentation process is complete? The obvious answer is that there will be no more activity in the airlock. In my experience, most home-brewed beers are ready to bottle after eight to ten days. To be sure, however, a final hydrometer reading will be necessary.
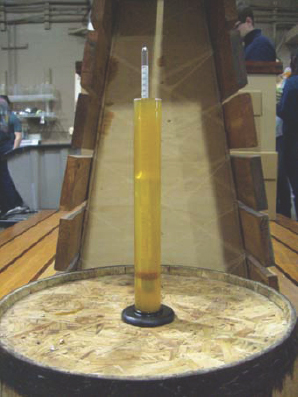
When dropped into wort or beer, the hydrometer will float. The correct reading is where the scale and liquid meet.
If your airlock assures you fermentation is progressing, there’s no need to take more than one or two hydrometer readings during that process. Each time you open the fermenter to take a sample, you run the risk of contamination. When you gather a sample of your beer, do it quickly, using a sanitized cup for your bucket or a sanitized “wine thief” for your carboy. Never return a sample to the fermenter. If your hydrometer readings are the same on two consecutive days, it’s time to bottle your beer. Don’t expect your beer to reach 1.00, the specific gravity of water. There will always be residual sugars left after fermentation. The range may be 1.004 to 1.10, or even a little lower or higher, depending on the beer style and the starting gravity. If you skip the final hydrometer reading and bottle your beer while fermentation is still active, you will create a potentially dangerous and messy situation: exploding bottles.
When you brew, make sure to schedule a tentative date for bottling. Try not to leave the beer sitting on the yeast for more than two weeks. Set aside enough time to clean your bottles properly. This preparation is time-consuming, especially if you are using recycled bottles, but it can be done in advance. Brown, long-neck bottles are the best; they are sturdy, and the brown glass will protect the beer from damaging light. A 5-gallon batch of beer will yield about two cases (forty-eight 12-ounce bottles) of beer, but have an extra half dozen or so ready just in case. Soak the bottles in a mild solution of bleach and hot water to sanitize and remove any existing labels. Often the labels will just float off so you won’t need to scrape. Rinse the bottles thoroughly, drain, and return to their case. Cover the tops of the bottles lightly with a length of plastic wrap to protect and prevent any foreign objects from getting inside.
New bottles should only need a quick rinse in sanitizer to remove any potential contaminants, such as dust. This can be done manually or with the assistance of a bottle rinser, a device that fits onto a conventional faucet. Draining any residual water out of the bottle is important. A bottle tree – a contraption that holds the bottles upside down so they can drain out completely – is a handy accessory.
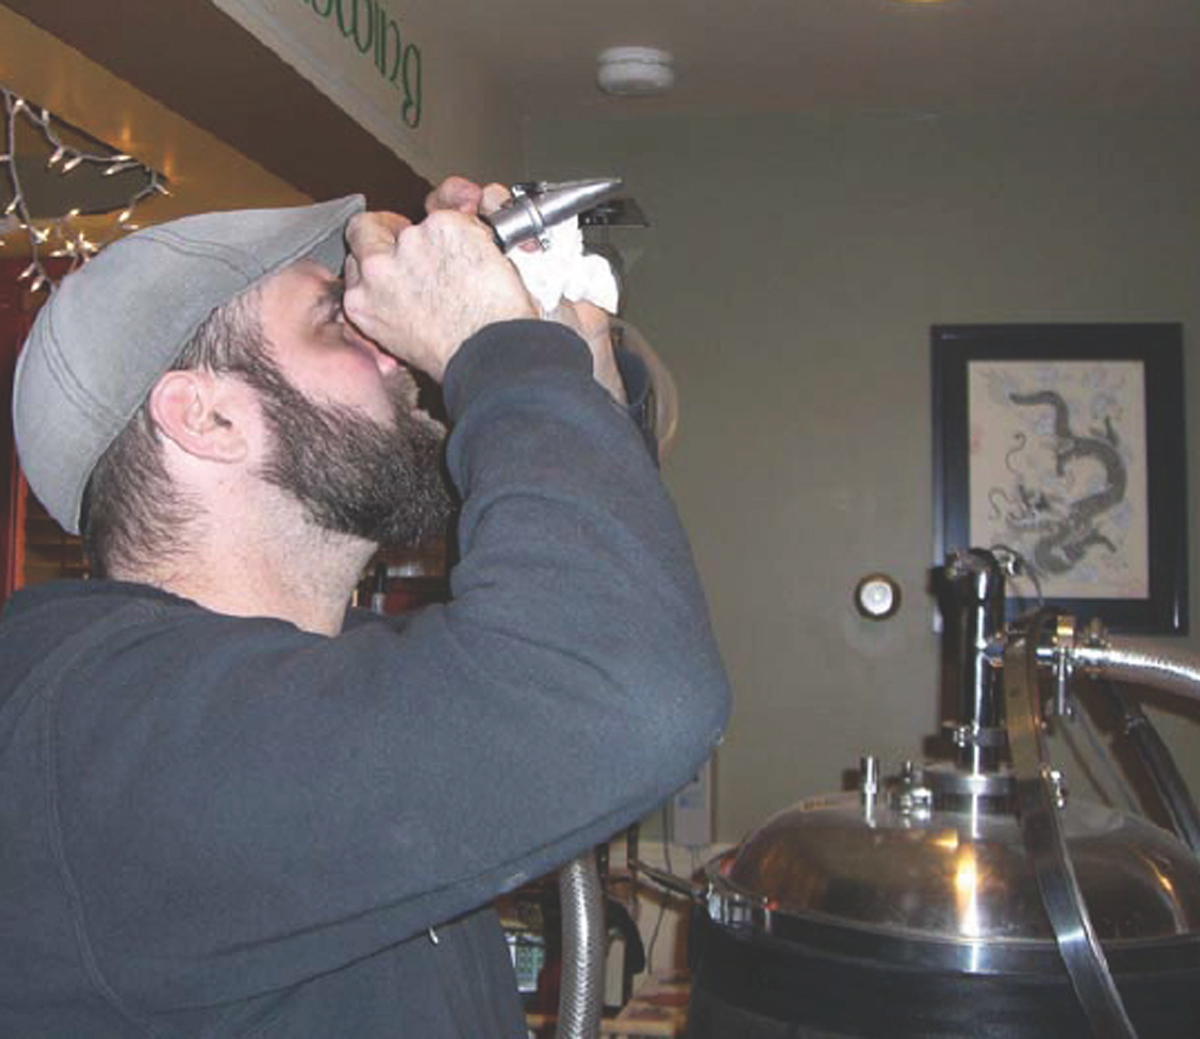
A refractometer may be used as an alternative to a hydrometer in the early stages of fermentation.
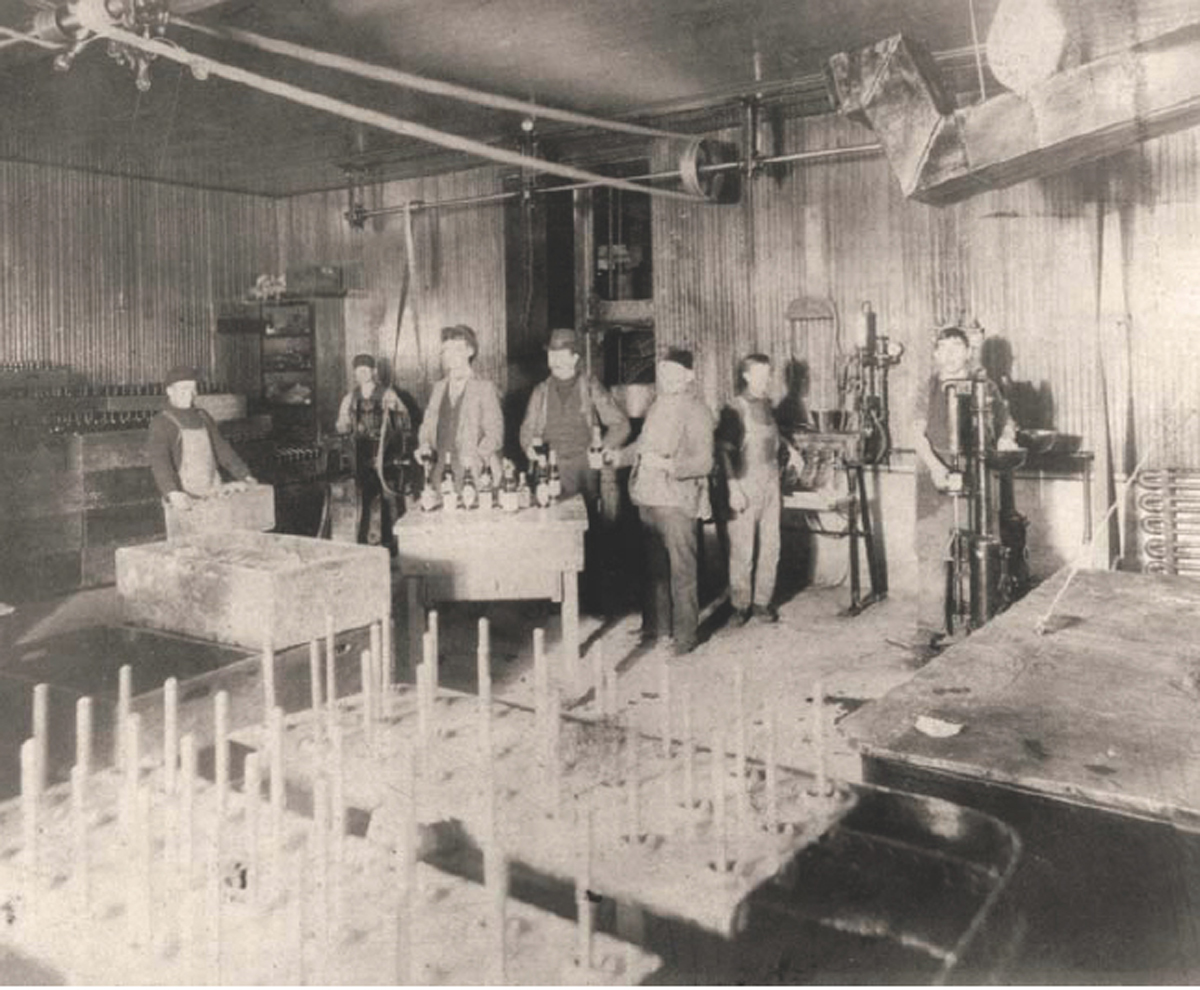
Yuengling Bottle Shop, about 1895.
Sanitize your bottling bucket, siphon hose, racking cane, bottling tip, and anything (and everything) else that will come in contact with the beer. Have your bottles, capper, and sanitized or boiled (and cooled) caps handy. In a small saucepan, add a ¾ cup of corn sugar to 2 cups of water and bring to a boil. Allow to cool.
Siphon the finished beer into the bucket for bottling. Can’t you just pour it in? No! You want to avoid rousing the yeast, and introducing oxygen into your beer.
Lift your fermenter to a higher surface, for example a kitchen counter, but avoid rousing the beer. Thread a small clamp onto the siphon hose, attach to the bent end of the racking cane, and insert the straight end of the cane into the fermenter. The design of the racking cane or the use of an auto siphon makes this step a breeze. Quietly siphon the beer off the yeast cake into the sanitized bottling bucket. The siphon hose should be long enough to reach into the bottom of the bucket to avoid any splashing. You may have to leave some beer behind to avoid transferring the lees into your bottling bucket. You will notice that the beer is completely flat; home brewers carbonate their beer using a method called “bottle conditioning.” Just prior to bottling, a “priming” sugar, usually corn sugar, is added to the finished beer. This late addition of sugar will reanimate any residual yeast in the beer, creating a mini-fermentation that produces just enough CO2 to carbonate your beer in the bottle. Always be sure to use the right amount of priming sugar and no more.
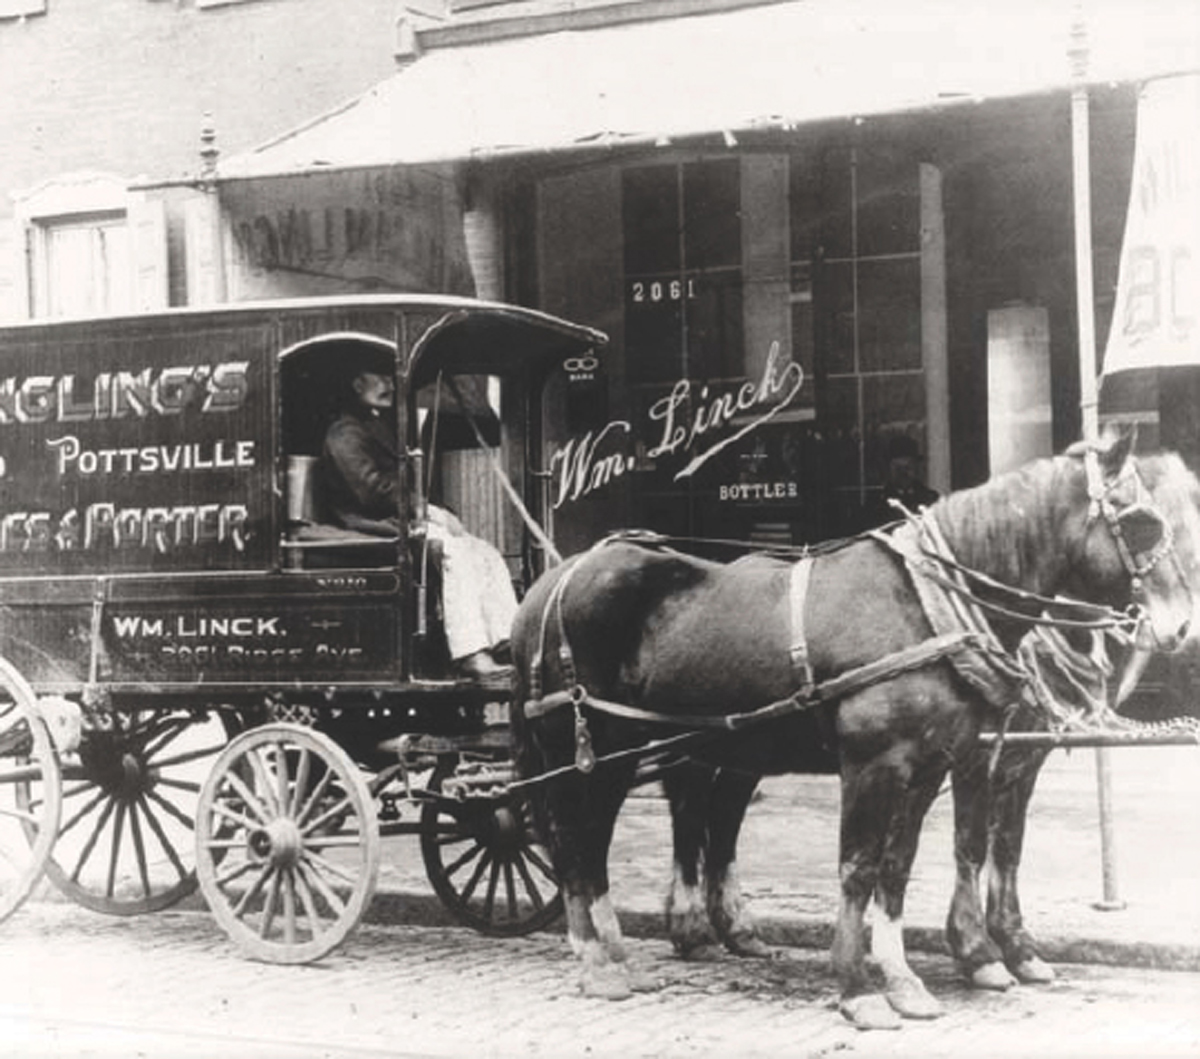
William Linck Bottle Wagon, about 1900.
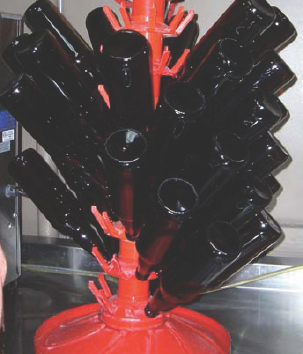
Clean bottles can be mounted on a bottle tree in order to drain prior to filling.
Add the cooled, priming-sugar mixture to the bottling bucket and stir with a sanitized spoon. Once you lift the bucket onto the counter, you are ready to begin bottling. Move the racking cane to the bucket and add the bottling tip to the end of the siphon hose. Using the same method you used for racking, start another siphon. Insert the bottling tip into the bottle and depress. This will allow the beer to flow freely into the bottle. When the bottle is full, remove the wand and voilà! The level of beer in the bottle will be perfect.
After filling the bottle, immediately cover it with a sanitized bottle cap, and use your capper to seal the cap. Obviously, bottling and capping works best with two people. Either wipe the bottles with a clean, wet cloth, or rinse in cool water to remove any residual beer, dry, and return to the case. When you’re finished, store the cased beer in a quiet location for one to two weeks. Avoid storing the beer in an area that is too cold or that will get very warm. In the summer months, a cool basement is an ideal location. The waiting is the hardest part and you can certainly try one of your beers after a week. Don’t be disappointed if it needs another week in the bottle to become more effervescent.
There’s no need to filter your craft beer. There will be some visible haze; this is normal. While filtering clarifies the beer by removing suspended yeast, hop residue, and other particles, the process also strips out flavor and color. (It is also a lot of extra work.) Each step of the brewing process is intended to clarify the beer naturally. The beer will also become clearer over time although this might not be obvious if you tend to drink your beer quickly.
The residual yeast will settle out over time, and some sediment will form on the bottom of the bottles. Unlike wine, beer should be stored in an upright position. Try not to rouse it when you pour. When I first visited Belgium, the waiter who poured my bottled beer asked me if I wanted the “vit-a-mins.” I looked at him blankly, until a friend explained that he was asking if I wanted him to pour the yeast residue, which is rich in vitamin B, into my glass. “Yes, please,” I said, feeling like a native.
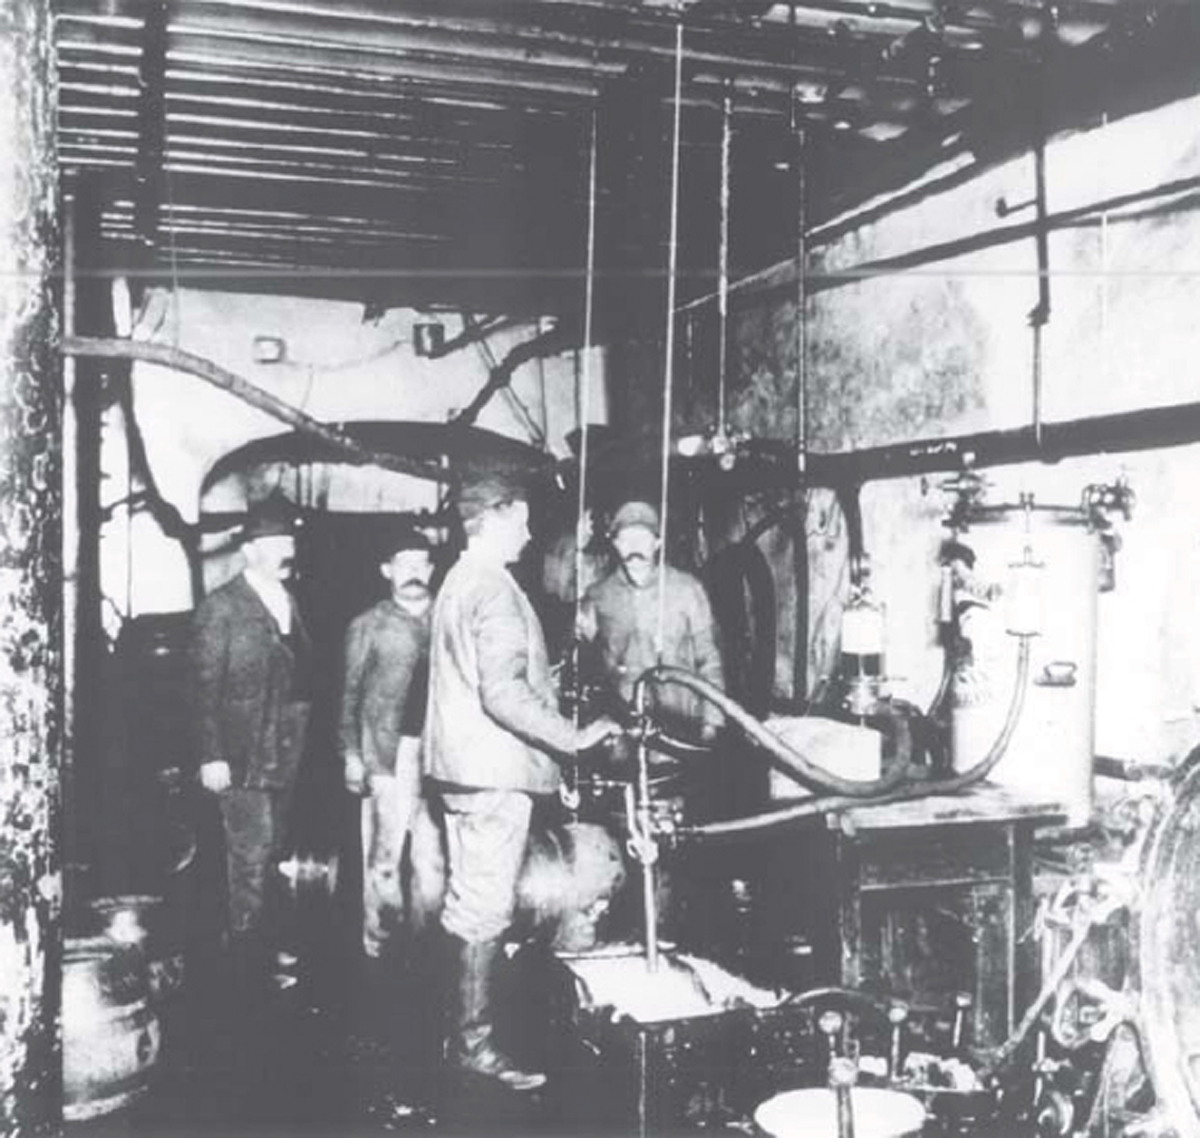
Yuengling Racking Cellars, about 1900.
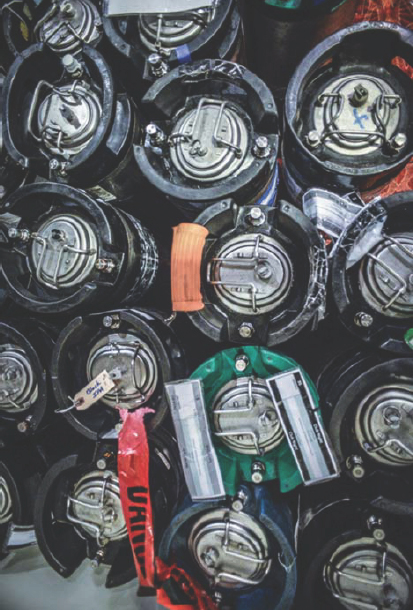
Instead of bottling, some home brewers prefer to keg their beer in 5-gallon Cornelius kegs. These kegs contain entries for the National Homebrew Competition, sponsored by the American Homebrewers Association.
Home brewers who want their beer in a container that is easily transported prefer to bottle their beers. Using bottles also gives you the opportunity to design a fun, personalized label for your beer. Many home brewers, however, cite the tedious preparation and time-consuming bottling process as two good reasons to keg their beers. Kegging certainly takes less time, and the same method of carbonation may be used. Additionally, a method called “forced carbonation,” in which CO2 is injected into the keg can be used to carbonate beer rapidly. The advantage is that well-carbonated beer will be ready to drink in a day or two, as opposed to waiting ten to fourteen days for bottle conditioning. More equipment, including a keg and CO2 tank with regulator, is required. Also, as CO2 is more readily absorbed into cold liquids, you’ll need a way to keep your keg cold. Successfully and consistently carbonating kegged beer will take some practice.
At long last we’re ready to sample our beer. Take a moment to examine the color, clarity, and carbonation. Raise the glass to your nose and inhale the aroma of the hops and malted grains. Finally, take a mouthful of beer and hold it for a few seconds before swallowing, noting the body, flavor, and aftertaste. Record your impressions on your brewlog along with the date.
I prefer to drink my home-brewed beer from a glass, rather than a bottle, because of the yeast sediment. For each beer style, there is an appropriate, corresponding glass – such as a pint, goblet, stein, snifter, pilsner, tulip – which best showcases a style’s unique traits and qualities. Some beer aficionados maintain that ideally, the beer must be served only in the “correct” glass. Most craft beer drinkers and enthusiasts, at least the ones I know, are not quite as rigid. If I had any more glassware in my cabinets I’d have to give away my dishes! For sure, there’s nothing like drinking a wheat beer from a tall, slender authentic German Weissbier glass, sipping a Belgian ale from an elegant tulip glass, or quaffing a thirst quenching pale ale from a pint glass. For me, choosing the right style and size of glassware for your beer is more a matter of practicality. I want a suitable glass that will allow me to appreciate the color and aroma of the beer. And if I’m drinking a very strong beer, I certainly don’t want it served by the pint.