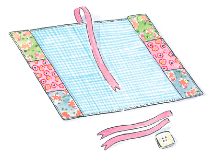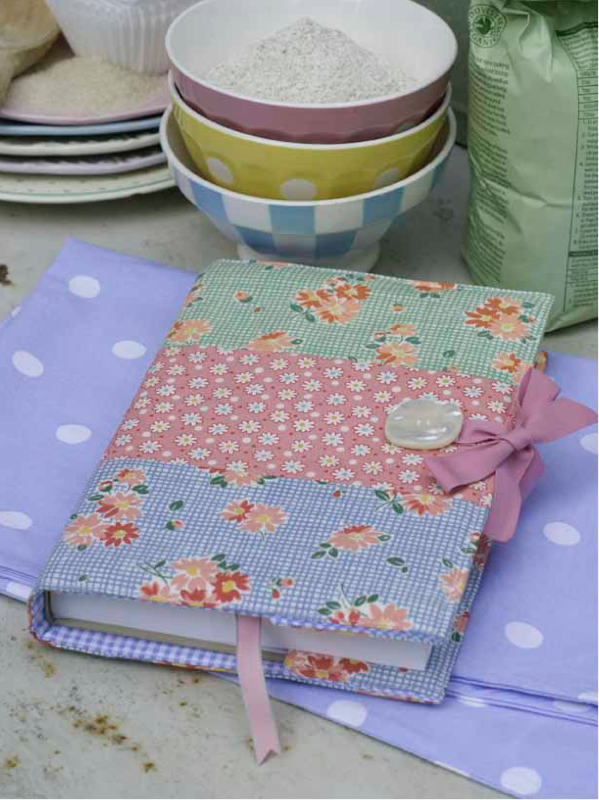

Keep all your recipes together in this pretty but practical book. I used fabric with an old-fashioned feel and maintained the nostalgic theme by using a vintage button and ties to hold everything in place, while a ribbon stitched into the lining makes a handy bookmarker.
To work out the depth of each fabric strip, measure from the top to the bottom of the book that you want to cover, add 4 cm/1½ in. and divide by three. To work out the length of each fabric strip, measure across the back, spine and front of the book and add 15 cm/6 in.
Take 1.5-cm/½-in. seam allowances throughout unless otherwise stated.
2 hours
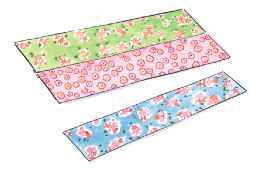
1. Cut three strips of floral fabric to the required size. With right sides together, pin and machine stitch the strips together. Press the seams open.
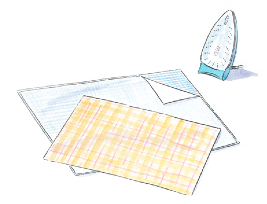
2. Cut a piece of gingham fabric and a piece of interfacing the same size as the floral piece. Using a damp cloth, iron the interfacing to the back of the gingham.
3. Place the floral piece right side up on your work surface. For the bookmark, cut a piece of narrow ribbon 5 cm/2 in. longer than the book and pin it centrally along one long edge. Place the lining piece wrong side up on top. Pin and machine stitch together, leaving an opening of about 7 cm/3 in. along one side. Trim the corners, turn right side out and press. Hand stitch the opening closed.
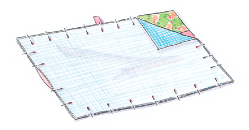
4. Fold over the side edges by 5.5 cm/2¼ in. and pin. Check that the cover fits the notebook snugly. Top stitch all around. Cut two 15-cm/6-in. lengths of 15-mm/⅝-in. ribbon for the ties. Stitch one to the front of the book and one to the back and finish with a button on the front, making sure that you only stitch through the top layer of the cover.
