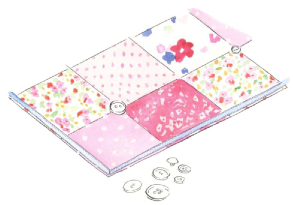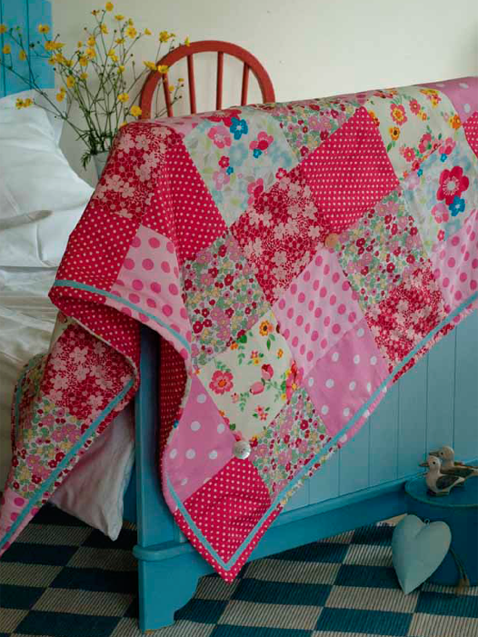

This colourful patchwork quilt, made from pretty floral and polka-dot fabrics, uses large, machine-sewn squares of fabric – a time-saving way to create a bedspread with a homespun feel. Remember, when you’re making patchwork it’s important to use fabrics of similar weights.
For this design, choose fabrics with similar colours, adding a few contrasting patterns for a fresh, modern look. Finish off the quilt with a ribbon border and stitch on an assortment of buttons which, as well as providing a decorative touch, hold the layers of the quilt together.
Take 1.5-cm/½-in. seam allowances throughout unless otherwise stated.
8 hours
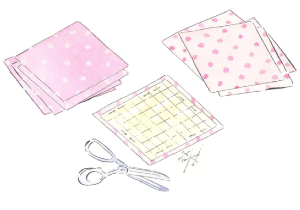
1. Cut a 19-cm/7½-in. square piece of paper to use as a pattern. Cut out squares from a range of different fabrics by folding the fabrics over concertina style and laying the pattern piece on top, so that you can cut squares from several layers at once. You will need 54 squares in total.
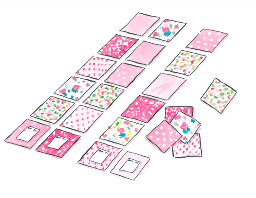
2. Lay the fabric squares out on your work surface in six rows of nine squares each and move them around until you have a pleasing arrangement, making sure that no two squares of the same fabric are next to each other. Pin a paper label onto each row of squares, numbered from 1 to 9.
3. Starting with row 1, pin and machine stitch the squares together. Press open the seams. Repeat with the remaining eight rows of squares.
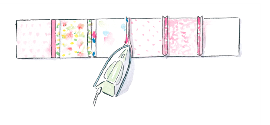
4. Lay the strips on your work surface in the correct order. Pin and machine stitch them together, aligning the seams, and press the seams open. Remove the paper labels.
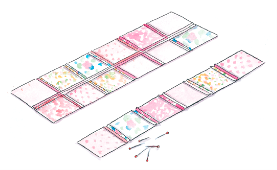
5. Lay the backing fabric on your work surface, with the wadding on top and the patchwork panel on top of the wadding. Pin all the layers together and cut the wadding and backing to the same size as the patchwork. Remove the pins.
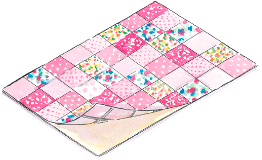
6. Place the backing fabric to one side. Pin and tack the patchwork panel to the wadding. Work from the centre outwards, pinning in a diagonal line out to each corner, and then in a straight line from the centre to the centre of each side.
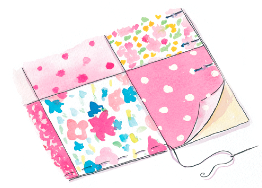
7. Lay the patchwork and wadding panel right side up on your work surface, with the backing fabric right side down on top. Pin through all layers, working from the centre outwards as in Step 6. Machine stitch, leaving a 30-cm/12-in. opening at one end. Snip the corners and trim the seam allowance a little.
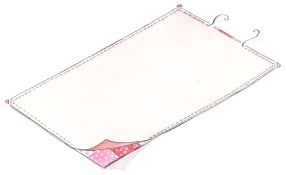
8. Turn the quilt right side out and press. Hand stitch the opening closed. Pin, tack and machine stitch the ribbon onto the top of the quilt, about 1.5 cm/½ in. in from the edge all the way around. Mitre the corners for a neat finish. Turn the end of the ribbon under a little and stitch to finish.
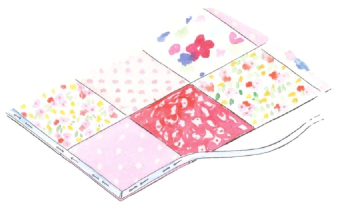
9. Hand stitch buttons onto the quilt, making sure that the stitches go through all layers of the quilt. Use a selection of buttons in a random arrangement.
