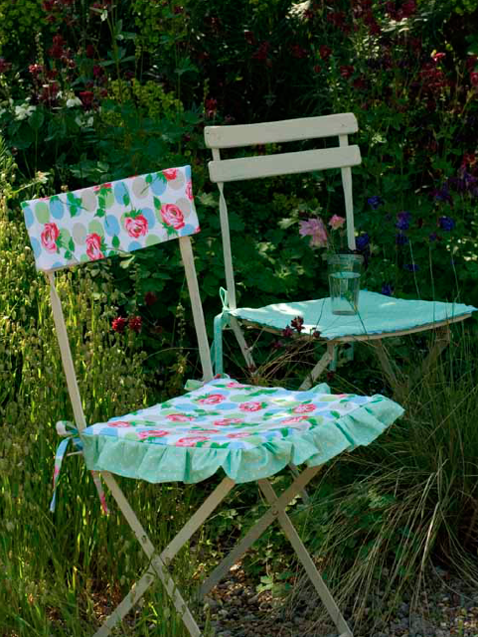
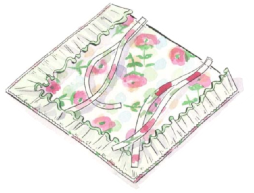
These pretty seat cushions add a touch of comfort to simple garden chairs and bring a delightfully summery feel to any patio or garden. A vintage-style floral fabric is used for the main seat cover, trimmed with a dainty frill made from a co-ordinating spotty fabric. For an extra decorative touch a simple slip cover, which could easily be padded for more comfort, sits snugly on the back rest.
Take 1.5-cm/½-in. seam allowances throughout unless otherwise stated.
4 hours
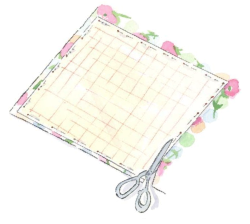
1. First, make a paper pattern for your chair seat, adding 1.5 cm/½ in. all around for the seam allowances. Fold the floral fabric in half to form two layers, and lay the paper pattern on top. Pin the pattern in place and cut out. Remove the pins and paper pattern.
2. For the frill, cut a 10.5 x 200-cm/4 x 78½-in. length of spotted fabric. (Join pieces together if necessary to make the required length and press open the seams.) Fold over 1 cm/⅜ in. and then 1.5 cm/½ in. along one long edge. Pin and machine stitch. Press. Fold both short ends of the strip over by 1 cm/⅜ in. and again by 1.5 cm/½ in. Pin and machine stitch.
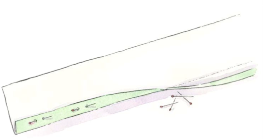
3. Take a needle and thread and work a loose running stitch along the length of the strip, about 1 cm/⅜ in. in from the raw edge. Gently pull the thread to gather the fabric, making sure that the gathers are even. The finished frill should be the same length as the sides and front edge of your garden seat. Finish with a few small stitches.

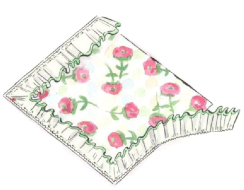
4. Lay one piece of floral fabric right side up on your work surface. With right sides together, aligning the raw edges, pin the frill around the sides and front edge, and tack in place.
5. To make the ties, cut four 6 x 45-cm/2¼ x 17¼-in. pieces of floral fabric. Lay one piece wrong side up on your work surface. Fold over one short end and both long sides by 1.5 cm/½ in. Press. Fold the strip in half widthways, aligning the edges. Pin and machine stitch along the folded-over short end and along the length, stitching as close to the edge as possible. Repeat with the other three pieces of fabric.

6. Lay the cushion piece with the frill right side up on your work surface. Aligning the raw edges, pin and tack two pairs of ties along the back edge of the cushion piece, placing each pair about 5 cm/2 in. from one side edge.
7. With right sides together, pin the two cushion pieces together along the back edge, sandwiching the frill in between. Mark the centre 25 cm/10 in. along the back edge with pins. Machine stitch up to the pins on either side. Tack the centre 25 cm/10 in. Press open the seam. Pin and tack the zip into the tacked part of the seam. Machine stitch in place, using a zipper foot on your machine. Remove the tacking stitches. Open the zip.
8. Pin and stitch the three open sides of the cushion cover. Make small snips at the corners. Turn the cover right side out and press. Insert the cushion pad and close the zip.

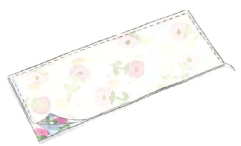
9. To make the back rest cover, measure and cut rectangles of floral fabric 2.5 cm/1 in. bigger all around than the back rest of your chair. With right sides together, pin and stitch the fabric pieces together along three sides. Trim the corners. On the remaining raw edge, turn under a double 1-cm/⅜-in. hem. Pin and machine stitch in place. Press.
Replace the frill with a length of ricrac braid.
