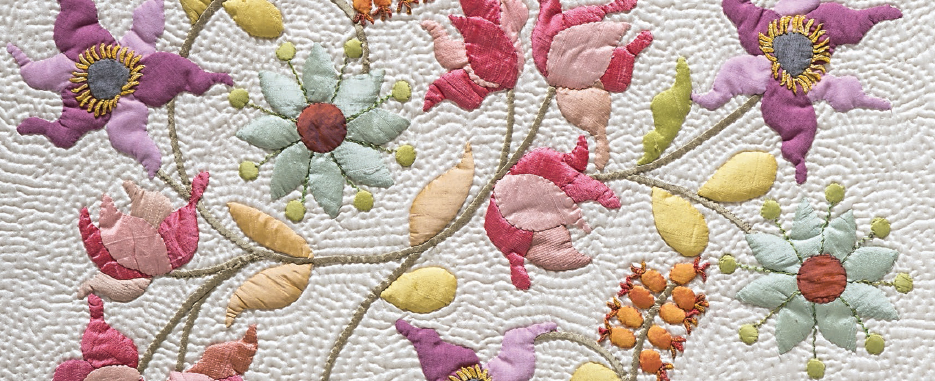

PILLOWS, SQUARE
Finished block in Euphoria: 24˝ × 24˝
Finished pillow: 24½˝ × 24½˝
Basic Pillow Instructions
The four 24˝ × 24˝ square designs from Euphoria all make luxuriously large cushions. The designs for the pillows are slightly modified from those in Euphoria in order to be better balanced when viewed in isolation. Details are given in the instructions on how to adapt the design for Euphoria panels. I had great fun experimenting with the colors, fabric types, stuffing, embroidery, and beading. If you feel the pillows are too enormous at 24˝ × 24˝, the designs accommodate a smaller size. Mine vary between 22˝ × 22˝ and 24˝ × 24˝. I have not added any insects to my pillows and, in some instances, left them tendril-free, too. There are lots of spaces for butterflies or dragonflies, should you wish to add them.
Fabric requirements and instructions are for making 24½˝ × 24½˝ pillows (including binding) with a zipper opening on the back.
MATERIALS AND CUTTING
1½ yards of fabric for background, pillow backing, and binding
CUT
1 square 25˝ × 25˝ for pillow front; trim to 24½˝ × 24½˝ after appliquéing and quilting
2 rectangles 13˝ × 24½˝
2 strips 1¼˝ × length of fabric for 104˝ of single-fold binding
NOTE
If you prefer to use bias binding, you will need a square 24˝ × 24˝ to cut 4 strips 1¼˝ wide across the diagonal of the square.
1 fat quarter (18˝ × 21˝) in green for stems and leaves
CUT
Cut ⅜˝-wide bias strips. Use the remainder for leaves.
½ yard total of assorted solid fabrics for flowers and leaves
25˝ × 25˝ piece of muslin for backing (This will be inside the pillow and will not show.)
26˝ × 26˝ piece of batting
Card stock
Freezer paper
Fabric-marking pencil and eraser
Embroidery floss
Quilting thread
Beads, crystals, and seed pearls (optional)
18˝ zipper
26˝ × 26˝ pillow form
Construction
Refer to The Basics for general appliqué and embroidery information.
1. Trace the appliqué design onto the background fabric.
2. Use card stock and freezer paper templates to make the appliqués.
3. Appliqué all the stems and then add the rest of the appliqué pieces and embroidery as directed for the individual flowers in Part 1: The Flowers.
4. Erase all pencil lines and press carefully with a hot iron.
5. If you choose to quilt the pillow top, layer the top with batting and muslin; then baste the layers together. Quilt as desired. If you choose to echo quilt, start quilting close to the motifs and then radiate outward in lines about ¼˝ apart.
TIP
The first line of stitching against the motifs is a great opportunity to tidy up the appliqué, tucking in any creases or stray threads.
6. Once the quilting is complete, press on the reverse side and trim to 24½˝ × 24½˝.
Finishing
1. For the pillow back, finish a long edge of each of the 13˝ × 24½˝ rectangles with a zigzag stitch. Place right sides together and sew using a ¾˝ seam allowance. Sew for 3˝, using a regular stitch length, and then backstitch. Continue the seam using a long basting stitch until 3˝ from the other end. Backstitch, and then finish the seam using a regular length stitch. Press the seam open.
2. Pin and stitch the zipper into place over the basted part of the seam. Remove the basting stitches.
3. Place the pillow top and back wrong sides together; pin. Baste them together, stitching ⅛˝ from the edge all the way around.
4. Sew the binding strips together in a long strip. Fold under ¼˝ at one end of the binding strip. Starting at the center of one side, sew the binding all the way around the pillow using a ¼˝ seam allowance. Overlap the ends by ½˝ and trim. Fold over ¼˝ along the raw edge of the binding and blindstitch to the back.
