 A WEEKEND A WEEKEND
Plastic pots
Waterproof/all-purpose PVA glue (suitable for exteriors)
Paintbrush
Sand (plain or colored)
Ribbon or string (optional)
1.Cover your plastic pot in glue with a paintbrush.
2.Roll the glue-covered pot in your chosen sand.
3.Wait up to twenty-four hours for it to dry and set.
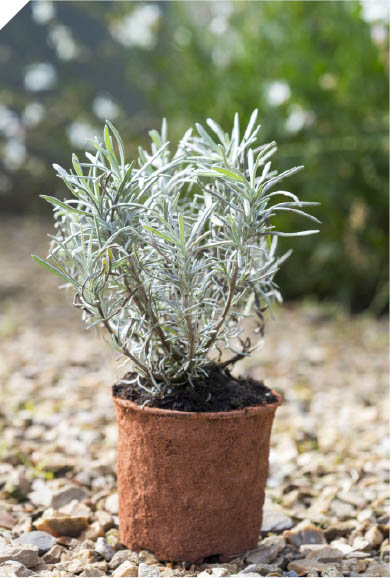
4.Plant the pot. The color of sand you use (see below) might dictate what you plant. If you chose a plain, light-colored sand, you will have a blank canvas that works with most plants, whether foliage or flowers. If you chose a red sand, something rustic and traditional, similar to what you’d find in a terra-cotta pot, might work best. Using colored sand makes the pot more of a design feature, so you might want to keep your planting simple.
5.For a pretty finish, tie a ribbon or string around the pot.
Choosing your sand Sand comes in many colors and textures. Builder’s sharp sand may be grayish, yellowish, or reddish in color, with bigger bits of grit. Kiln-dried sand is much paler and finer, which gives a smoother effect. You can use red sand for a terra-cotta feel.