
If you like the idea of a fast-turnaround crop, consider sprouting your own mung beans, alfalfa or lentils. Overall the process is pretty straightforward, as you’ll simply be providing fresh water and drainage, but good hygiene and regular attention are really important with this project. You’ll be tending to your little bean babies a few times a day until they’re ready to be eaten.
It’s also important that you use untreated, and most of all clean seeds. Do consider purchasing your initial seeds from retailers specialising in seeds for sprouting at home. When you kickstart the sprouting process, you’ll also be creating the perfect environment for unwanted bacteria, so follow the steps closely to make sure your home harvest is fit for purpose.
| Growing speed | Fast |
| Difficulty level | Easy |
| Position | Shady |
| Temperature | Cool |
| Use | Edible |
| Container | Small |
You will need
Sieve (strainer)
Jam jar
Fresh water
Tea towel (dish towel)
Elastic band
Small plate, saucer or bowl

To regrow bean sprouts
| 1 | Start by rinsing your beans or seeds in a sieve (strainer) and removing any imperfect specimens. Make sure they are clean and that there are no unwanted pieces of organic matter in the mix that might contaminate your harvest. |
| 2 | Take a freshly cleaned jam jar and place your beans or seeds inside. They should only take up around a quarter of the space in the jar (or a little less than this if you’re growing alfalfa). Once the beans have sprouted, they will magically expand and fill the remaining space, so this is crucial. |
| 3 | Fill the jar with fresh, cool water and cover with a clean tea towel (dish towel), secured in place around the top of the jar with an elastic band. This covering will allow you to water the beans, but also you can drain them easily so they aren’t left in standing water. |
| 4 | Leave the beans or seeds to soak for around 12 hours in a cool location away from direct sunlight. |
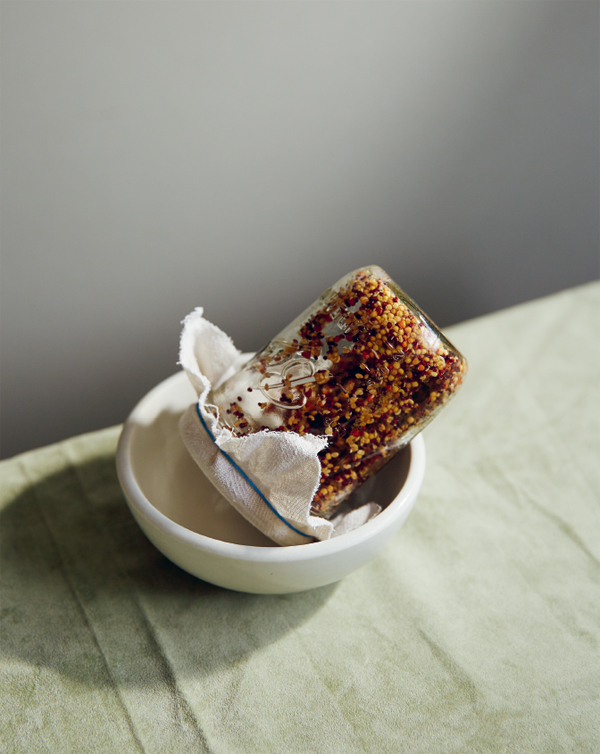
| 5 | Now you need to drain away the water and rinse your crop. Once you have done this, replace the tea-towel lid, but this time position the jar upside down and at a slight angle. This will allow any excess water to drain off, while still allowing air to circulate in your jar. You might want to do this over a plate or small bowl to catch the water. |
| 6 | Here’s the part where you need to act like a responsible parent: repeat this rinsing and draining ceremony three or four times a day. You’re aiming to keep the crop full of moisture to prevent it drying out. |
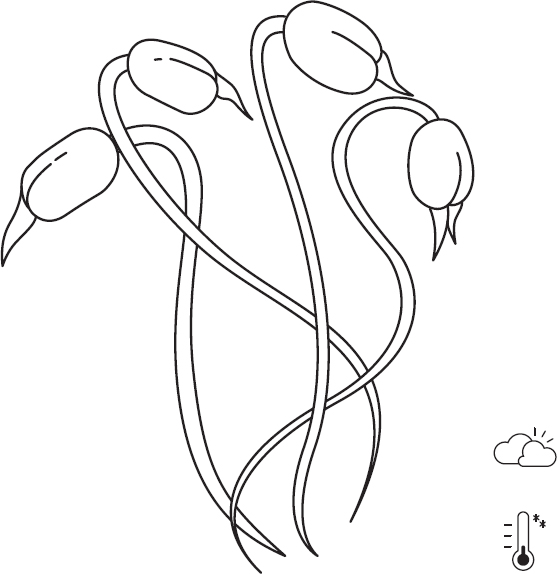
| 7 | It’s up to you as to when you think your sprouts are ready to be eaten. We harvest after the beans or lentils have grown about 1cm (½in) high, but alfalfa can be left to grow a little taller. Drain one last time before cooking, and be sure to pick out and discard any unsprouted beans. The whole project should take between two and four days – fast enough for even the most impatient home farmer. |
Tips
 Consume your sprouts within the first five days.
 If your home is particularly humid, refresh the water more frequently.
 Set a timer or alarm so you don’t forget to rinse your bean sprouts each day.
 Cleanliness is really important with this task, so make sure you’re using freshy cleaned or sanitised apparatus.