
During World War II, a rumour began to circulate that carrots could make you see in the dark, and in the UK, the Ministry of Information supposedly made a link between successful RAF fighter pilots and their carrot consumption. This idea seemed to stick with the British public. Whether it remains a genuine belief or just an excuse to encourage children to eat their vegetables is one of the great unanswered questions of our time.
Regrowing carrots is a fairly simple process, but before you imagine serving up your own regrown carrot cake, it’s important to know that when you regrow carrots, it’s actually for their leafy greens. Over the years, carrot greens have built up a bad reputation, with some sources even suggesting they’re inedible. This isn’t the case, and a quick online search shows an abundance of interesting carrot green recipes and ways to reinvent these highly nutritious, vitamin-packed leaves.
This system only works with carrots that still have some of their leaves attached at the top, or at least a brown stump where the leaves should be, so bear this in mind when you’re carrot shopping.
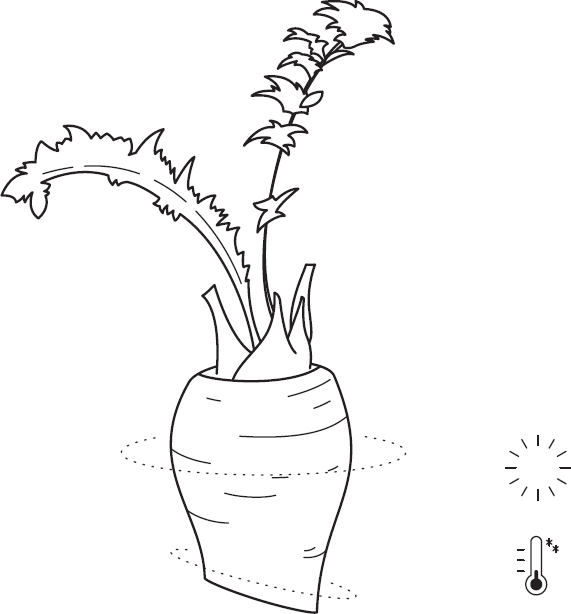
| Growing speed | Medium |
| Difficulty level | Easy |
| Position | Sunny/indirect |
| Temperature | Cool |
| Use | Edible |
| Container | Medium |
You will need
Sharp knife
Medium-sized glass mason jar or flat-bottomed serving
bowl/tray
Fresh water
Medium-sized plant pot with drainage holes and drip tray
Potting compost
Kitchen scissors

To regrow carrots
| 1 | The next time you use carrots in the kitchen, retain the top 5cm (2in) of the carrot and cut off any carrot greens (be sure to use these in a recipe, providing they are fresh and healthy). |
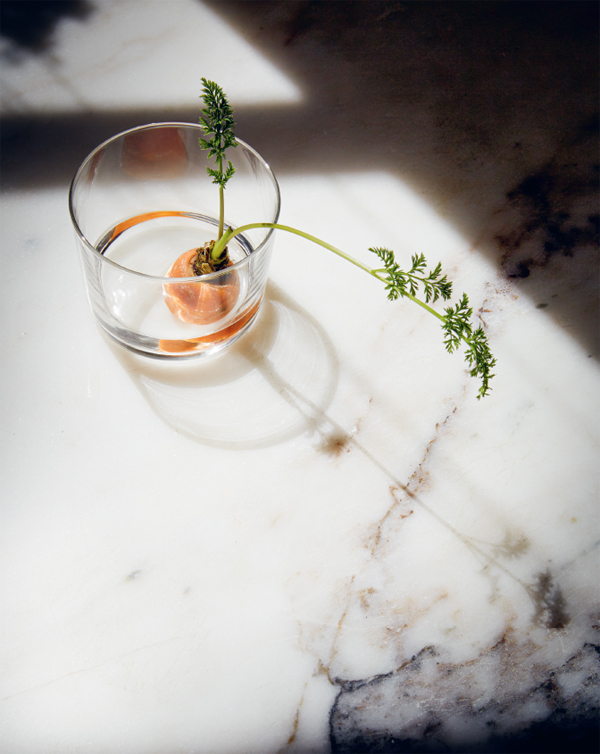
| 2 | Place your carrot cuttings with the top facing upwards in a medium-sized jar or flat-bottomed serving bowl. To ensure a good yield, it’s best to regrow a few carrots at once, so you might choose to use a small plastic tray — it will need to have raised edges that can contain water. |
| 3 | Fill the container with enough cold clean water to almost cover all of the orange carrot root, but be sure not to submerge any of the area at the top of the carrot which will produce your green shoots. |
| 4 | Place the container on a sunny windowsill or in partial sun and be sure to replace the water daily. |
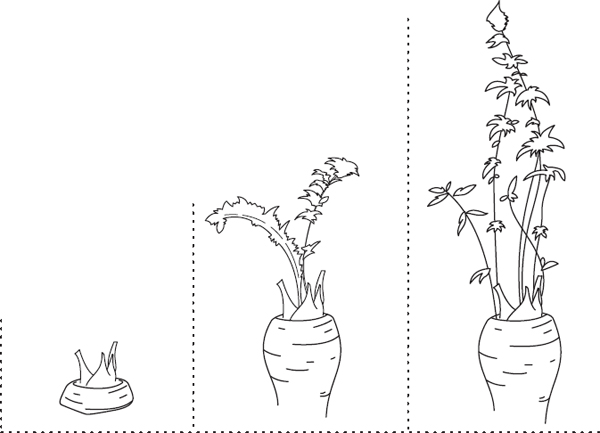
| 5 | Within the first few days, carrot greens should begin to re-emerge from the top of your carrot cuttings. At this point, it’s time to transfer your growing vegetables to the soil. |
| 6 | Fill a medium-sized plant pot with potting compost and position your carrot tops with the green ends coming up out of the soil. About 2cm (¾in) of your 5-cm (2-in) cuttings should be visible and protruding from the soil. |
| 7 | Keep watering your pot of carrots in order to keep the soil moist. How frequently you need to water will depend on the temperature and humidity of the environment, but try not to over-water your plants or they may begin to rot. |
| 8 | You can grow your carrots indoors or outdoors, on a windowsill, on a balcony, or even plant them directly into the ground in the garden or allotment (as we do). |
| 9 | The carrot greens become tougher the longer you let them grow, so we advise harvesting your greens while they are still young. To harvest, simply snip off the leaves with a sharp pair of scissors and rinse them before using them to cook. |

Tips
 Don’t be afraid to ask your greengrocer when they will be receiving a fresh delivery of produce. The fresher your original vegetable, the greater its chances are at healthy regrowing.
 We enjoy eating freshly chopped carrot greens in dishes like tabbouleh as a parsley substitute (they’re part of the same family), but the greens are also brilliant — just wilt in the pan.
 Use them as you might use spinach in any number of cooked dishes, such as a carrot-green cannelloni or a wilted carrot-green Welsh rarebit.