
Most people know that tomatoes are actually a fruit: a type of berry, in fact. Perhaps you associate tomatoes with Italy, but the truth is they originated in South and Central America and didn’t find their way to Europe until the 16th century. It’s astonishing to think of all those Ancient Romans lazing around feasting, and not one pomodoro in sight.
Heirloom tomatoes are the best choice for regrowing from seed. They come with a range of brilliant names, such as Banana Legs, Big Rainbow, Hawaiian Pineapple, Lollipop and Yellow Pear. Unlike the seeds of hybridised plants, heirloom seeds ‘breed true’. This means collecting seeds from a ripened fruit and using them to grow a new plant will reward you with all the characteristics of the original.
Regrowing tomatoes from seed requires quite a lot of space, as they can grow up to 2m (6½ft). They are best suited to a greenhouse (glasshouse) or a space outdoors, such as a balcony or patio. If you have the space, you can absolutely grow them indoors – they love the conditions of a sunny windowsill, and having the plant right under your nose means you’re more likely to give it the daily watering it requires.
| Growing speed | Slow |
| Difficulty level | Medium |
| Position | Sunny |
| Temperature | Warm |
| Use | Edible |
| Container | Large |
You will need
Sharp knife
Jam jar
Fresh water and a sunny spot
Sieve (strainer)
Paper towels
Potting compost
Plastic seeding tray
Large plant pot with drainage holes and drip tray
Ruler and pencil
Water spray bottle or mister

To regrow tomatoes
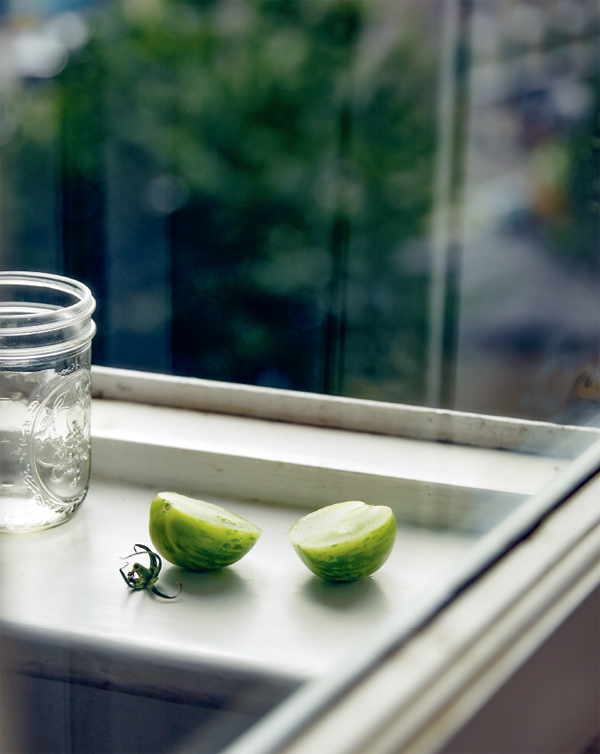
| 1 | Using a sharp knife, cut your ripe heirloom tomato in half and scoop out the inner part of the tomato, along with its seeds. |
| 2 | Place the seeds and flesh in a jam jar and add about the same volume of water to the jar. Seal the jar and shake up the contents. |
| 3 | Place the jar anywhere in your home. The contents of the jar will start to gently ferment over the course of one week. Give the jar a gentle shake each day, and at the end of the week, you should see your seeds have separated from the rest of the mix and have sunk to the bottom of the jar. This process of decomposition is important, because it helps fight against the transmission of diseases to the seeds. |
| 4 | On the seventh day, open the jar and fish out your seeds. Place the seeds in a sieve (strainer) and rinse with water. |
| 5 | Now place your tomato seeds on clean paper towels and leave them to dry out for one week. After this, your tomato seeds will be ready for the next step – planting. |
| 6 | Fill your tray to the rim with potting compost. Pick up the tray and give it a tap to make sure the soil has found its way to the bottom of each cell, and add more on top if necessary. |
| 7 | Use a pencil to make a 1-cm (¾-in) burrow in the centre of each of the cells. Carefully take your tomato seeds one by one and drop them into your prepared planting holes. Add a little more soil on top to cover the seeds. |
| 8 | Using a watering can or spray bottle dampen each of the cells so that the soil is moist. |
| 9 | Some seeding trays come with a plastic cover or dome – if this is the case with yours, apply it now. If not, or if you’re growing your seeds in small pots or containers, take a piece of cling film (plastic wrap) and secure it over the top of your container. The aim is to create a warm and humid environment to help your seeds come to life. |
| 10 | Place your tray in a bright and warm position and keep an eye on the soil to make sure it stays moist (but not wet) over the coming days. Ideally, your tray should receive around eight hours of direct sunlight daily, so the summer months are ideal timing. |
| 11 | This is the moment you’ve been waiting for. Within 7–14 days, you should see signs that your seeds have germinated and perfect little tomato seedlings are raising their heads in the dark soil. Remove the plastic or lid. You can leave the seedlings to grow in their cells until they have grown two or three sets of leaves, at which point each seedling should be carefully transferred to its own larger plant pot. |
| 12 | Before your let your plants spend the night outside in the cold, it’s advisable to ‘harden them off’ by introducing them slowly to a cooler environment over the course of a week. Simply take your seedlings outside for a few hours and bring them back inside, increasing the hours spent outside daily. Eventually, they will be accustomed to the temperature. |
Tips
 When your tomato plants start to grow, be sure to ‘pinch out’ the side shoots. This is new growth that emerges in the axil between the stem and the leaf.
 In their native habitat, tomato plants are perennials, meaning they automatically return each year and bear fruit. Cultivated tomatoes are annuals – the tomato plant completely dies away each year, so gardeners across the world grow their crop from seed early in the spring for a summer harvest.
 Tomatoes are greedy when it comes to water. Satiate their thirst with consistent and abundant watering.