3. A PRINT FOR THE BEGINNER
Because the rudiments of screen-process printing are simple, Johnny can become a serigrapher and give up jam printing.
Using cardboard frames and squeegee, organdy screen, paper stencils, and conditioned school tempera paint, elementary silk-screen prints can be produced. Let’s follow the process step by step.
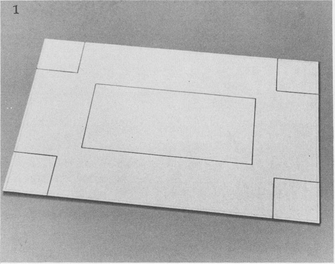
Step 1. With a ruler, measure carefully a rectangle of stiff cardboard (you can use a shoebox) for the construction of a printing-frame box. Measurements, of course, will be determined by the size of the prints you want to make, but suggested measurements for your first box are: 13 by 21 inches for the size of the cardboard, 3 by 3 inches for the corner squares and 5 by 12 inches for the size of the centered printing rectangle or hole.
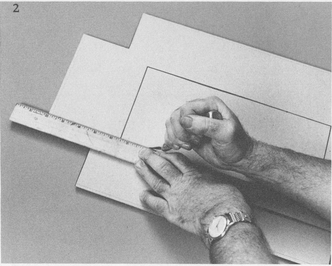
Step 2. On a smooth, hard surface that you cannot damage (a piece of Masonite or another piece of cardboard is excellent), cut out the corners and the centered rectangle in your piece of cardboard.
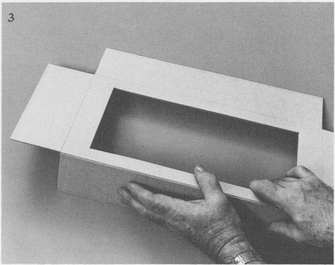
Step 3. Score the outside edge of the fold on the cardboard with a dull knife or scissor blade. This gives you a clean, sharp folded edge.
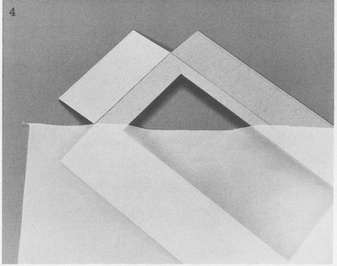
Step 4. Cut a piece of ordinary cotton organdy the exact size of the outside edge of your piece of cut cardboard. If the cardboard is 13 by 21 inches, the piece of organdy should be 13 by 21 inches.
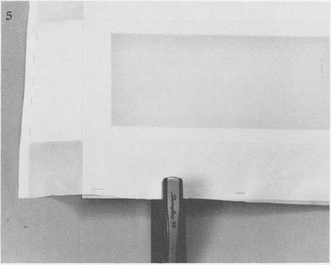
Step 5. Staple the organdy to the flap edges of the unfolded cardboard on what will be the outside of the box, and pull the organdy snug but not too tight. Folding the sides up to form the box frame (Step 7) will tighten the organdy just the proper amount.
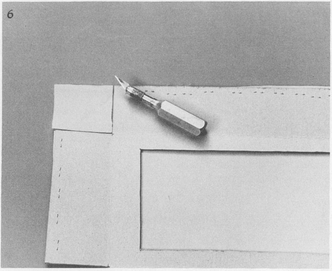
Step 6. With a sharp stencil knife or pair of scissors, cut out or remove the excess organdy at each of the four corners.
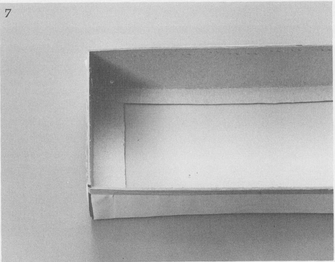
Step 7. Carefully fold up the sides of the cardboard to form the box. The organdy will be stretched tightly over the outside of the box. Hold the box sides in place with a piece of masking tape running around the entire outside of the box just at the top edge.
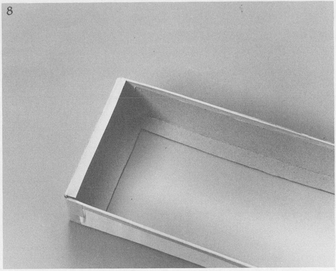
Step 8. Protect the upper edges of the box with masking tape—seal all four corners both inside and outside. Put masking tape over all folded edges of the cardboard both inside and out to be sure it does not leak. Note: If masking tape is not available, heavy gummed paper tape may be used, but it is a little more difficult to handle.
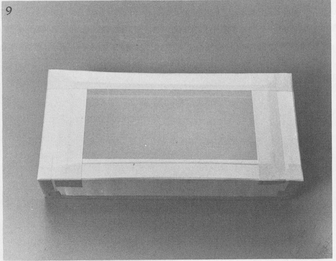
Step 9. Also use masking tape around all four sides of the rectangular hole both inside and outside of the box, extending the tape so that it covers about 1/4 inch of the organdy over the hole inside and out. This is very important to ensure clean printing. It will help prevent the paint from blurring and running around the outside edges. The cardboard used is generally too thick to give the squeegee good contact with the printing surfaces at the outside edges. This procedure reduces that thickness to a workable point.
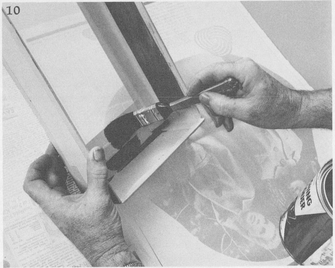
Step 10. Using ordinary finishing lacquer or shellac, paint the entire inside of the box. Include all of the taped areas, but be careful to get no lacquer or shellac on the organdy. One coat will suffice but, if you wish, a second coat will give better protection.
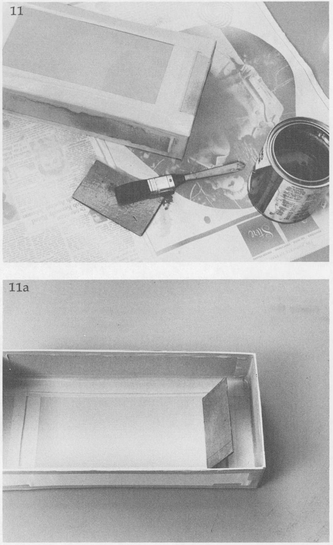
Step 11. Cover the outside area of the box with one or two coats of lacquer or shellac in a similar fashion. For a squeegee, cut a piece of very stiff cardboard that will fit exactly within the printing hole in the box frame. If it is not stiff enough, two or more identical pieces should be glued together. The printing edge of the cardboard piece (the part that rests against the organdy in the photo) must be as straight as possible to minimize printing problems. Coat this cardboard piece heavily with several coats of shellac or lacquer on both sides. The box and the squeegee are now ready for printing.
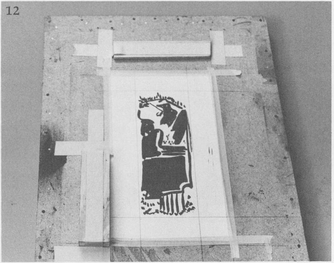
Step 12. Tape the proposed sketch of the final print to a printing board (which can be a flat piece of Masonite or plywood or a table top). Draw lines on the sketch to indicate the outer limits of the printing hole in the cardboard printing box. Then tape a block of wood at the top of the board and one on the left side that will be flush with the top and left side of printing box. This is a simple way to key prints, and several colors can then be printed over each other.
Note: The following steps show how to print five colors together, but it might be wise to limit your first serigraph to one color.
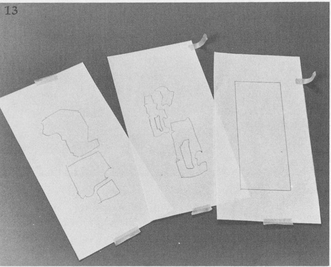
Step 13. Three stencils have been placed over the sketch (see photo, Step 12) and traced. Ordinary newsprint can be used. Use carbon paper or temporarily remove the original sketch from the printing board and place it on a window against the light so you can see the design. The stencil on the right will be a solid background color; stencil two (center) will be color forms in the second printing; and stencil three (far left) will be used for the third color; the cutout scraps will form the designs for the fourth color.
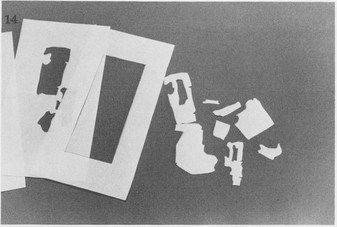
Step 14. Cut the stencils with a sharp razor blade or a stencil knife on a smooth surface that you cannot damage. Save the individual parts that are cut out for printing the fourth color.
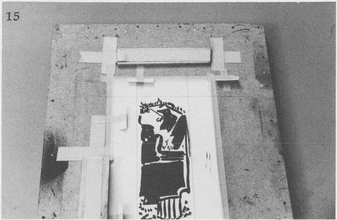
Step 15. With masking tape, place two keying tabs at the left side of the printing area and two at the top side. This will ensure that the printing paper is positioned accurately for the printing of each color.
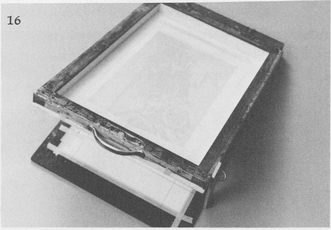
Step 16. Place the paper stencil over the sketch and place the printing box over the stencil in the proper position. Temporarily fasten the stencil in place on the outside of the printing box over the organdy screen with mucilage.
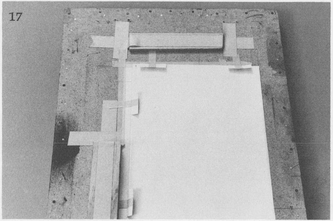
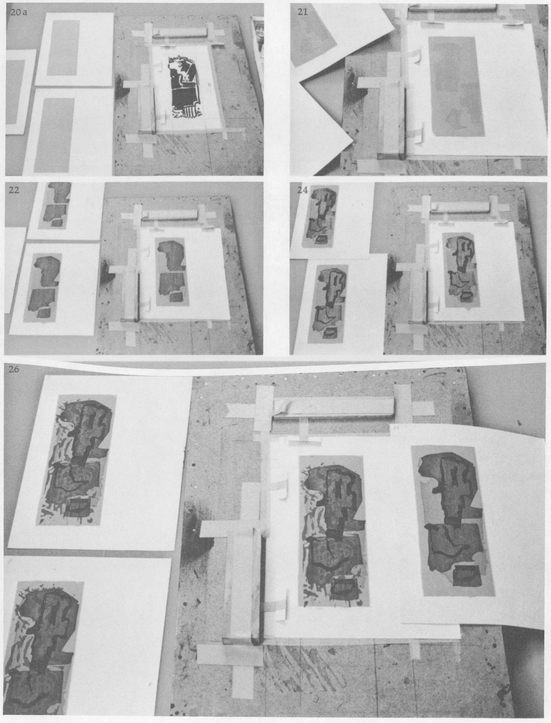
Step 17. Lay the first sheet of printing paper carefully under the four keying tabs. Number the upper left-hand corner of the sheet to ensure that the paper is inserted properly with each color printing.
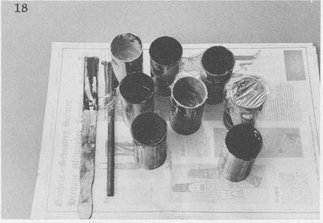
Step 18. Mix your paint to the proper consistency and transparency (you will have to experiment a bit with the consistency). Small cans are very convenient for this. Oil paint that is left over can be stored for long periods if a bit of paint thinner or turpentine is floated on top and the can covered with a piece of plastic food wrapping. The plastic wrapping is sealed with wet paint and held in place with a rubber band. Clear plastic allows you to inspect the color without breaking the seal.
The paint used in these photographs is traditional oil-based screen-process paint purchased from a commercial supplier. If you are making your first prints, however, the following paint formula, which is easier to use and clean, is recommended: to 1 1/2 cups of water add enough powdered tempera paint to produce a consistency like very heavy coffee cream; then add 1 teaspoon of soap flakes and 2 teaspoons of glycerin (available at your local drugstore).
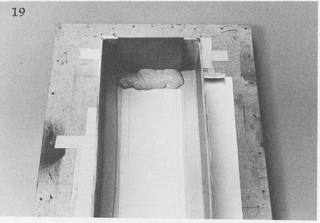
Step 19. Place a small amount of the mixed paint in one end of the printing box. Avoid getting any of the paint in the screen hole. Put the box on the printing area with the top end and the left side up against the wooden key blocks. Always place the box in exactly the same position. You may wish to mark one end as the top to identify it easily.
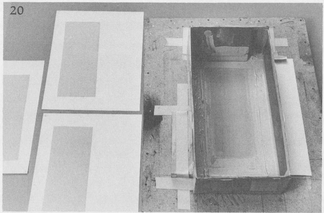
Step 20. Scrape the paint from one end of the box to the other, pulling the cardboard squeegee carefully and firmly. Then lift up the box, remove the printing paper, and put in a new sheet of paper. Again put the cardboard printing box down in position and turn the cardboard squeegee around (do not turn the printing box around). Turning the squeegee with each print keeps all the ink on one side of the squeegee and gives a cleaner, more uniform print. Pull the squeegee back the other way, pulling the paint over the second sheet of paper. Repeat this process until the desired number of papers have the first color area printed on them. Carefully remove the paper stencil from the box and then remove the paint. Thoroughly clean the organdy screen and the squeegee with turpentine or paint thinner for oil-based paint; water for the tempera paint.
Step 21. Repeat Steps 16 through 20 with the second paper stencil to print the second color.
Step 22. Repeat Steps 16 through 20 with stencil three to print color area three.
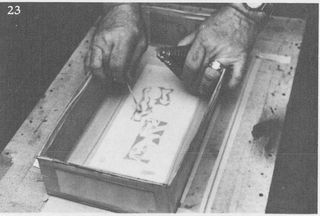
Step 23. Place stencil three (see photo in Step 13) on the key drawing again. Then arrange the individual bits cut from this stencil in position. (They have been trimmed somewhat so they no longer completely fill the hole they were cut from.) Carefully place the cardboard printing box in position over the sketch. Lightly glue (with a water-soluble glue or mucilage) the various pieces to the screen mesh, using little dabs of glue pressed through the mesh. When the glue has dried, lift up the printing box. The small pieces of paper from the paper stencil will be temporarily fastened to the silk.
Step 24. After the glue has dried on the meshes, lift the box and remove the original sketch. Replace it with a piece of scrap paper, and print the color over the scrap paper. The stickiness of the printing ink will affix the smaller paper stencil parts to the mesh more firmly. Now print the fourth color on each sheet of paper (see Step 20).
The illustrations on the facing page are all reproduced in full color between pages 16 and 17.
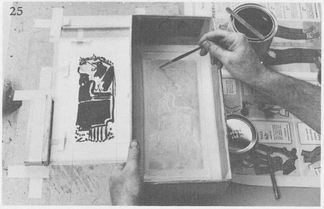
Step 25. Place the screen mesh on the original sketch. Lightly pencil in areas that might comprise the next color to be printed. Lift the box off the sketch and, with lacquer, shellac, or glue, paint in on the organdy those areas that are not to be printed.
Step 26. After the lacquer, shellac, or glue has dried, put ink in the frame and print the fifth color on each sheet of paper (see Step 20). This will complete the edition of prints. You can see in the progression of color photographs what a print looks like after each of the five colors has been added.
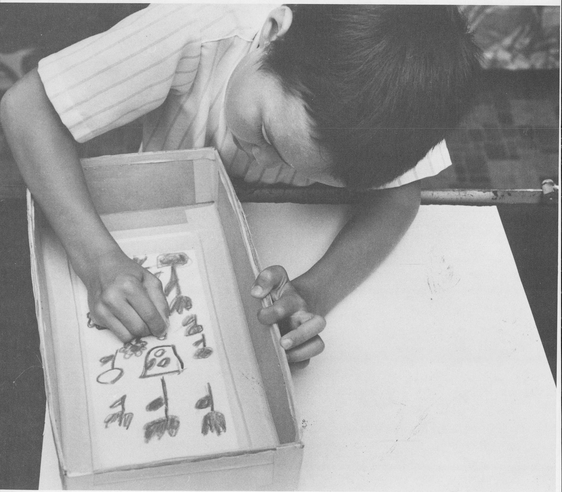
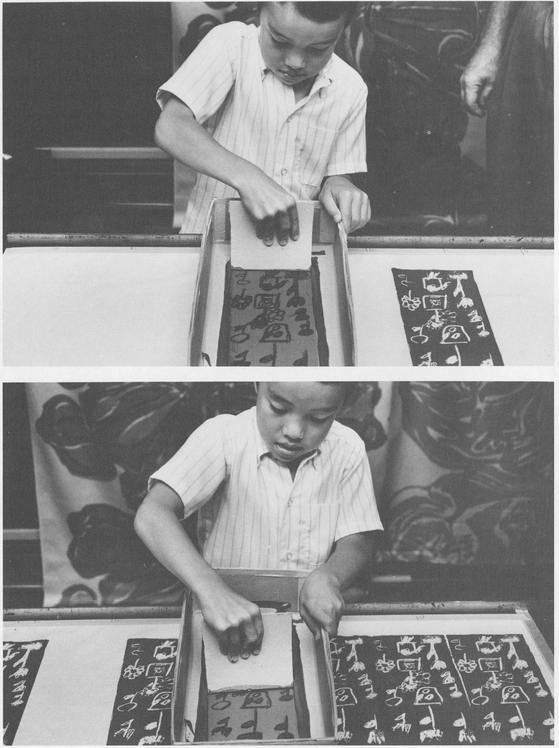
Another Variation. A very easy method for making a one-color textile print is to draw the design directly on the organdy with any color wax crayon. Press hard on the crayon to fill the meshes with wax, working against a smooth, hard surface so that the screen remains taut. Then print with the tempera paint mixture previously described, or another water-based textile ink. It is best to do this with only one color since the wax crayon design is very difficult to remove from the screen. Print every other unit first, and then go back and print the missing units.
