Let's consider a few examples related to the student management system.
A user wishes to configure a view, wherein they can refer to all the students with a total marks of less than 40 percent:
- To create a new view, the user can navigate to the ADVANCED FIND dialog:

Entity View Scenario
- In the ADVANCED FIND window, the user can then select the appropriate entity, that is, Contact:
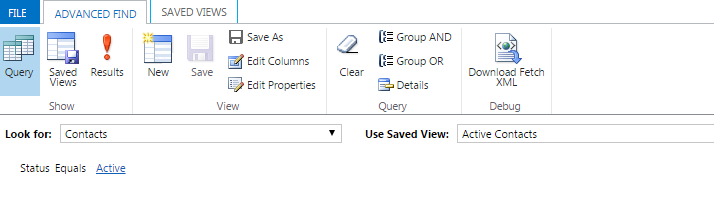
Entity View Scenario
- As we are creating a new Saved View, the user can select [new] in the drop-down menu. In our case, we are concerned with the marks obtained by the student. We can select this in the attributes criteria:
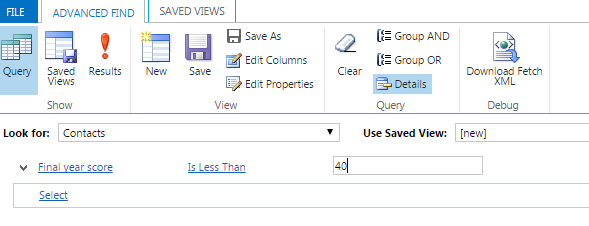
Entity View Scenario
- After selecting the criteria, the user can click on the Save As button. This will open a popup where the user can enter the view name:
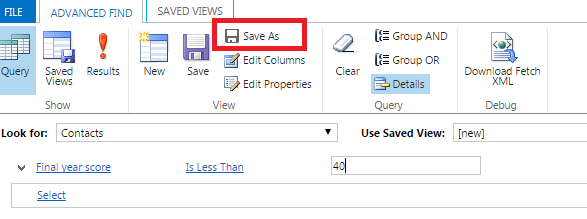
Entity View Scenario
- In the popup screen, the user can enter the name of the view and save it:

Entity Scenario View