After the document template has been prepared, the next step is to upload the template back into Dynamics CRM. The following steps show how it is done:
- Navigate to Settings | Templates:
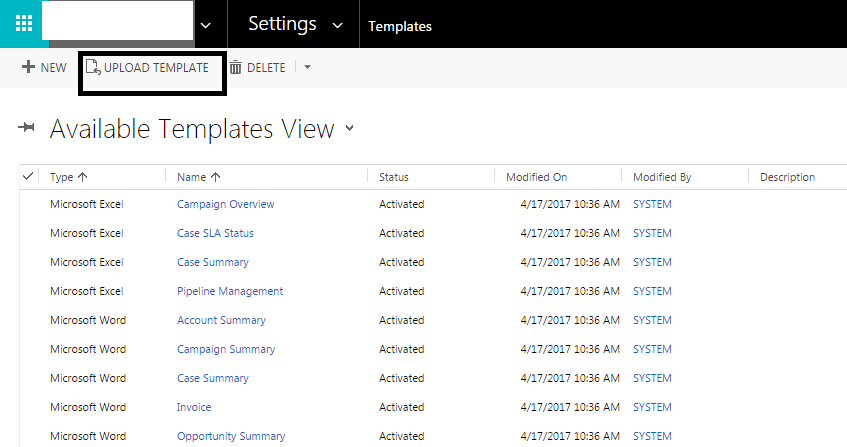
- Click on Upload Template:

- Click on the browse button and select the document modified in Step 3:

- Click on the Upload button; the following screen appears:

- Just like in Step 1, you can also upload templates on any of the record forms or while being on any of the entity views:

Using the uploaded document templates in Dynamics
After the word templates have been imported into Dynamics CRM, the next thing we'd like to do is generate information using the templates:
- Navigate to the record form for which you want to generate the document using the uploaded template. Navigate to More (...) | Word Templates:

- Check whether the uploaded template appears in the list of Word Templates.
- Click on the template name to download the document.
- Open the document to view its contents:
