Chapter 1: Introducing PowerPoint
In This Chapter
 Taking a peek at PowerPoint
Understanding PowerPoint jargon
Communicating by way of PowerPoint presentations
Taking a quick tour of the program
In this short chapter, I take you to the end of a pier, briefly explain what swimming is, and push you in the water. As you thrash about, I tell you what a PowerPoint presentation is and explain some PowerPoint jargon. Then I fish you out of the water and take you on a whirlwind tour of PowerPoint. By the time you finish reading this chapter, you will know what creating a PowerPoint presentation entails.
PowerPoint Slides
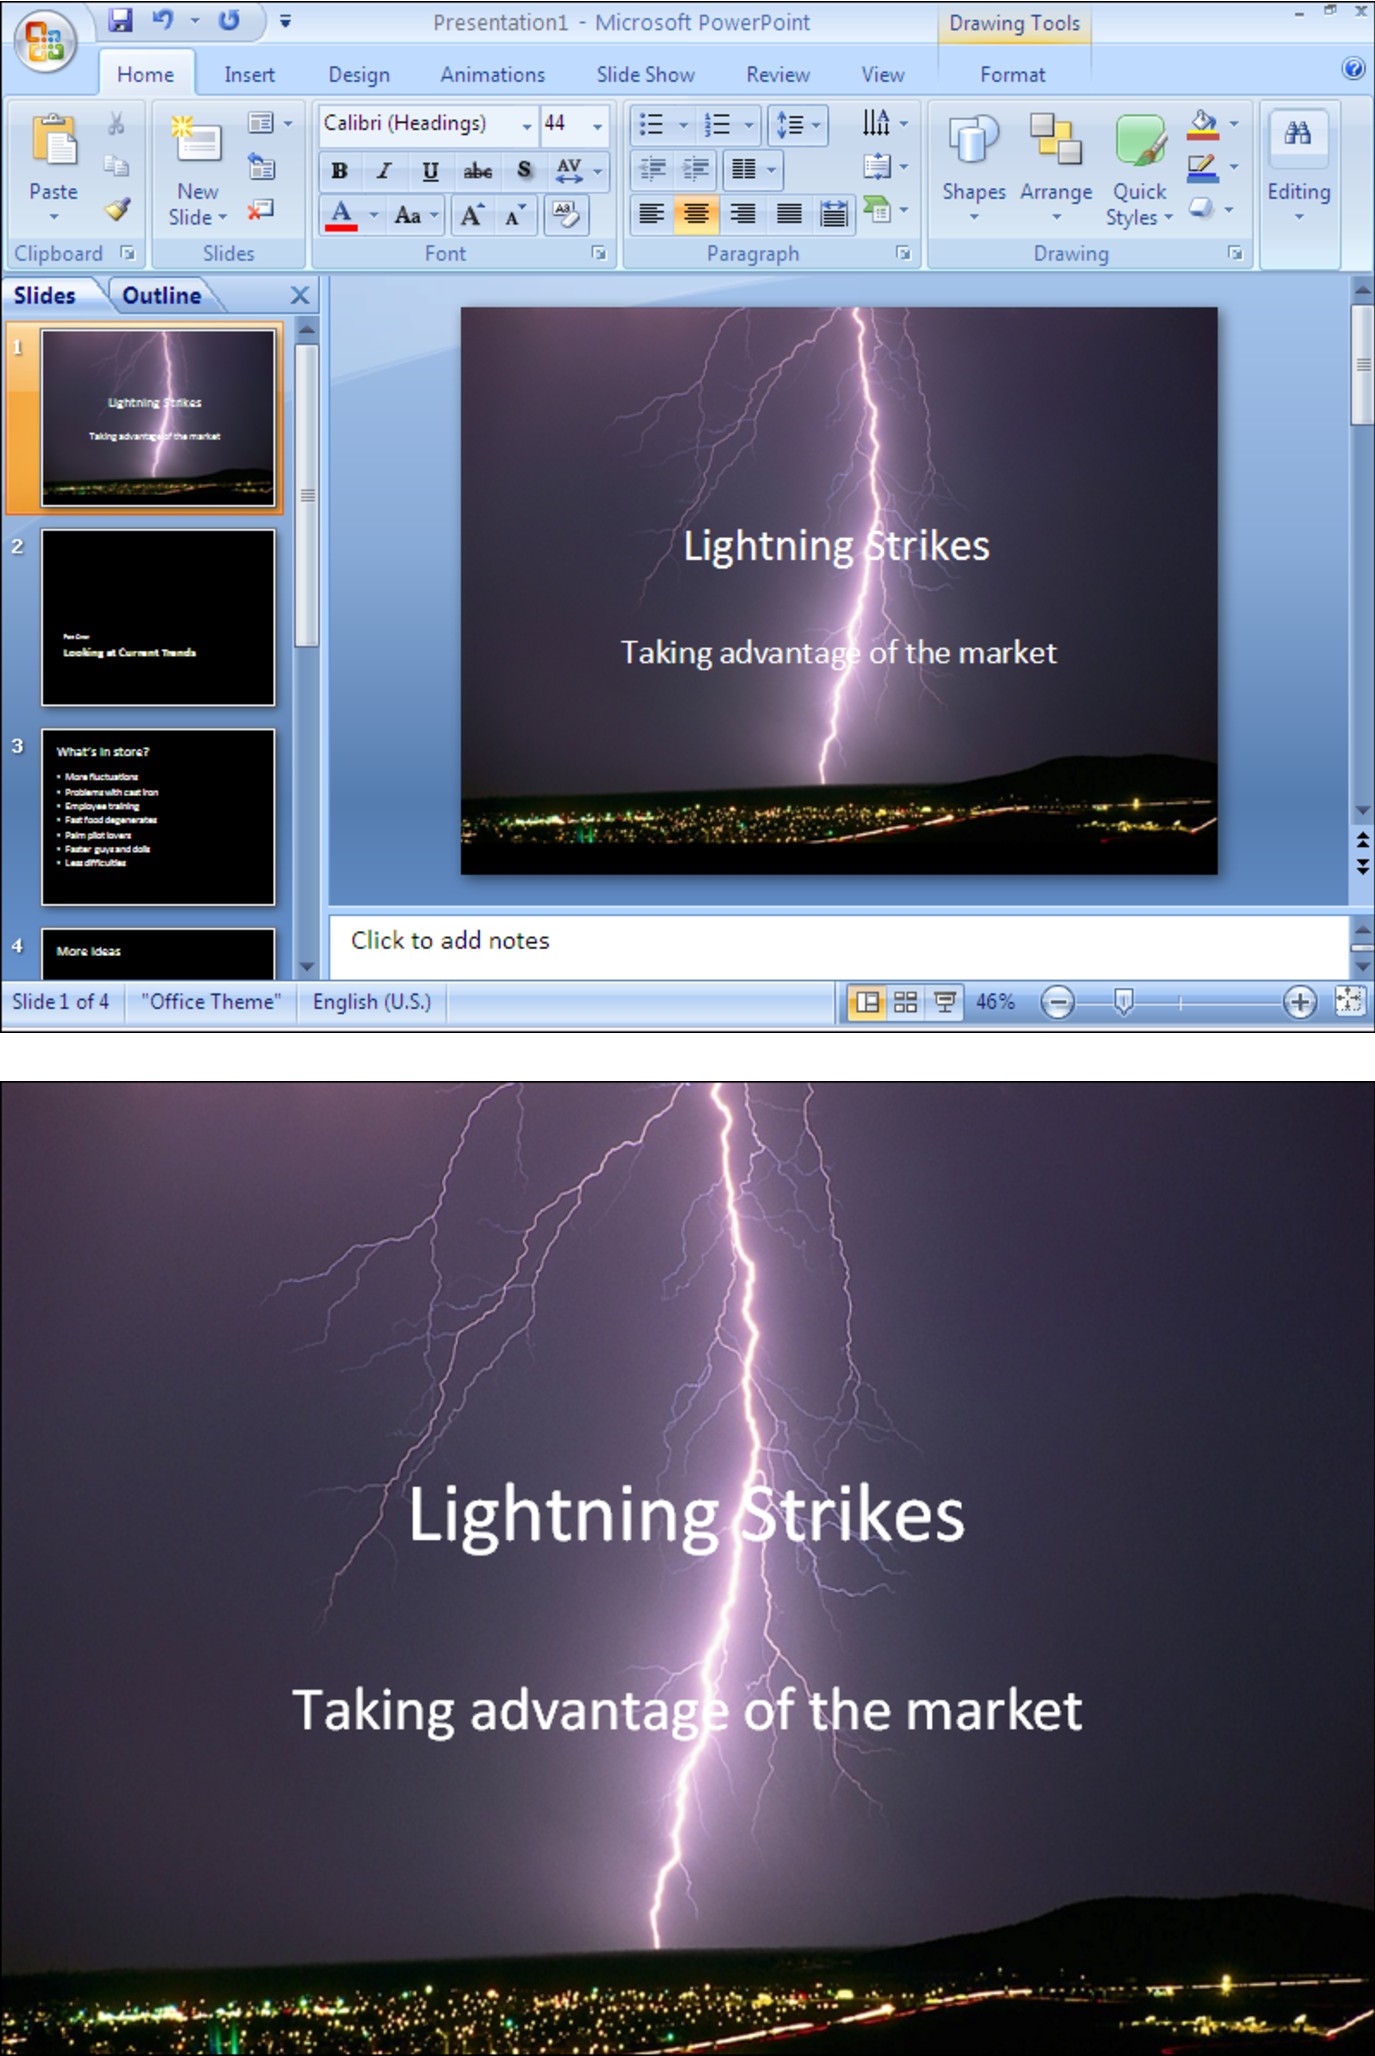
Figure 1-1 (top) shows the PowerPoint window. That thing in the middle is a slide, PowerPoint’s word for an image that you show your audience. Surrounding the slide are many tools for entering text and decorating slides. When the time comes to show your slides, you dispense with the tools and make the slide fill the screen, as shown in Figure 1-1 (bottom). Throughout this book, you will find instructions for making slides and for constructing a presentation, the PowerPoint word that describes all the slides, from first to last, that you show to your audience.
|
Figure 1-1: The PowerPoint window (top) and a slide as it looks in a presentation (bottom). |
|
Some PowerPoint Jargon
To make PowerPoint do your bidding, you need to know a little jargon:
 Presentation: All the slides, from start to finish, that you show your audience. Sometimes presentations are called “slide shows.” Presentations are saved in presentation files (.pptx files).
Slides: The images you create with PowerPoint. During a presentation, slides appear on-screen one after the other. Don’t be put off by the word slide and dreary memories of sitting through your uncle’s slide-show vacation memories. You don’t need a slide projector to show these slides. You can now plug a laptop or other computer into special monitors that display PowerPoint slides. (Book II, Chapter 1 describes how to create slides.)
Notes: Printed pages that you, the speaker, write and print so that you know what to say during a presentation. Only the speaker sees notes. (Book VI, Chapter 2 explains notes.)
Handout: Printed pages that you may give to the audience after a presentation. A handout shows the slides in the presentation. Handouts are also known by the somewhat derogatory term “leave-behinds.” (Book VI, Chapter 2 explains handouts.)
PowerPoint as a Communication Tool
PowerPoint isn’t just a speaker’s aid, but a means of communicating something to an audience — an idea, a business plan, a marketing strategy. PowerPoint has become so popular in part because it relieves the burden of public speaking. A nervous public speaker (and who isn’t a nervous public speaker?) can avert the attention of the audience to the slides and allow the slides to carry the day. But those slides in and of themselves can be great means of communication. PowerPoint offers numerous ways to communicate with an audience above and beyond what can be said in words:
Colors: Your color choices set the tone and suggest what you want to convey in your presentation. Book II, Chapter 3 explains how to choose colors; Book VII, Chapter 2 describes how to incorporate a company’s colors (and logo) in a presentation.
Photographs and other images: A picture, they say, is worth a thousand words. Spare yourself from having to speak thousands of words by including pictures in your presentation. Book IV, Chapters 3 and 4 explain how to grace a slide with pictures and clip-art images.
Tables: Support your proposal with table data. No one will be able to refute you. Book III, Chapter 1 explains how to create tables.
Charts: For comparing and presenting data, nothing beats a chart. Book III, Chapter 2 explains charts.
Diagrams: With diagrams, the audience can literally visualize a relationship, concept, or idea. Book III, Chapter 3 explains how to create diagrams.
Shapes and text-box shapes: You can use lines, shapes, and text box shapes (shapes with words on them) to illustrate your ideas. Book IV, Chapter 1 shows how to draw lines and shapes.
Sound and video: Include sound and video to make your presentation a feast for the ears and eyes. Book V explains sound and video.
A Whirlwind Tour of PowerPoint
To help you understand what you’re getting into, the rest of this chapter provides a whirlwind tour of PowerPoint. It explains what creating a presentation entails, from inserting the first slide to putting on the finishing touches. Better fasten your safety belt.
Creating the slides
After you create a new presentation, your next task is to insert the slides (see Book II, Chapter 1). As shown in Figure 1-2, PowerPoint offers many preformatted slide layouts. These layouts are available on the New Slide drop-down list, the drop-down list you open when you want to insert a slide. Each layout is designed for presenting information a certain way.
As you create slides, you can jot down notes in the Notes pane. You can use the notes later on to formulate your presentation and decide what you’ll say to your audience while each slide is on-screen.
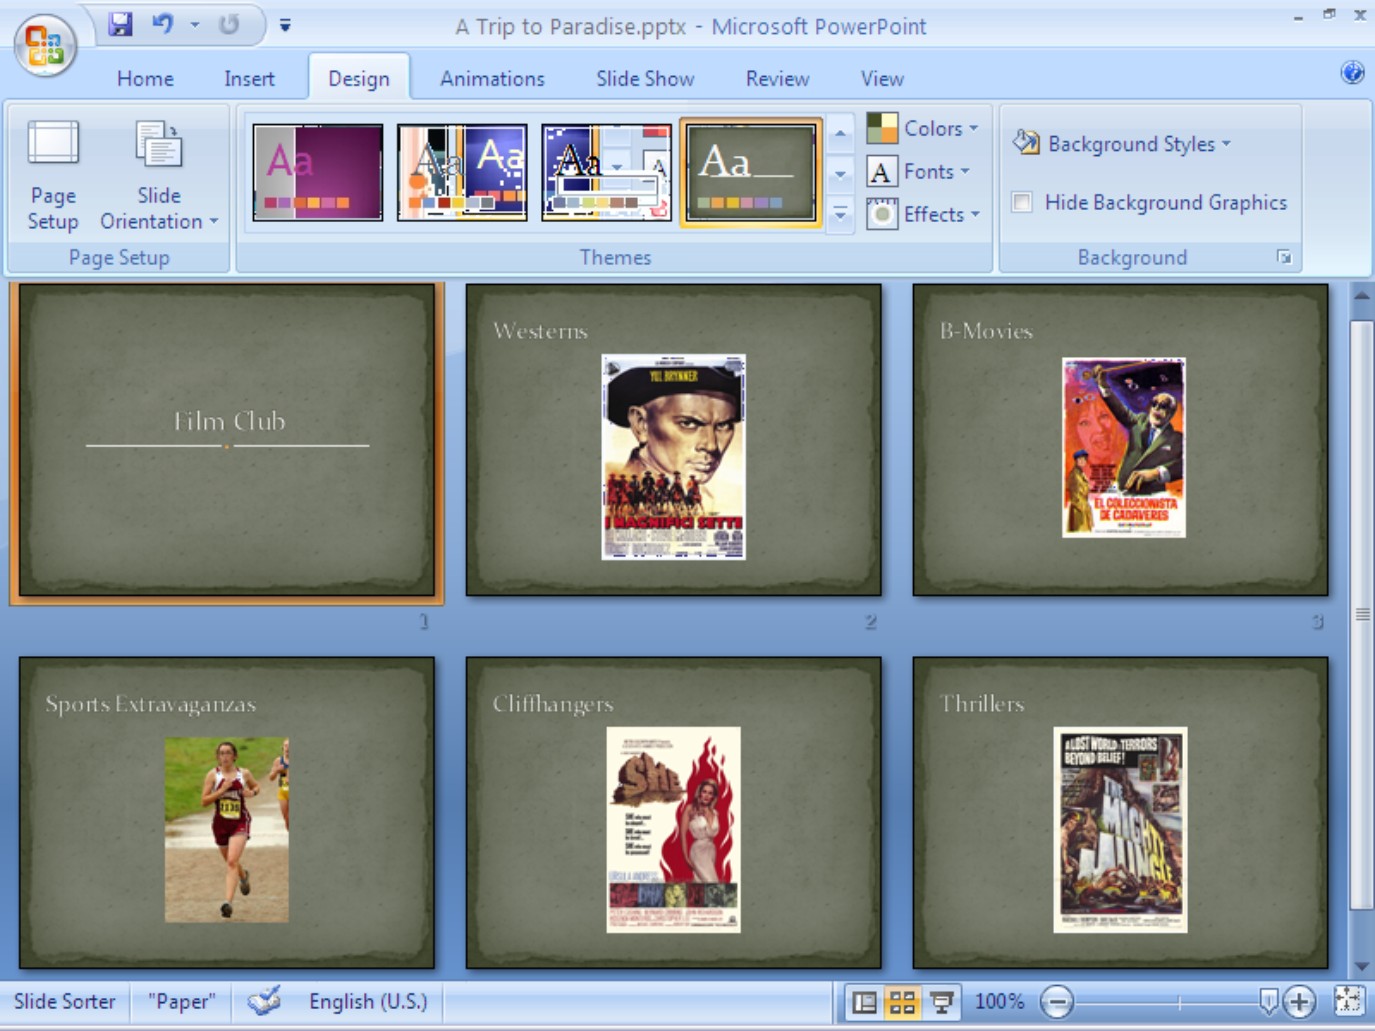
To help complete tasks, you can change views. Figure 1-2 shows the PowerPoint window in Slide Sorter view. This view is best for moving, copying, and deleting slides. PowerPoint offers the View tab and View buttons for changing your view of a presentation. The program offers many different views, each designed to help with a different task.
Designing your presentation
The next step is to think about the appearance of your presentation (see Book II, Chapter 3). Figure 1-3 shows the Design tab, where you make most of the decisions that pertain to the presentation’s look. Starting here, you can change the slides’ colors and backgrounds. You can also choose a new “theme” for your presentation — an all-encompassing design that applies to all (or most of) the slides. If you’re the type of person who doesn’t run with the herd, you can overhaul one of these themes and in effect redesign it by switching to Slide Master view and tinkering with the master slides (see Book II, Chapter 2).
|
Figure 1-2: Adding a new slide in Slide Sorter view. |

|
|
Figure 1-3: Go to the Design tab to design the look of your presentation. |
|

Inserting tables, charts, diagrams, and shapes
A PowerPoint presentation should be more than a loose collection of bulleted lists. Starting on the Insert tab, you can place tables (see Book III, Chapter 1), charts (Book III, Chapter 2), and diagrams (Book III, Chapter 3) on slides. You can also adorn your slides with text boxes, WordArt images, and shapes (see Book IV, Chapter 1). And when you include a bulleted or numbered list, you can employ nonstandard bullets and numbering schemes to make your lists a little different from everybody else’s (see Book II, Chapter 5).
Use your imagination. Try to take advantage of all the features that PowerPoint provides for communicating with an audience.
“Animating” your slides
As I mentioned earlier, PowerPoint slides can play video and sound (see Book V). You can also enliven a presentation by “animating” it (see Book V, Chapter 1). Starting on the Animations tab, you can make slide items — bulleted lists, shapes, and clip art — arrive and leave the screen from different directions. You can make the items on a slide move on the screen. As a slide arrives, you can make it spin or flash.
Showing your presentation
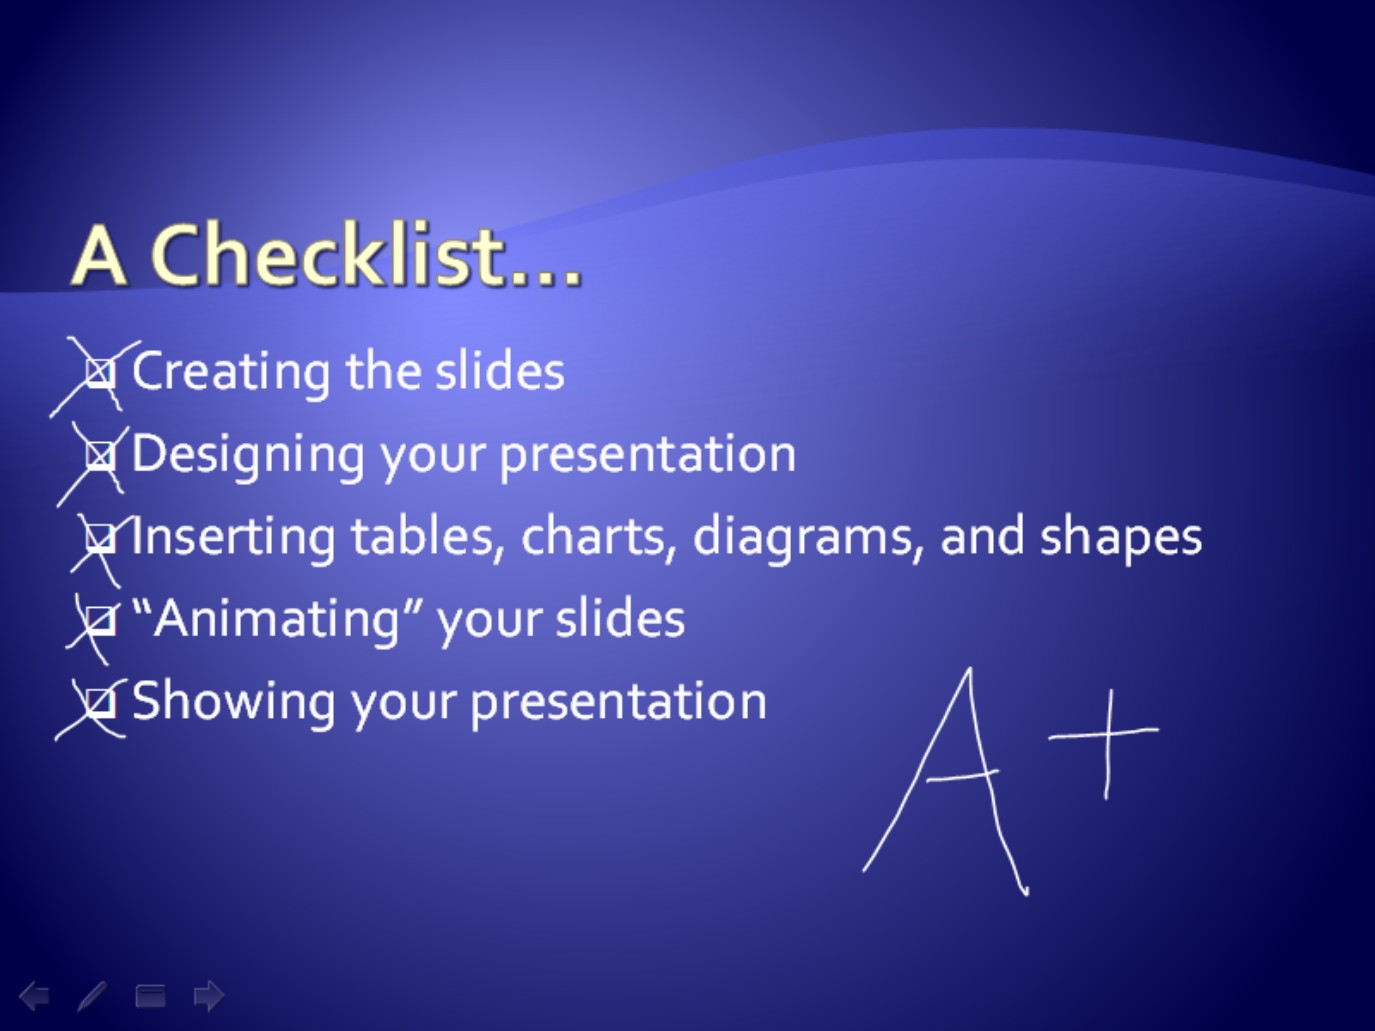
During a presentation, you can draw on the slides, as shown in Figure 1-4. You can also blank the screen, show slides out of order, and detour your presentation into a customized slide show (see Book VI, Chapter 1). Most presentations are made to be delivered in person by a speaker, but you can deliver presentations from afar by choosing commands on the Slide Show tab.
These kinds of presentations can run in your absence:
Self-running presentation: A presentation that runs on its own and can be exhibited at a trade show or other public place (see Book VI, Chapter 3).
User-run presentation: A presentation that others can run. Special buttons permit individuals to go from slide to slide (see Book VI, Chapter 4).
A handout: A printed copy of a presentation (see Book VI, Chapter 2).
A CD: A packaged CD copy of a presentation that others can show on their computers (and you can take on the road). People who don’t have PowerPoint can view presentations after they are packed for a CD (see Book VI, Chapter 5).
A Web page: A version of a presentation formatted for display on the Internet or an intranet (see Book VI, Chapter 5).
|
Figure 1-4: Draw on slides to add a little something to a presentation. |
|
I hope you enjoyed this tour of PowerPoint. Before you disembark, please check your surroundings to make sure you haven’t left anything on the bus. Enjoy your stay in PowerPoint Land.