To create a doorway, we can select the wall model and use the Ctrl + R keys or the Toolbar button, to activate the loop cut. Remember, you have to click twice to first set the direction of the cut and then to choose a position for the new loops.
Here are the steps to cut:
- Press the Ctrl + R keys or use the Toolbar button.
- Move the mouse over the edge you want to cut and left-click once to choose the cut direction.
- Now you will select the cut position. Move the mouse and left-click again to mark the cut location.
For the door at the back of your model, you will need two cuts. Make the first one as shown in the following left screenshot, and the second as shown in the following right screenshot:

The next step is to select the large face at the lower-right corner of the wall and extrude it backward (E key). After you finish the extrude, erase the three faces indicated in the following screenshot with the Delete or X key:

As you can see in the previous screenshot, we will have an incredibly narrow hole for the door because it is half the width of a regular door.
We will use a modifier to copy and mirror the geometry in Blender to the other site. What is a modifier? It is a unique option in Blender that you can apply to objects for modeling, animation, and effects.
You can add multiple modifiers to the same object, stack them in order, and eventually apply them to the objects.
To add a modifier, you have to use the modifiers panel in the properties window. For our wall, we will use the mirror modifier, as shown in the following screenshot:

Before you add the mirror modifier, we have to set the pivot point for the mirror. The mirror modifier will create a mirrored copy of your 3D model, using the origin point as a pivot. For that reason, we have to set the origin point of the object, as shown in the following screenshot:
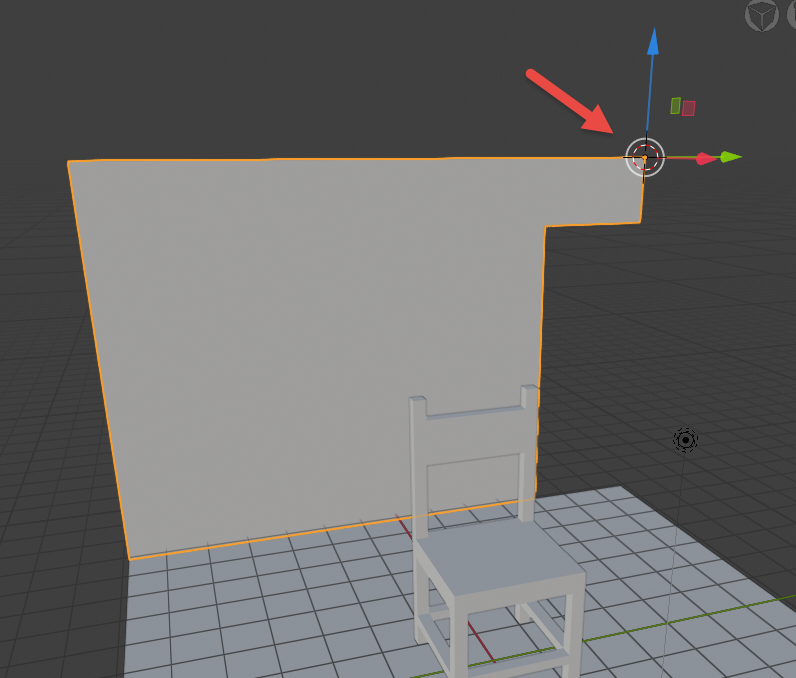
You can use the 3D cursor to get the exact point for the pivot.
With the origin point in place, add the mirror modifier and choose the correct axis for the mirror. In our case, it will be the Y-axis, a shown in the following screenshot:

Repeat the same process for the floor model, and you will have a full mirror of the scene.